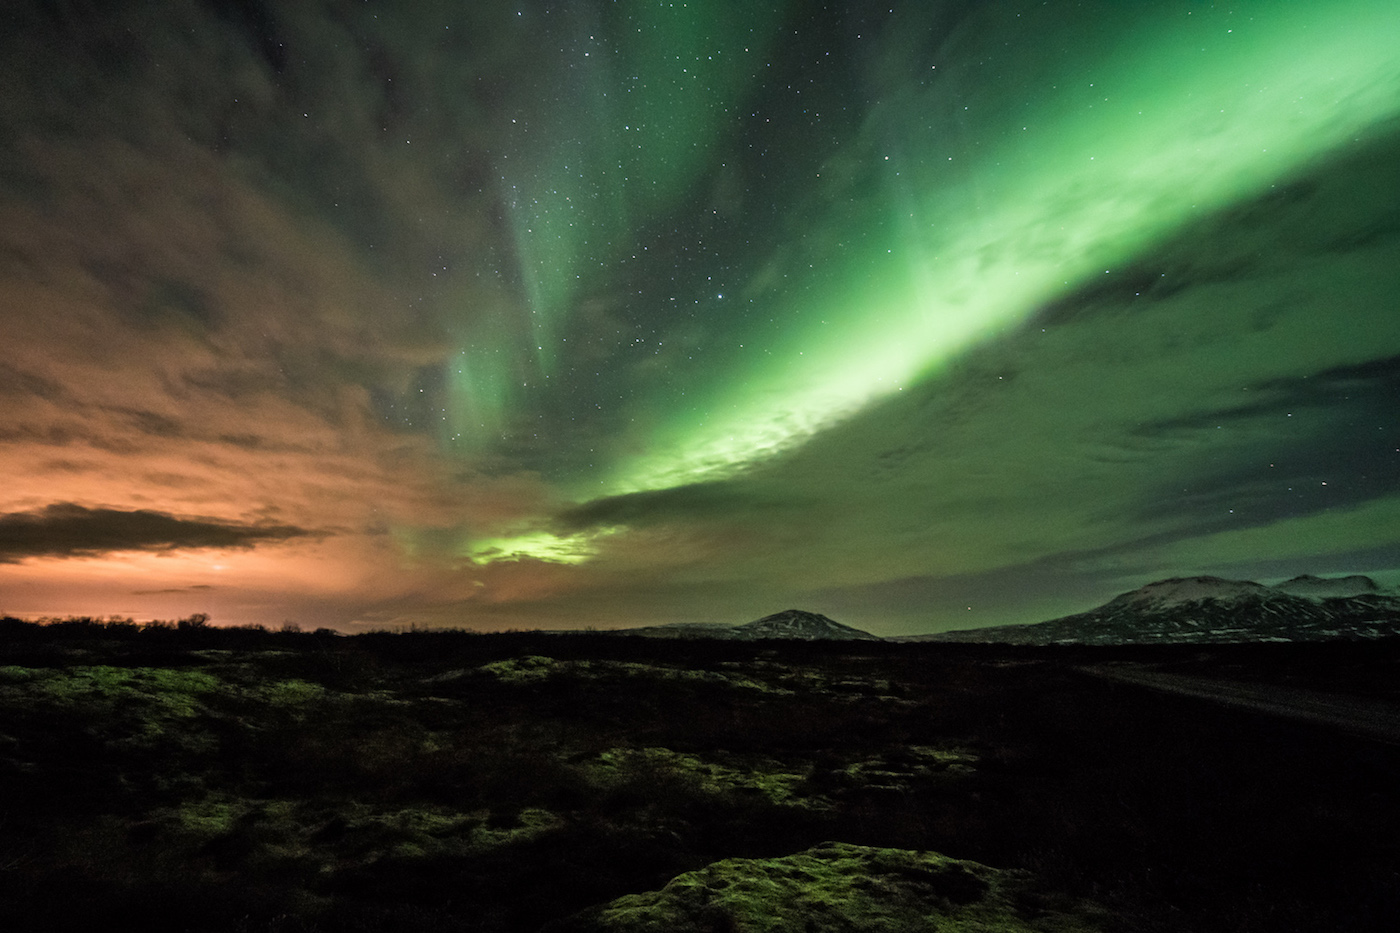
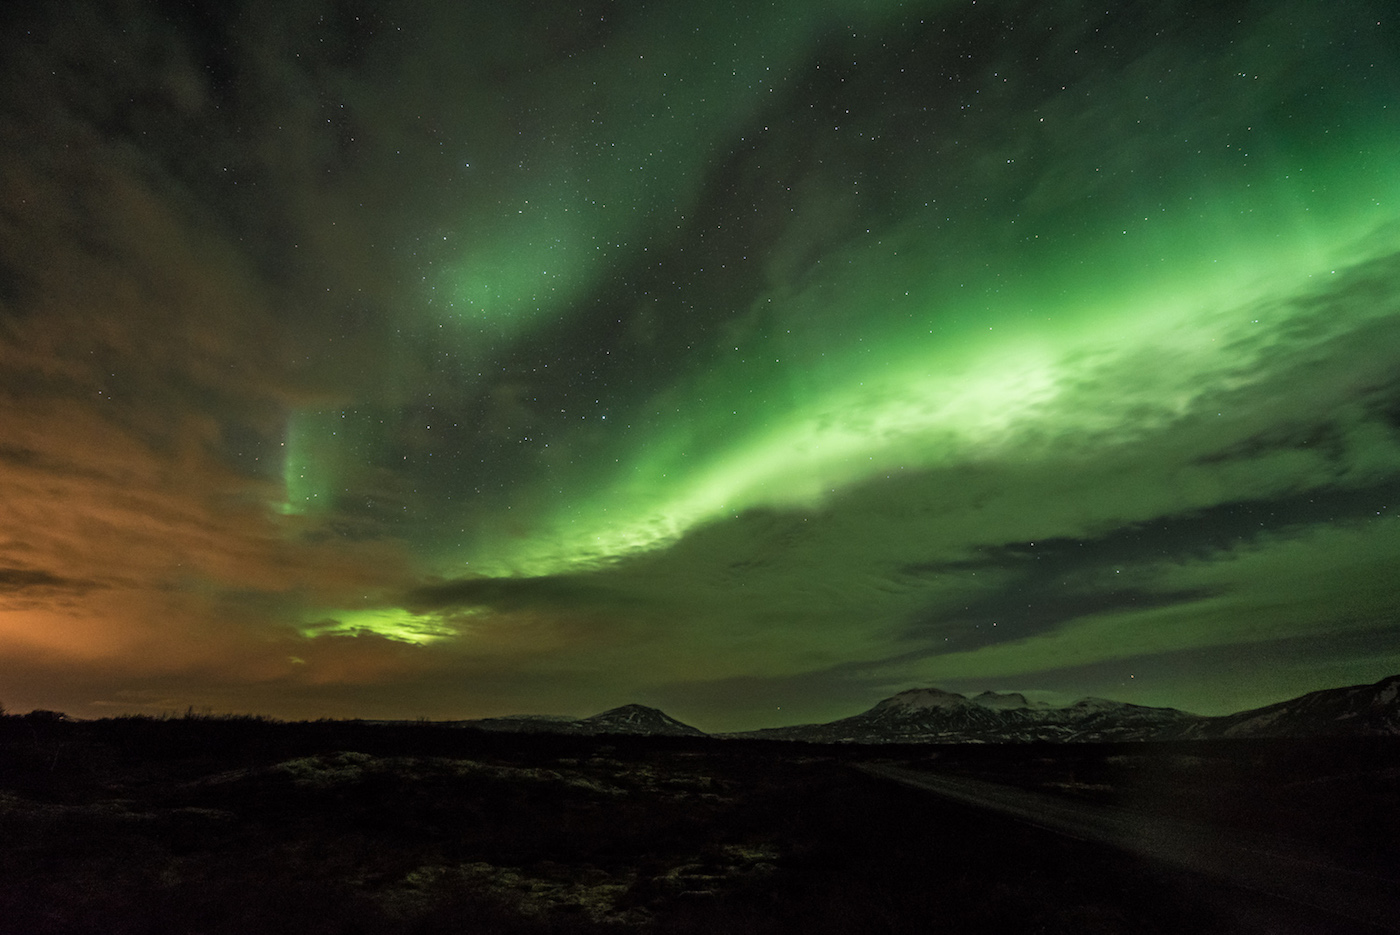
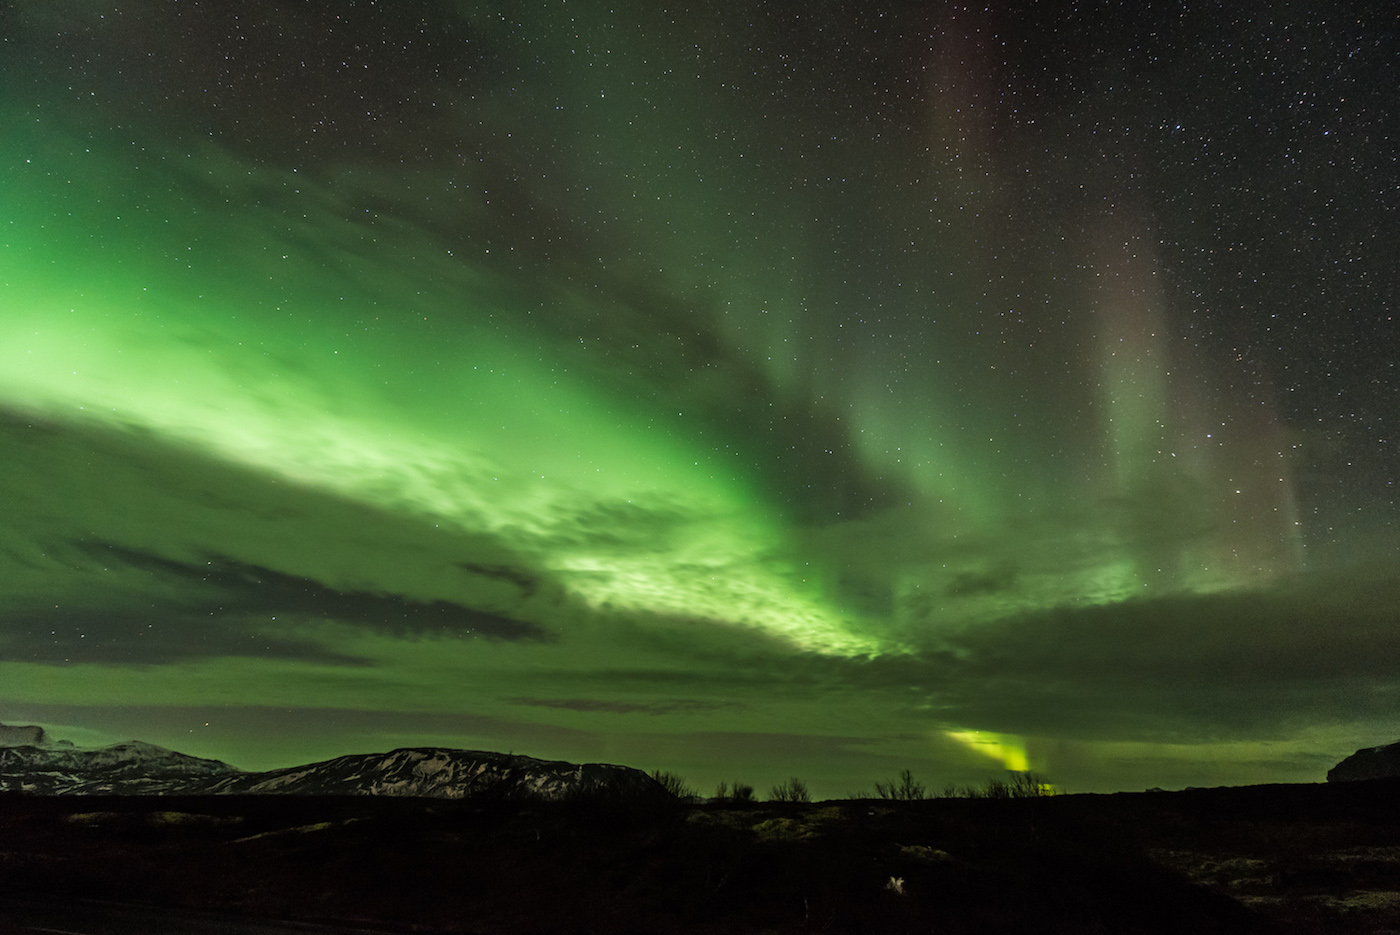
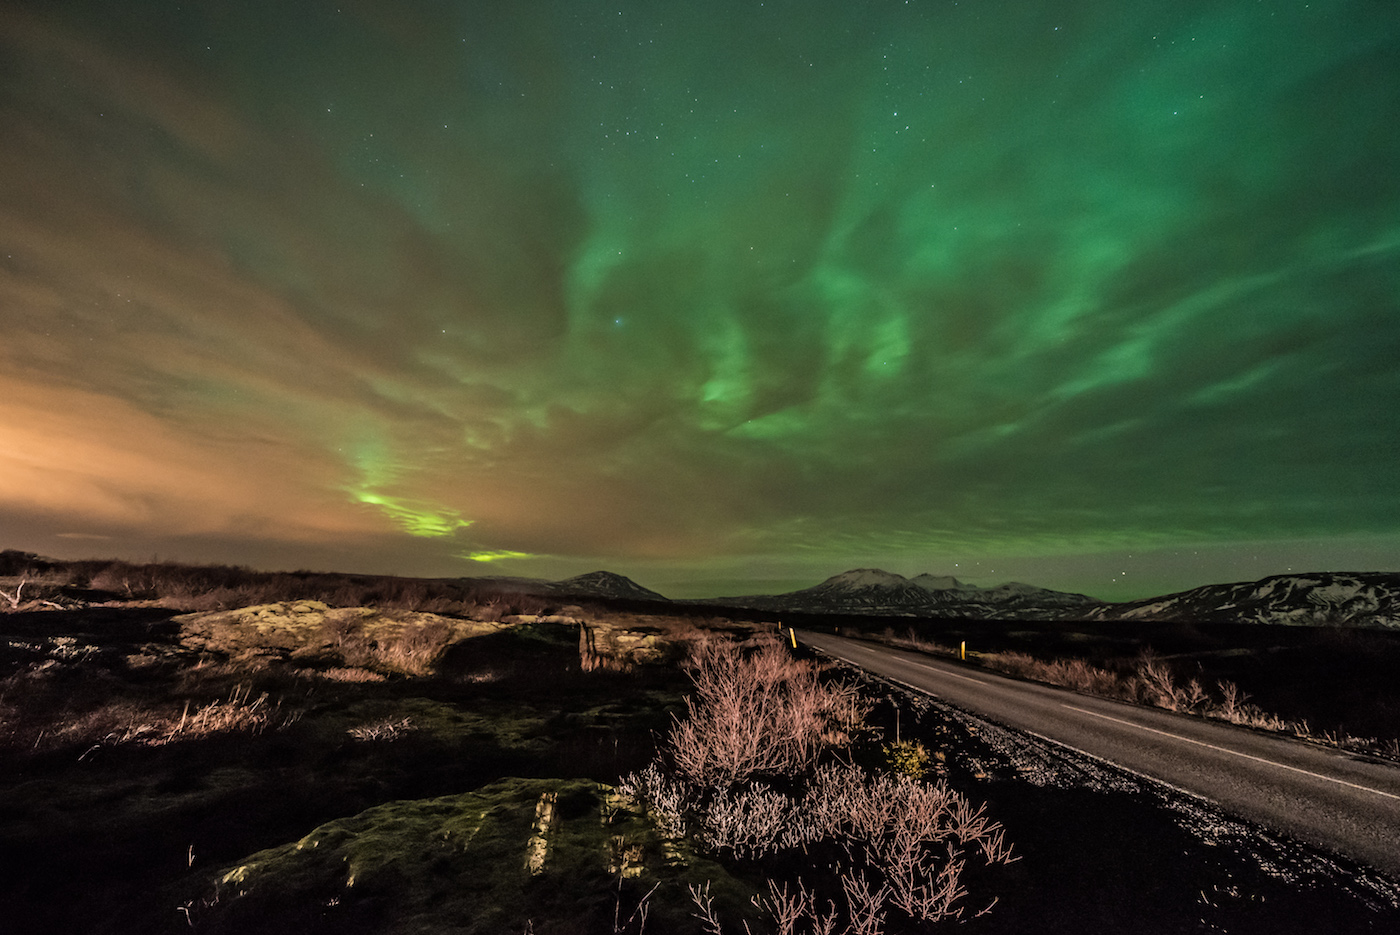
When making a visit to Iceland, one of the great natural wonders that everyone wants to see is the Aurora Borealis, more commonly known as Northern Lights. The northern lights are a spectacle unlike any other with the intense swirling movement of green lights “dancing” in the starry skies. We were fortunate enough to see it again during our latest visit and it was a dazzling couple of nights.
But finding the northern lights and attempting to photograph them can be very challenging tasks, so we’re going to prepare you in the best way possible. Here are 7 tips for finding and photographing the Northern Lights during your visit to Iceland:
1. Download the Aurora Alerts Northern Lights App,
This could be one of your best resources to track the northern lights. The Aurora Alerts Northern Lights App is a free app provides live up-to-date information of the northern light activity, including the probability of seeing the lights based on location, geomagnetic conditions (KP Index) on a scale of 1-9, hourly to long-term forecasts, and projected northern light coverage worldwide.
You’ll want to go out when the KP Index reads 3 or higher for the best conditions. You can also set up alerts that will tell you when the best chance is to see the lights. This app also works for other countries as well.
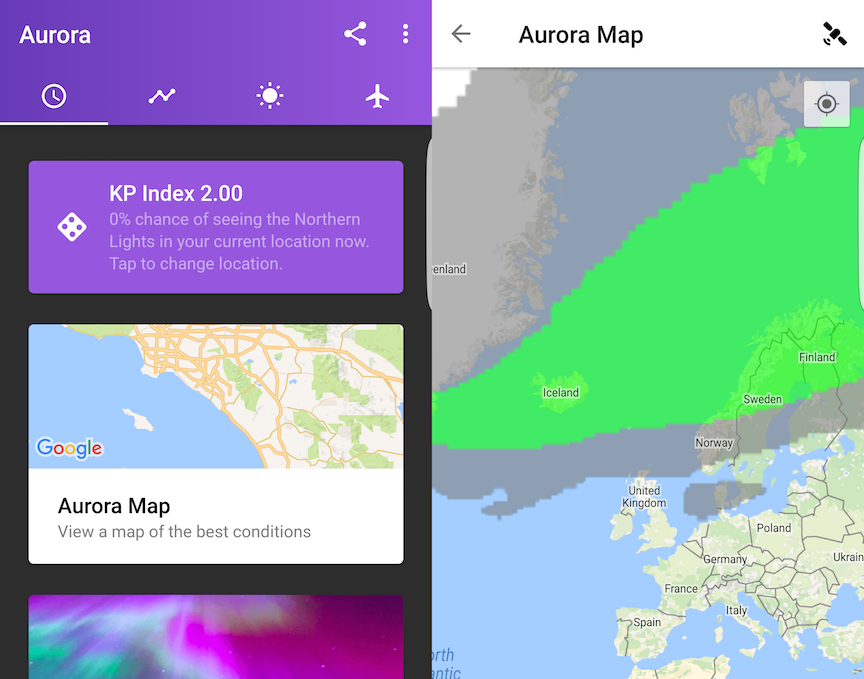
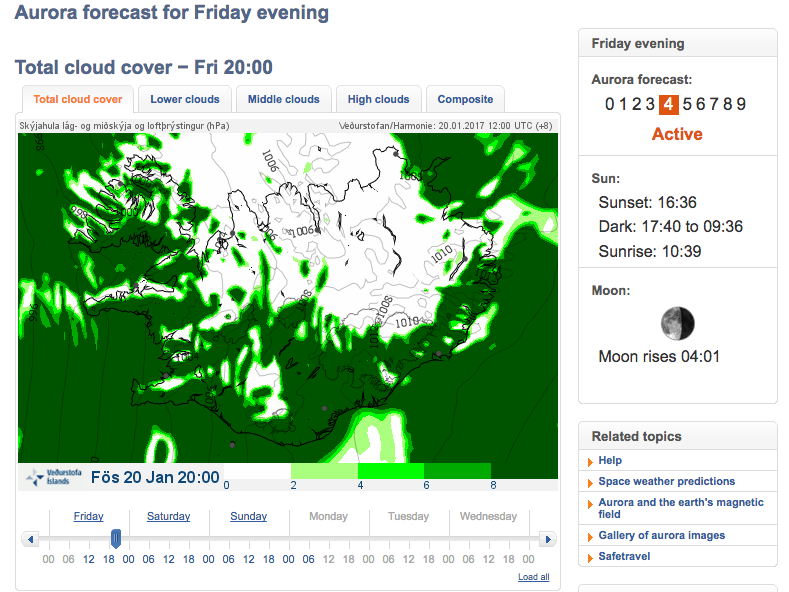
Just about the only thing it doesn’t do is provide a weather report, so it’s good to have an app or website to show the weather. I liked using the Rainy Days App and also used the Icelandic Met Office website, both showing project cloud coverage throughout the country by the hour. With a combination of these resources, you’ll have everything you need to track the northern lights.
2. Find dark clear skies away from the city
The best places to see the northern lights are places that are away from the city to avoid light pollution. This way your eyes will adjust to the darkness and it’ll be easier to see and photograph the northern lights. That’s simple enough to do since there are plenty of places in Iceland that are far from the city.
The more challenging part may be trying to find dark clear skies. As the locals would say, “If you don’t like Iceland’s weather, wait 5 minutes.” The weather can be particularly fickle, going from very clear skies one moment and then raining minutes later. During our recent visit, it rained 5 of the 7 days we were there and in some instances, it can be cloudy/rainy for days or weeks at a time!
Having the Rainy Days App or the Icelandic Met Office website can help you showing projected cloud coverage and find an area with clear skies. Even partial covered skies can give you some great shots of the northern lights, as long as you have some open sky to show the lights.
Another thing to remember is to not go to Iceland in summer if you specifically want to see the northern lights because the days are very long and at night, it doesn’t get completely dark. It would be very difficult to see the lights under these conditions. The best time to see them would be during fall or winter when the nights are longer and darker.
3. The Northern Lights are not always easily visible
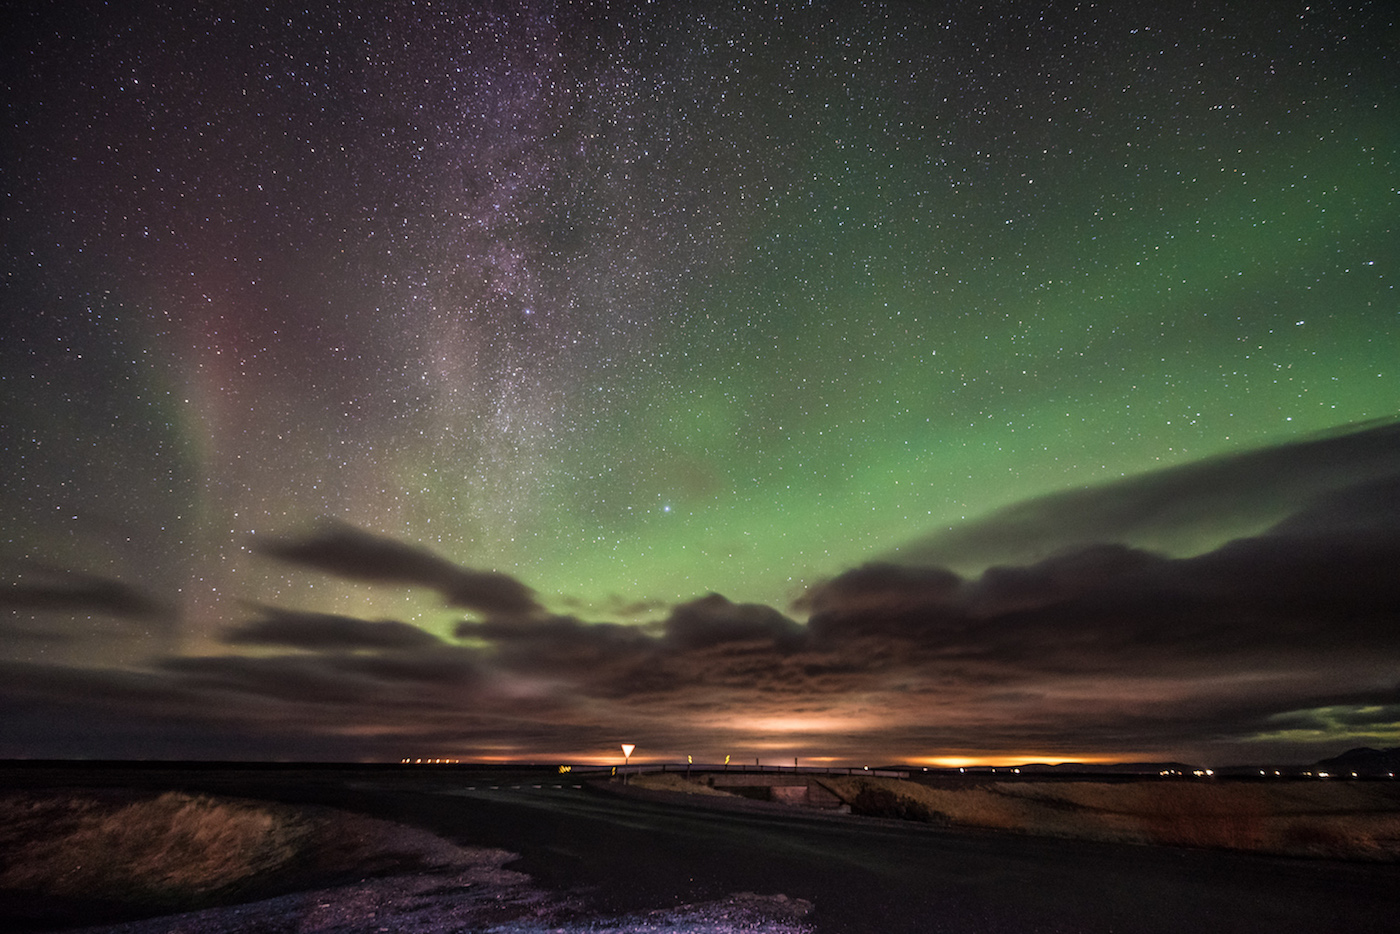
When the northern lights are VERY bright, they are very visible and can illuminate the entire sky. However, sometimes even if the sky looks dark, the lights can still be there. They will be very faint and pretty difficult to see, especially if you’re driving and your eyes are not adjusted to the dark.
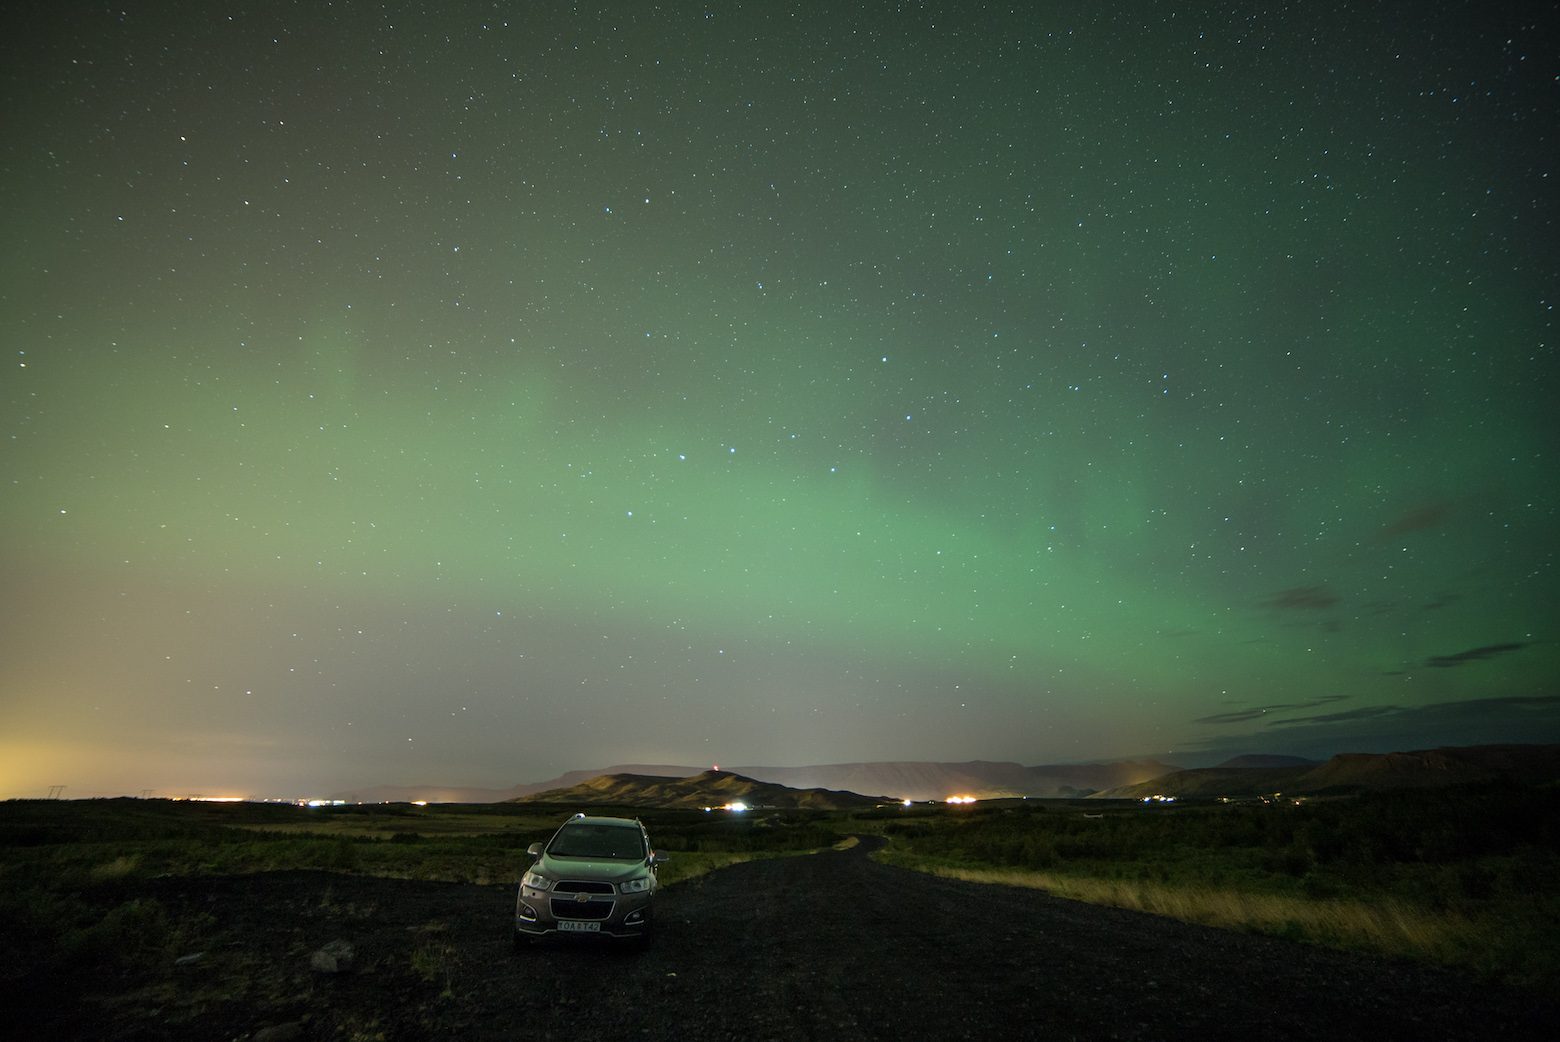
If you want to be sure whether or not the lights are there or not, then stop to the side on occasion and let your eyes adjust to the dark. If you can see a faint streak of color in the sky, it is possible those are the northern lights. If you have a camera with the right settings, you can confirm it with a test shot. While the lights may look very weak initially, you can wait a bit and see if the activity gets stronger. In both instances I’ve seen the northern lights, they started out as faint trails, but then intensified into much brighter lights.
4. Having the right camera and equipment
So you found the northern lights! You’re enjoying the wondrous spectacle of dancing lights dazzling through the sky! You bring out your phone or point-and-shoot camera to take a picture and…it’s almost pitch black…you can barely see the lights on your screen…it’s blurry…
Shooting photos at night are not the best conditions for a phone or point-and-shoot camera. If you really want to capture vivid shots of the lights, you need the right equipment. Here is the basic gear you should carry:
Tripod – Any tripod generally will be OK, but it’s highly recommended to bring a strong and sturdy tripod and prevent any vibration causing blurry images and especially on nights when it can be windy and will blow away any cheap tripod. You’ll be working with exposures from 5-20 seconds, so you need to be sure your tripod will keep your camera completely still.
Camera with Manual Mode – You need a camera that you can adjust the settings manually, primarily shutter speed, F-stop, and ISO. Auto will not help you here.
Although it’s still recommended to have a full-frame camera because of better low-light capabilities, better ISO performance and image quality, and more lens selection, you can still get shots with an advanced mirrorless or point-and-shoot camera as long as they have manual capabilities. I used full-frame cameras, including a Nikon D750 and a Sony A7s. However, if you’re on a budget, you can do well with a non-full-frame mirrorless camera like a Sony D6300 or Fujifilm XT1, or even use an advanced point-and-shoots like the Sony RX100 series or a Canon GX7.
Wide Angle Lens – A wide angle lens will help you capture a good amount of the foreground as well as the sky. When looking for a lens, anything 24mm or lower is ideal, and you want to look for F-stops as low as 2.8.
Remote Trigger (Optional) – It’s good to have if you want to take selfies and also to take a shot without pushing the camera button to prevent any vibration. If you don’t have a trigger, you can use the camera self-timer to take a shot.
Powerful flashlight (Highly Recommend) – We’ll get into more of this in the next tip.
5. Setting up your focus
Perhaps the most challenging part of night photography is focusing in the dark. In pitch black darkness, cameras are not able to properly autofocus on a particular object. Thus, you have to figure out how to manually focus your lens.
An easy way to set up your focus is to do it before dark sets. You can use your camera to autofocus on a distant point. Once the lens is focused, switch your lens to manual focus and do not touch it for the rest of the night. You can use tape to hold the lens’ focus ring or use a marker to mark the focus point on your lens. You’ll be good to go when shooting the northern lights in any direction.
If you did not focus before dark, then you’ll have to figure out how to focus at night. My favorite method is using a powerful flashlight that can illuminate an object at a distance. If you can light a distant object, many cameras will be able to autofocus on the object, which then you can switch back to manual focus. If your camera cannot focus on the illuminated object, have someone take the flashlight and walk 50-100 feet away. Your camera should be able to autofocus at the brightest point this way, and you can fine-tune the focus manually. I love Maglite flashlights because they are incredibly powerful and make it easier to focus at night at a distance, but a good headlamp will do the job too.
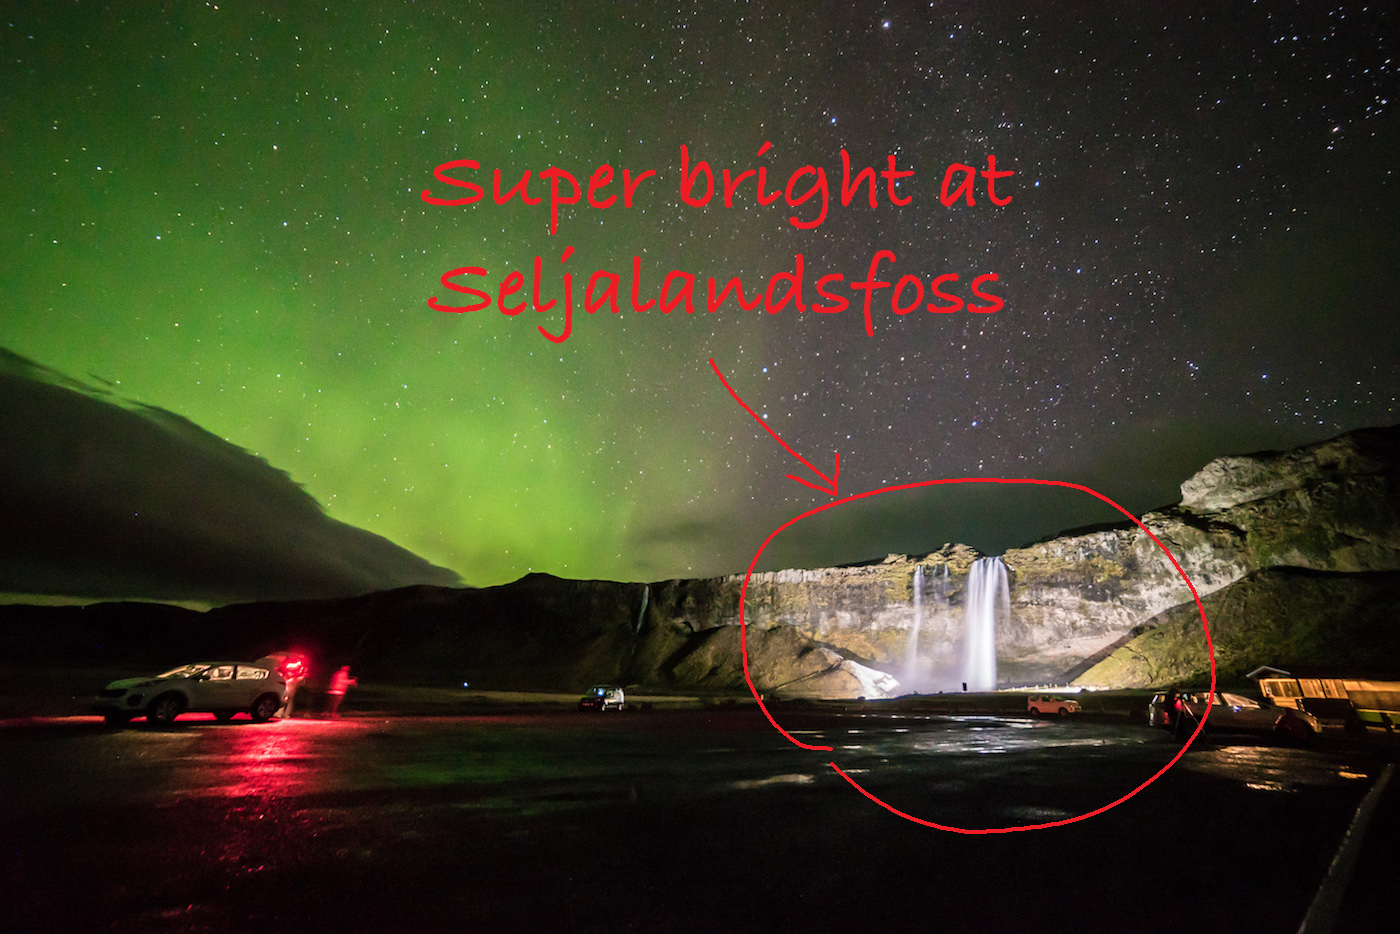
Without at least flashlight, focusing can be a little trickier. Some full-frame cameras have excellent live-viewfinders that perform remarkably well at night, so it can be easy to find the brightest star and bring it into focus. If you don’t have that, then the next best option is to start your lens from ∞ (infinity symbol) and adjust by trial and error with minuscule adjustments after each trial shot.
6. Manual Settings to use
The best combination of settings to use to shoot the northern lights is a large aperture (f2.8 – 4), longer shutter speed (5-20 seconds), and relatively high ISO (800-6400, though ideally around 1600 ISO). You can start with something like f2.8, 15 seconds, 1600 ISO and work from there. If you stick around those ranges and make the necessary adjustments, you will be able to get good shots of the northern lights. You should also manually set your color temperature (K) to around 2800-4800.
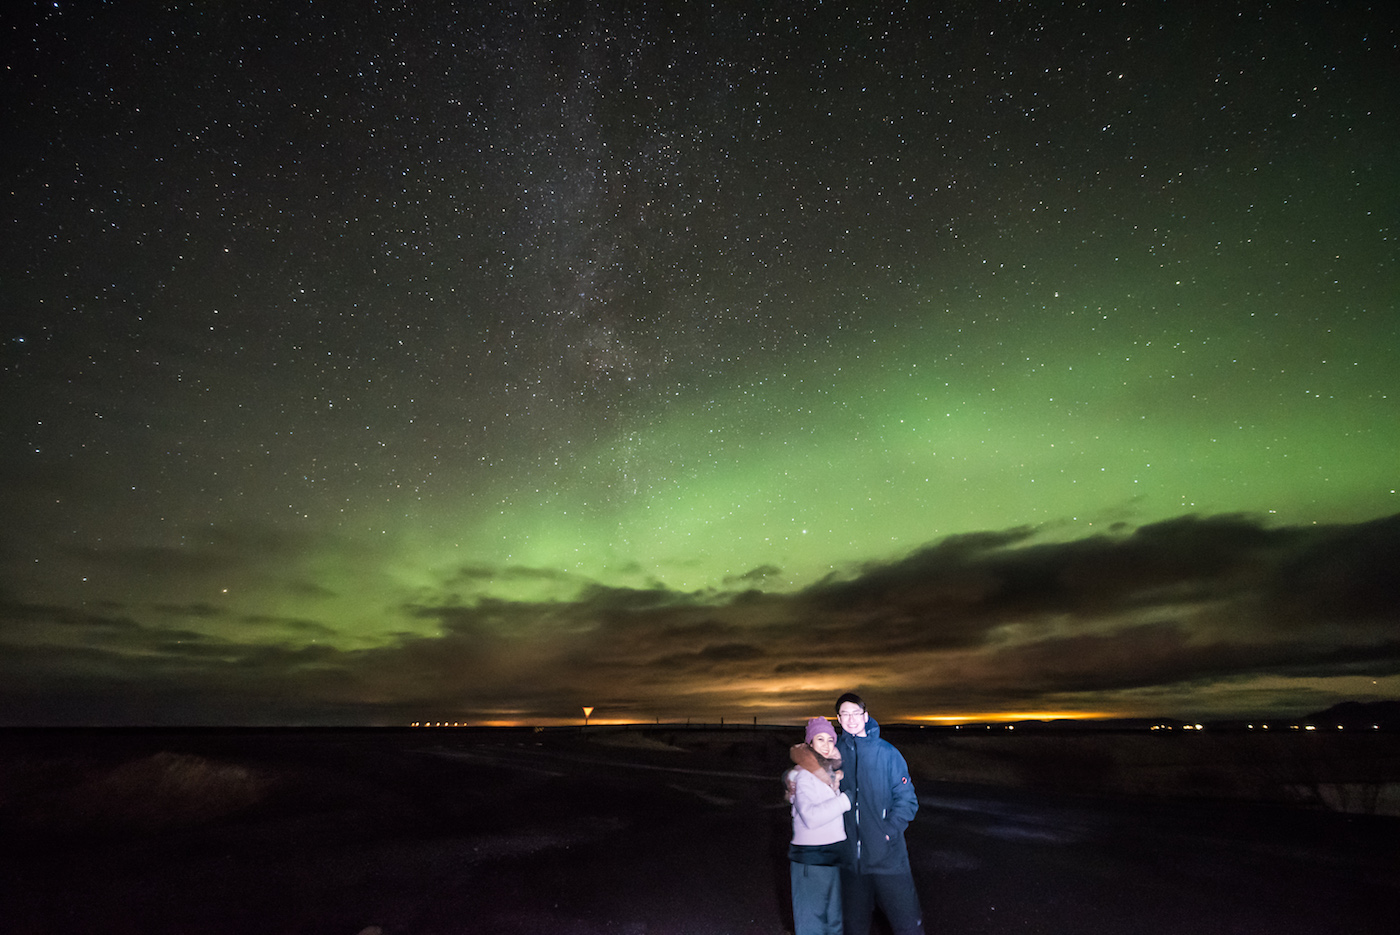
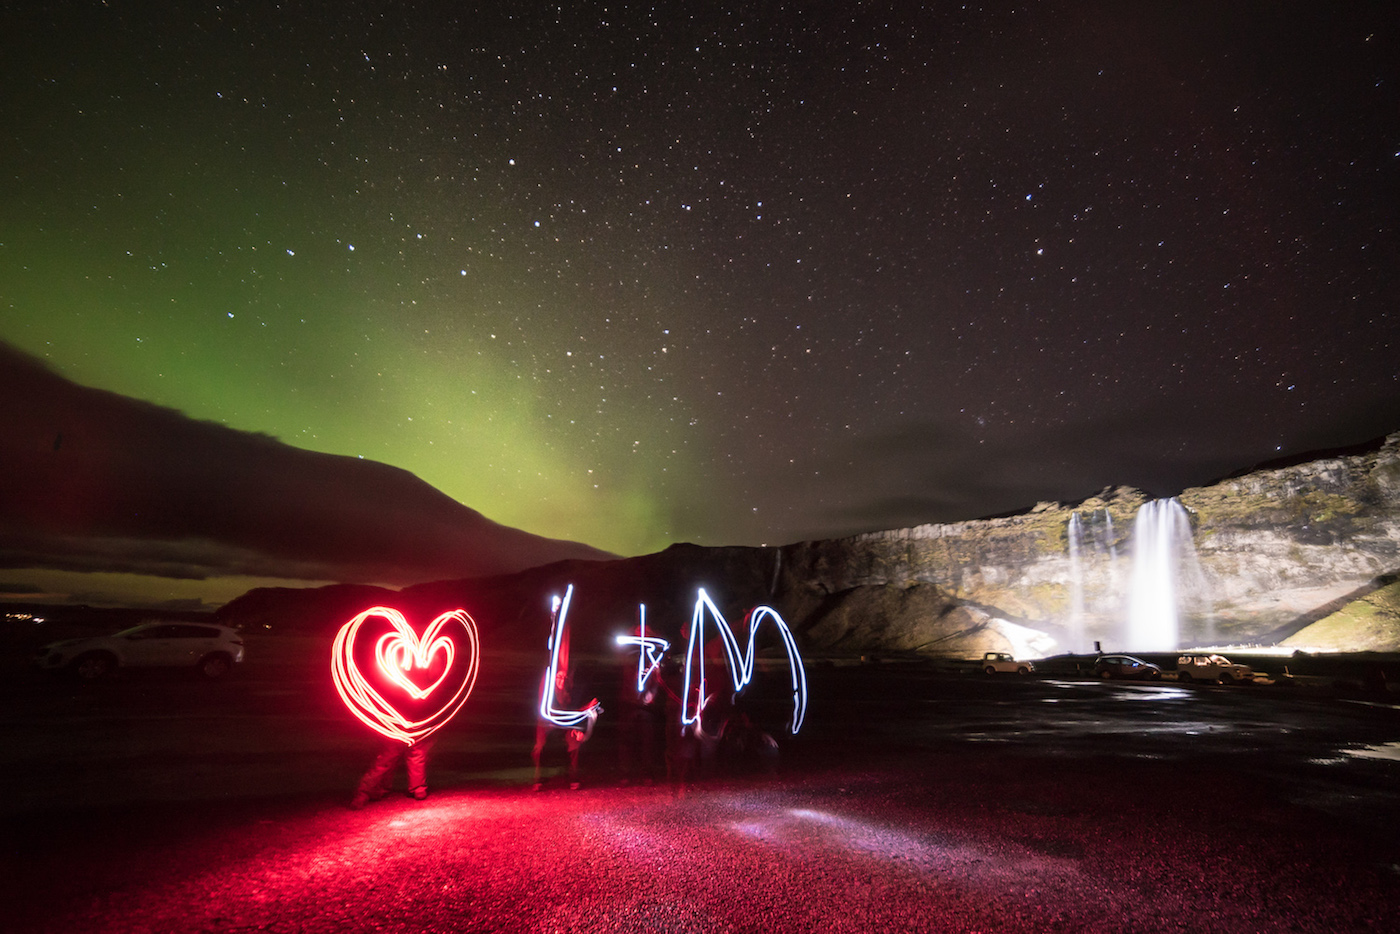
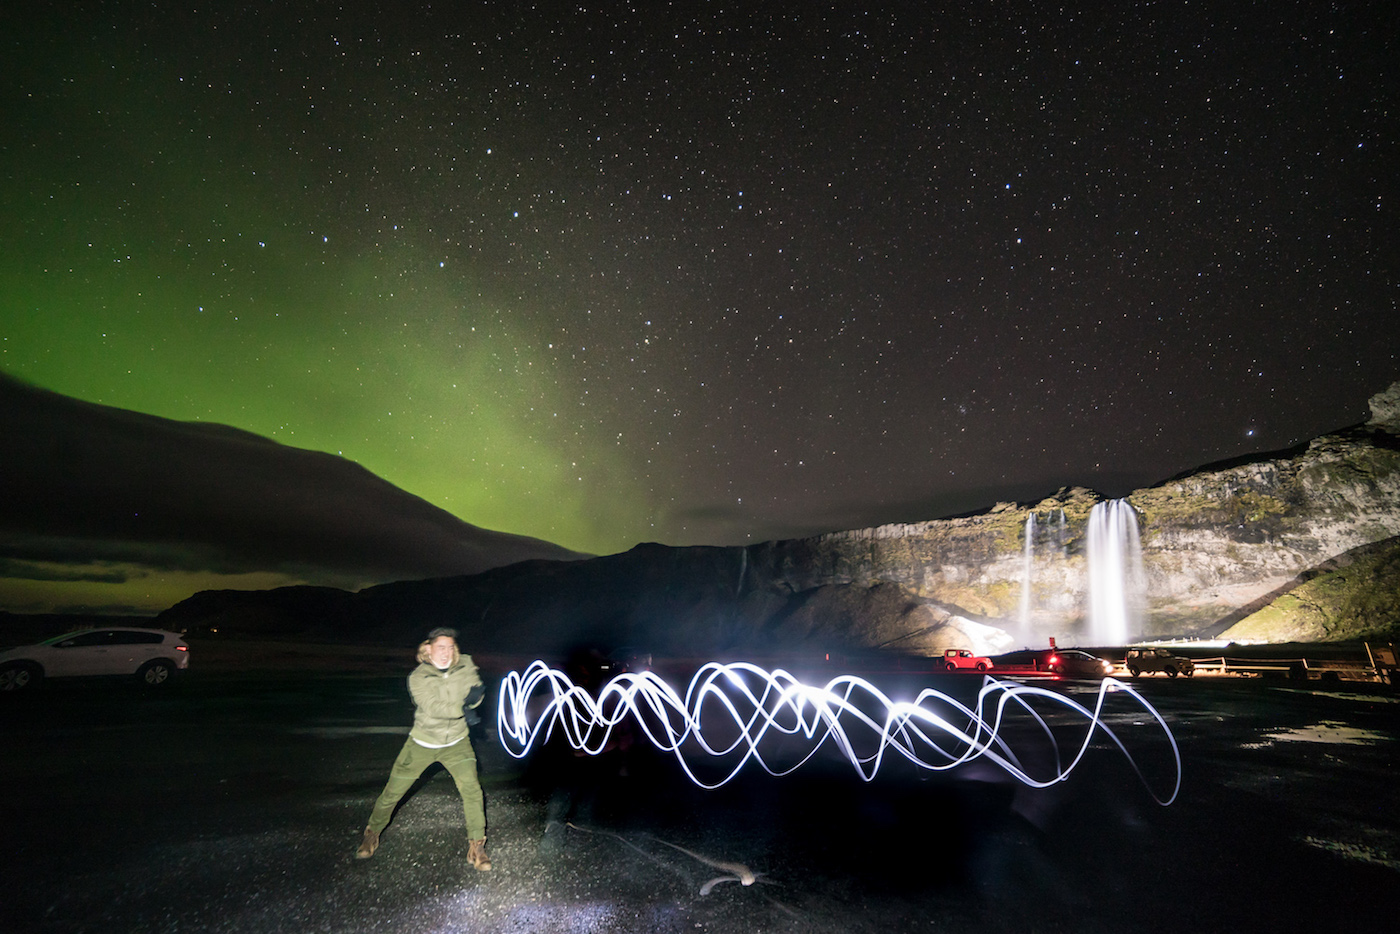
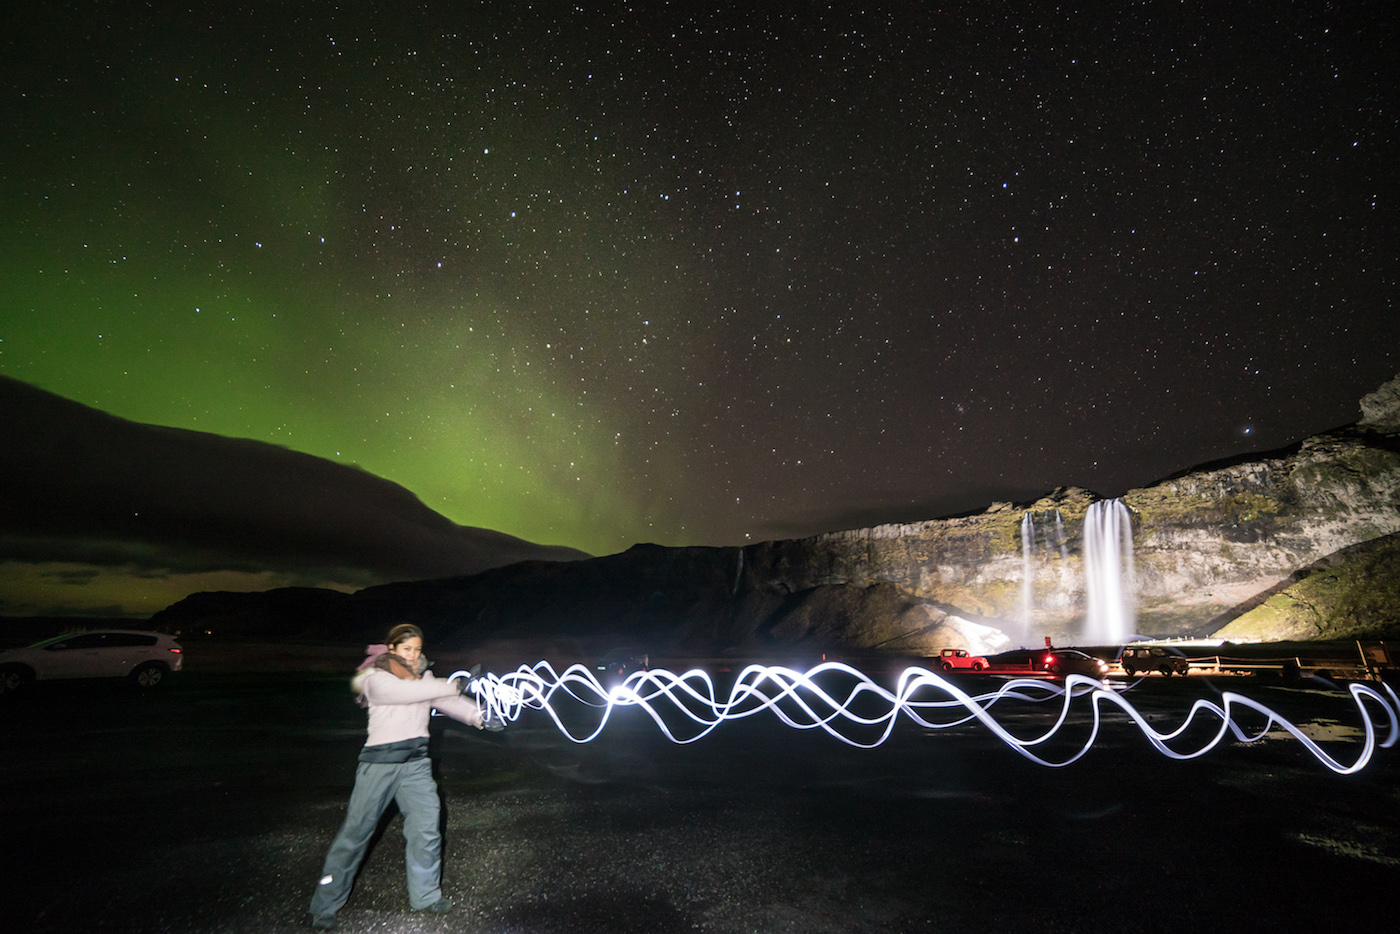
As an added bonus, if you have long enough shutter speeds, you can do light painting and make doodles in your images. When you turn on a light, the camera will capture the movement of the lights until you turn off the light. Try this out when you do long exposures!
7. ALWAYS Shoot Raw
One of the biggest mistakes I see people make while taking photos at night (and in general) is only shooting in JPEG. You should always shoot in RAW, which creates a digital negative of your image. This file allows you to make much more adjustments in post-processing with Photoshop or Lightroom, whereas adjusting a JPEG image is very limited and will hurt the quality of the image. Most advanced cameras offer the ability to shoot RAW, so although it takes up significantly more space, it is still almost a necessity to shoot in that format.
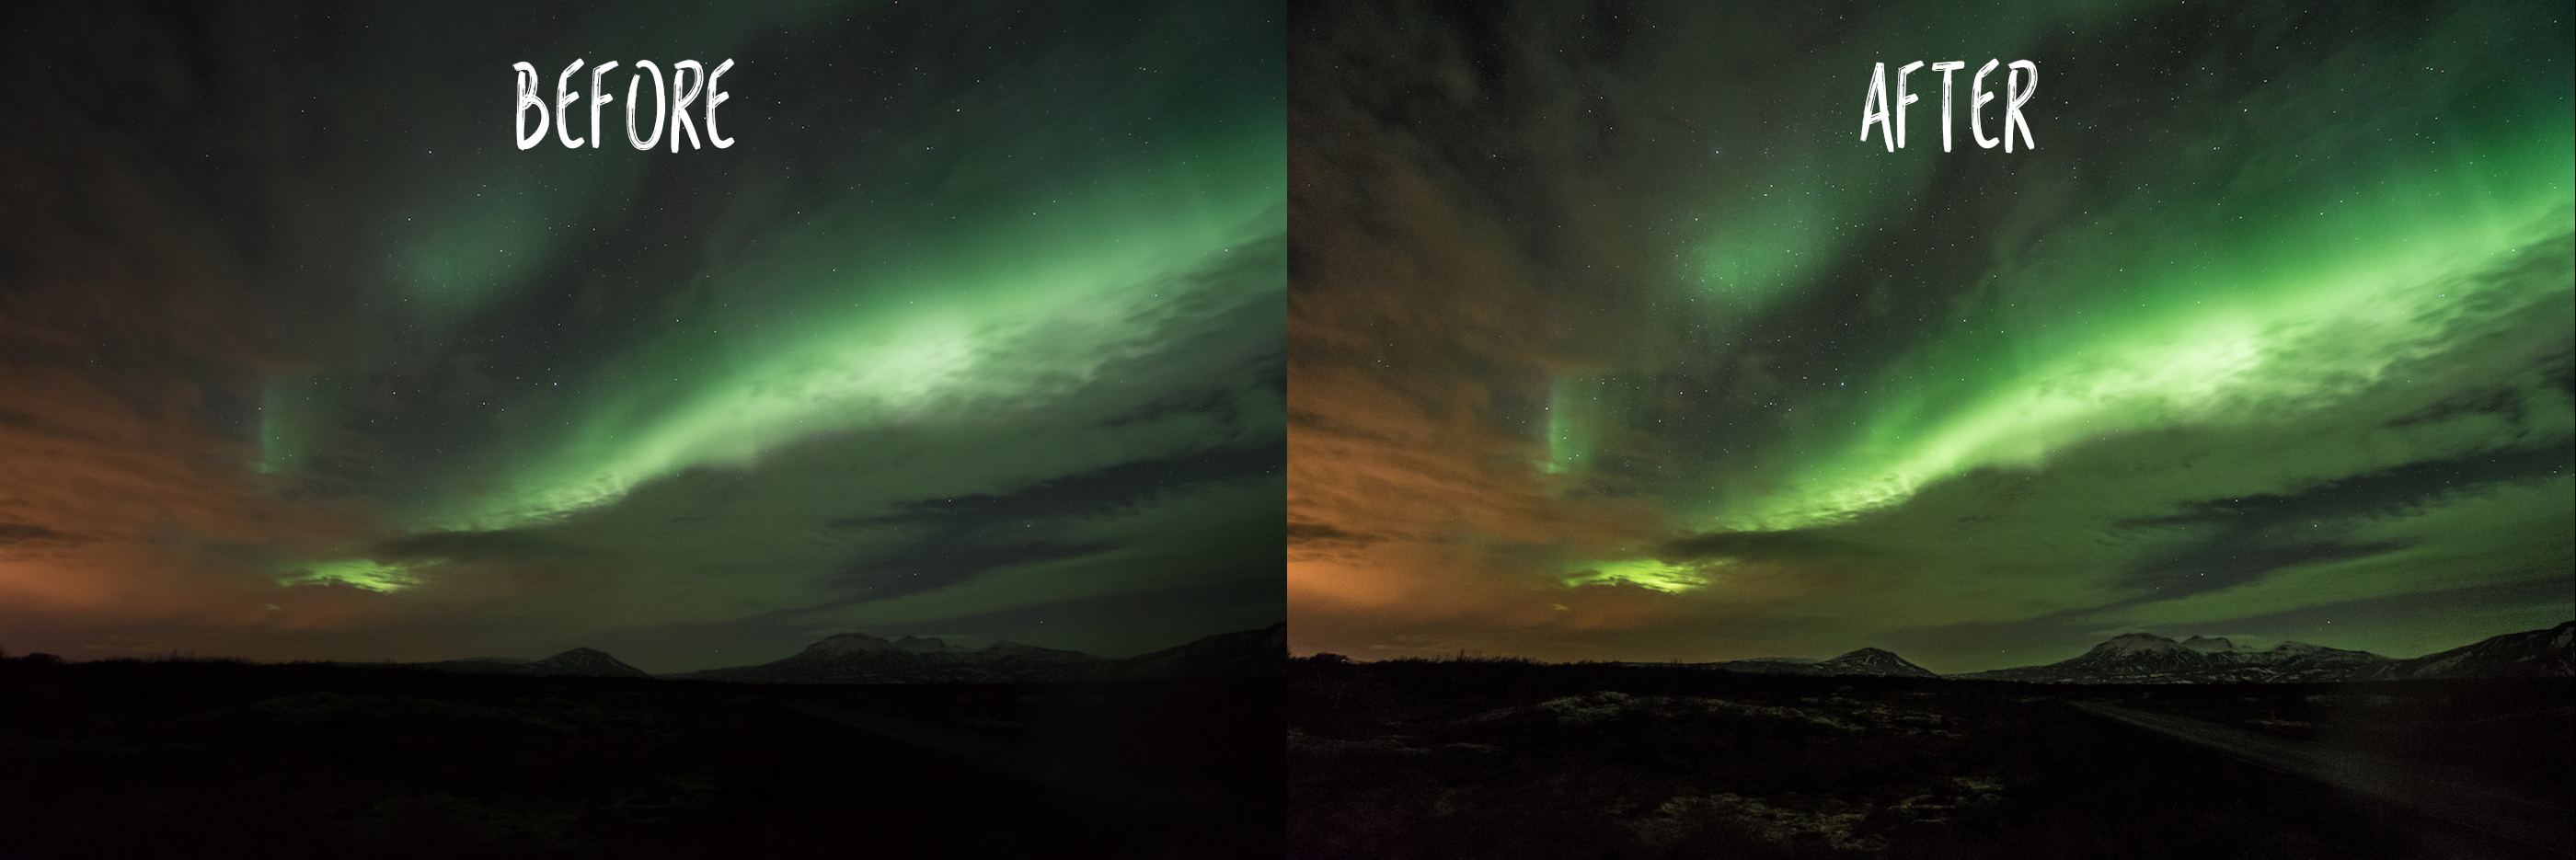
Hope these tips will help you when you’re out searching for the Northern Lights. Ask us any questions and let us know what helped you photograph the lights!
Linger Abroad with us!
Subscribe to get our latest content by email. Just travel, no spam.


47 comments
Hi Ling! Thank you so much for sharing these tips. I’m headed to iceland next month and am really hoping to snap some photos of the northern lights. Will go check out some of your other iceland posts now 🙂 + Followed you on twitter! Keep it up <3
Thanks for the follow, will look for you back! How long will you be visiting? I’m going to be putting up a 6-day itinerary that we mostly followed next week, so may give you some ideas of where to go depending on how much time you have.
These are excellent tips on shooting the Northern Lights. I am really keen to see this natural wonder…I just hope we are lucky enough to spot it when we go to Iceland or Nordic.
Good luck! The Northern Lights can be elusive but keep tracking it and hopefully you see it!
I went to Lapland in Finland twice to chase Aurora and failed miserably, so I really envy at your experience haha. It’s great to know there’s an aurora alert app. That’ll make chasing aurora much easier! Very helpful tips about camera setup and preparation as well. Thanks for sharing!
To be fair, a lot of it was luck for us. The first time, we weren’t even looking for it; it kind of just showed up as we were driving. The second time though, we were more prepared to track it, but still needed luck because the weather was not so great!
This is a very comprehensive post about photographing Northern Lights, I book marking it for future reference.
Brilliant tips. Being an amateur and avid photographer I’m always on the lookout for simple tricks to make photos pop out more. Obviously Northern Lights is a phenomenon that one experiences seldom in their lives taking a good photo is very important and this helps. Cheers
Yes, it would be a shame to see amazing lights and not be able to take a great shot of it.
This is just what I needed to read as I’m going to Iceland in March. I’ve downloaded the app just now! I was told before to focus a little less than infinity, but your method looks good too, you pictures show this. I love your light pictures too, very inventive. I’ve pinned this and will refresh my memory on the camera settings in March as no doubt I’ll forget them.
That’s great! You’ll be going at a good time, so hopefully, you’ll get to see it! “Focus a little less than infinity” is perfectly fine, but it’s a bit vague, since the slightest adjustments can make a difference in your clarity. It doesn’t matter as much with the Northern Lights since it’s a shapeless form, but for clarity of stars or landscapes, it’s important to get as focused as possible. If you can use the autofocus or your live viewfinder to fine-tune those adjustments, you’ll get clearer photos.
As I’m planning a trip to the Iceland this year, your post gave me a fair idea on the Northern Lights photography. I hope I will be capture as gorgeous pictures as yours. Bookmarking the post right away for future refrence. Thanks for all the helpful tips :).
You’re welcome and good luck!
You guys got some fantastic shots! We visited Iceland last feb-March for a week. We finally saw the Northern Lights on our final night. There was a super high KP index when we were there but terrible weather most of the trip. Unfortunately my tripod broke before we left our hostel to go look for the Northern Lights. I had to make a tripod leg out of snow! It didn’t work so well. So your tip on getting a sturdy tripod is definitely a must for Iceland!
Iceland weather is so non-cooperative! It’s crazy how fast the weather can change (and those weather reports are not that accurate as a result)! Sucks to hear about the tripod. Definitely a sturdy one goes a long way, but in case that happens, what you can do is set your camera on top of a car or even on the ground on a backpack, then use a trigger to do long exposure shots. Not ideal, but you can get shots this way too.
Seeing the Northern Lights is something I really want to do. Getting to Norway so really close in a couple of months, but doubt I will have a chance to see them as it’s a quick trip. Love these tips though. They will come in handy in a variety of low light situations.
Yep, these tips will help in any lowlight/long exposure shots. You never know though, you might see them in Norway. Our first visit in Iceland was for only 3 days, and we weren’t sure if they’d show up. But they showed up on the second day, so keep the faith!
This is a super usefull article.. I am planning to visit Iceland and the main reason is actually to see the Nothern LIghts (and take hopefully breathtaking photos) and your tips are really cool! Especially that you are so precise in giving suggestions regarding shutter spead, aperture and iso. I also wouldn’t have thought about taking them at RAW, I am new to Lightroom and have A LOT to learn! Thanks for the heads up 🙂
Good luck! Hopefully, you catch them and get the photos! RAW definitely will help, as you can generally recover any image with a RAW file vs a JPEG.
Some very useful info, have bookmarked your page as we will heading to Iceland soon and I don’t want to goof up struggling with manual settings. You have got some insanely amazing shots of Northern lights
Yep, hopefully the manually settings help! They will also be general settings for shooting night time shots, like the Milky Way!
I have never seen an article giving tips to capture the northern lights. It is such a wonderful phenomenon, and its not that easy to photography. Thank you for taking the time to come up with this!
No problem! Hope they help you get the shots!
Your photos are magnificent! Thank you so much for sharing these tips! I’m hoping to get to Iceland and see the Northern Lights some point this year, but my biggest concern is that I’m useless at nighttime photography so this will definitely come in handy.
At the very least, just get the manual settings down and you’ll at least get the lights in your photos. Finding them can be straight up luck, even with a tour group.
Soooo much information I’m kinda overwhelmed lol. I’m one of hose that would whip out the iPhone and end up with black to blurry photos. The Hubs is always in charge of the DLSR so this would be his responsibility of we ever get to experience the Northern Lights lol. Love what you ah e done with the long exposure shots
I’m in your hubs role for sure. My fiancee pretty much leaves it up to me! There is definitely a lot of information, so make sure your hubby jots it all down! 😀
Thanks – some great tips. I have this on my list of things to do! I want to go this year or in 2018
Really awesome tips here! Very timely as well … I was just chatting with a travel buddy about visiting Iceland to view the Northern Lights. This article will come in super handy as we plan our trip!
Show us your results if you catch them and let us know if they helped! Even if you don’t see the lights, these settings are also good for photographing the Milky Way if you get clear skies, and Iceland would be the perfect place to photograph them.
Great list of tips you have put together here, something to help everyone. I will always be a little surprised of peoples expectations of camera phones though, what kind of image do they really think they’re going to get? Still, gotta love the optimism!
Phones can do some amazing things nowadays. Just can’t capture the Northern Lights just yet!
Such a great post. I’ve just saved it for later, when i will be practising. I am trying to get better with my photography skills, but night photography (not even speaking about Northern Lights) isn’t a piece of cake!
Night photography is always an interesting challenge, but these tips will also help with night photography. We did some posts on photographing the Milky Way and the techniques are not all that different!
Awesome tips – thanks for being so specific about the settings to use. Your photos are really incredible.
I’ve only just got a digital camera and I’m still learning how to use it properly and have found night shots the hardest to capture. My family and I are off to Iceland this summer but sadly I think it will be too light for us to see the Northern Lights; but NL are definitely still on my bucket list.
Night shots are always challenging, even for seasonal photographers. It took me a while before I figured the basics down and am still learning a great deal.
Even though it may be too light for you to see them with the naked eye, you still may be able to capture them in camera. If the light activity is intense, you can set up some long exposures and you may be able to capture them in camera. I’ve seen other posts do this.
Amazing, thanks! I’ll definitely try this. We’re going in August and there will technically be some twilight so fingers crossed…
The first time we saw it was late August, so I think there will be chances for you.
I’m not sure of why, but I always tend to miss the opportunities to see the northern lights. Even at times when it should have been more than visible here in Stockholm. Well, maybe I just need to head a bit further up north, or to Iceland, to finally see it. 🙂
Sometimes it’s just luck! When we saw it, we had clear skies wedged in between terrible weather.
Photographing the northern lights was on my bucket list. Finally got to check it off 2 months ago in Iceland. It was a dream! Great tips!
Nice, loads of technical info. Hope to see this with my own eyes and through the eyes of a camera one day!
I am dying to see the northern lights! Thanks for the tips. They will come in handy when we actually make it there!!
Hope you guys make it there!
Great tips
The voice of experience! I’ll get there one day, but far better to know the best settings BEFORE setting out in the dark. Thanks.
I know from others that it can be a bit of a helpless feeling when you try to take photos at night!
Comments are closed.