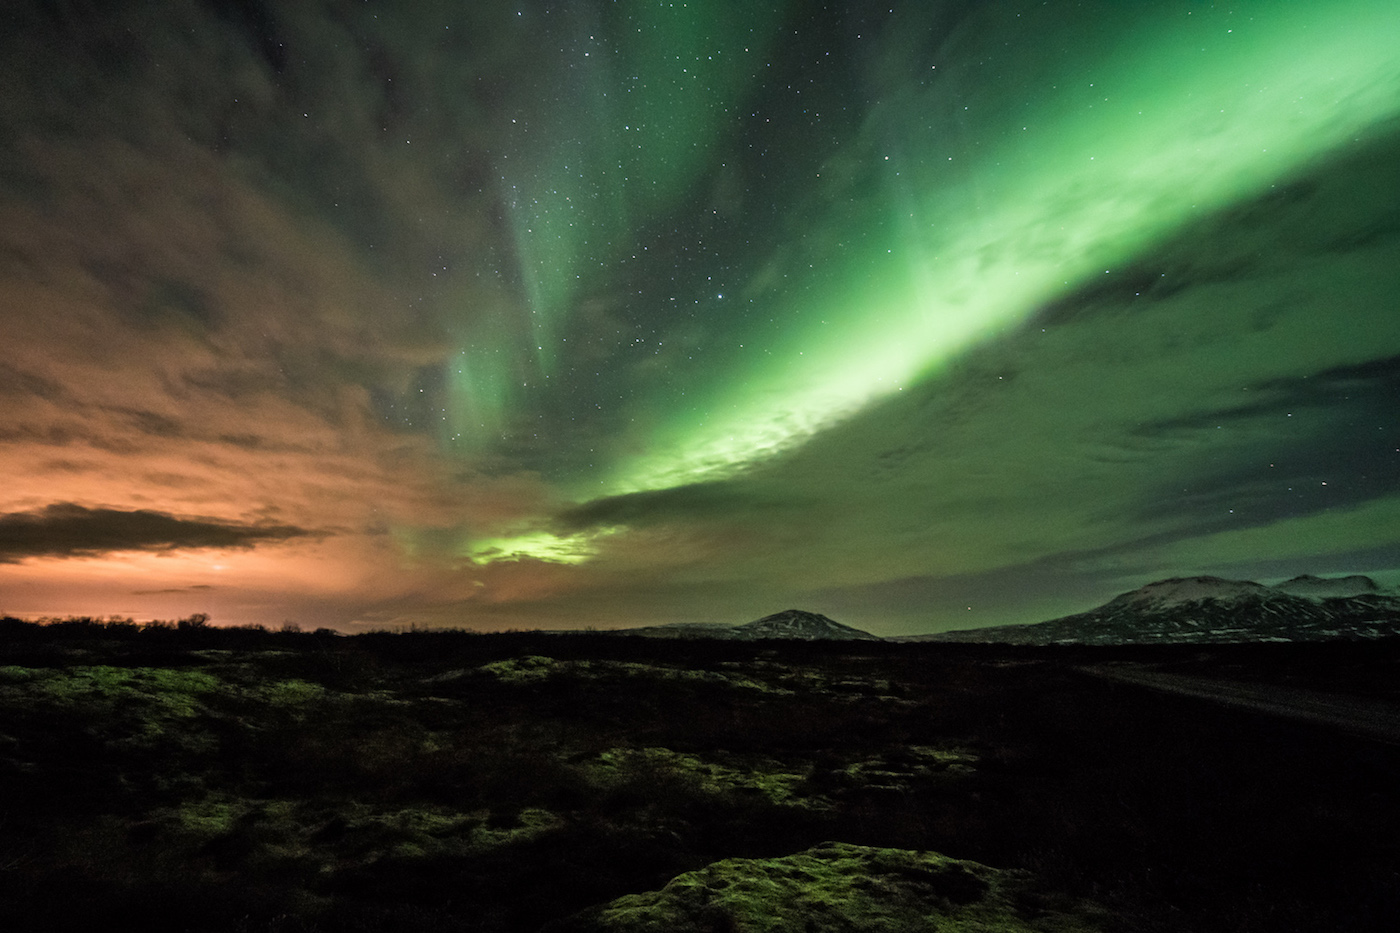
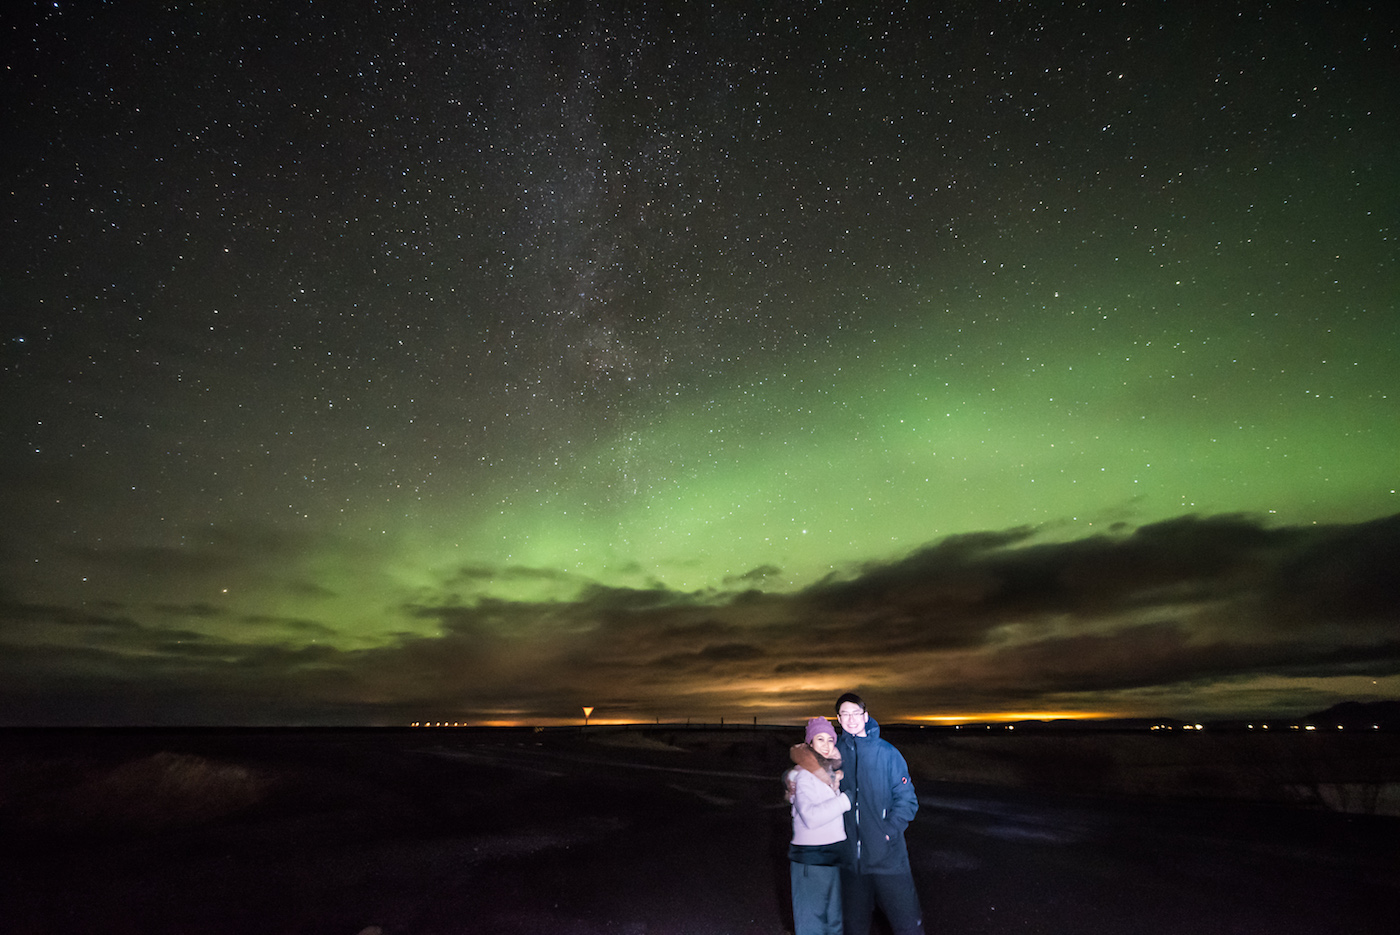
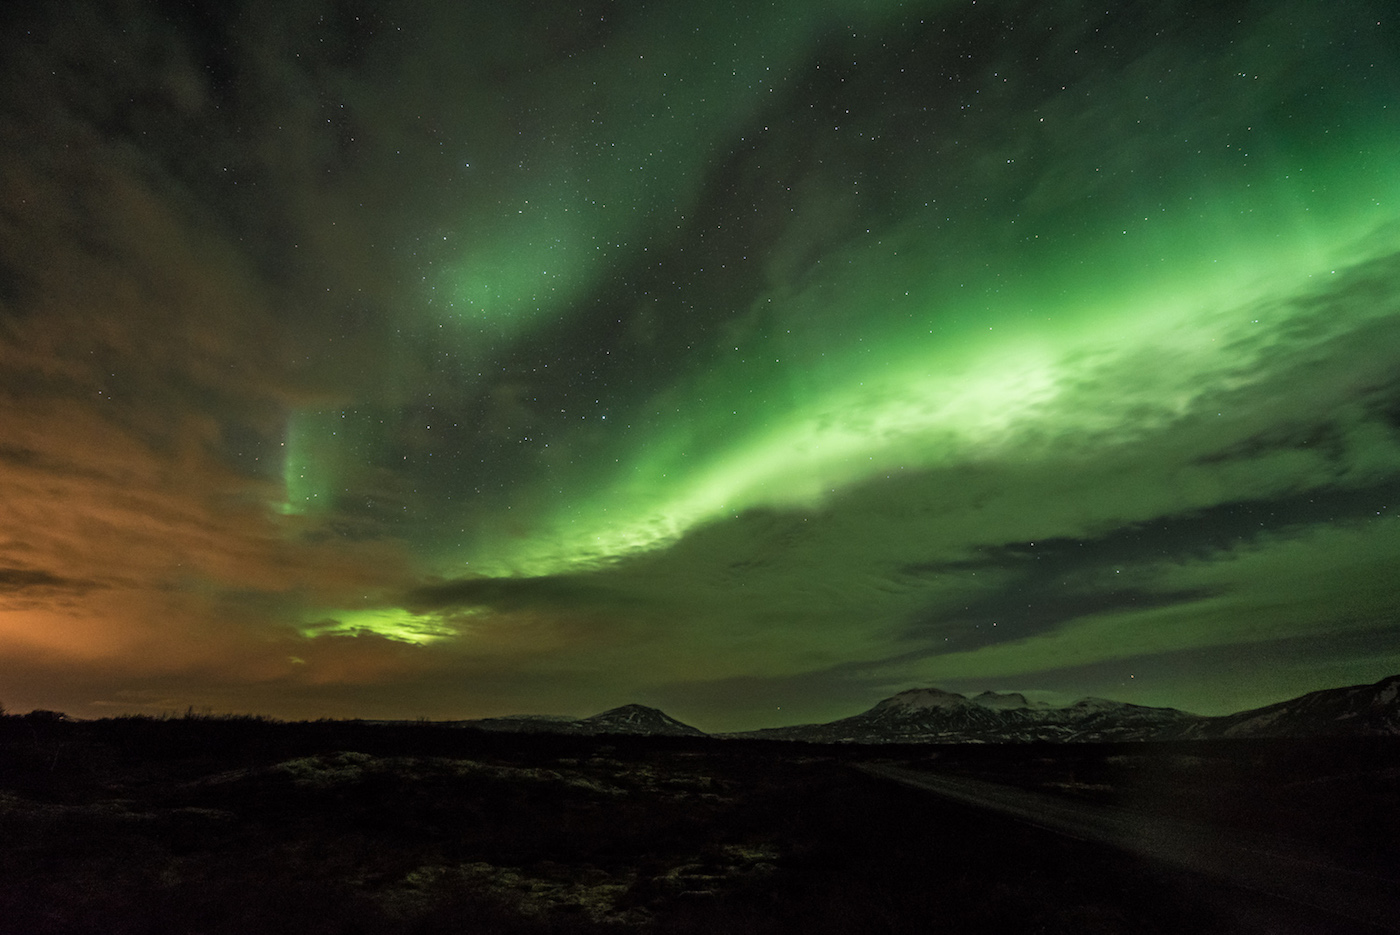
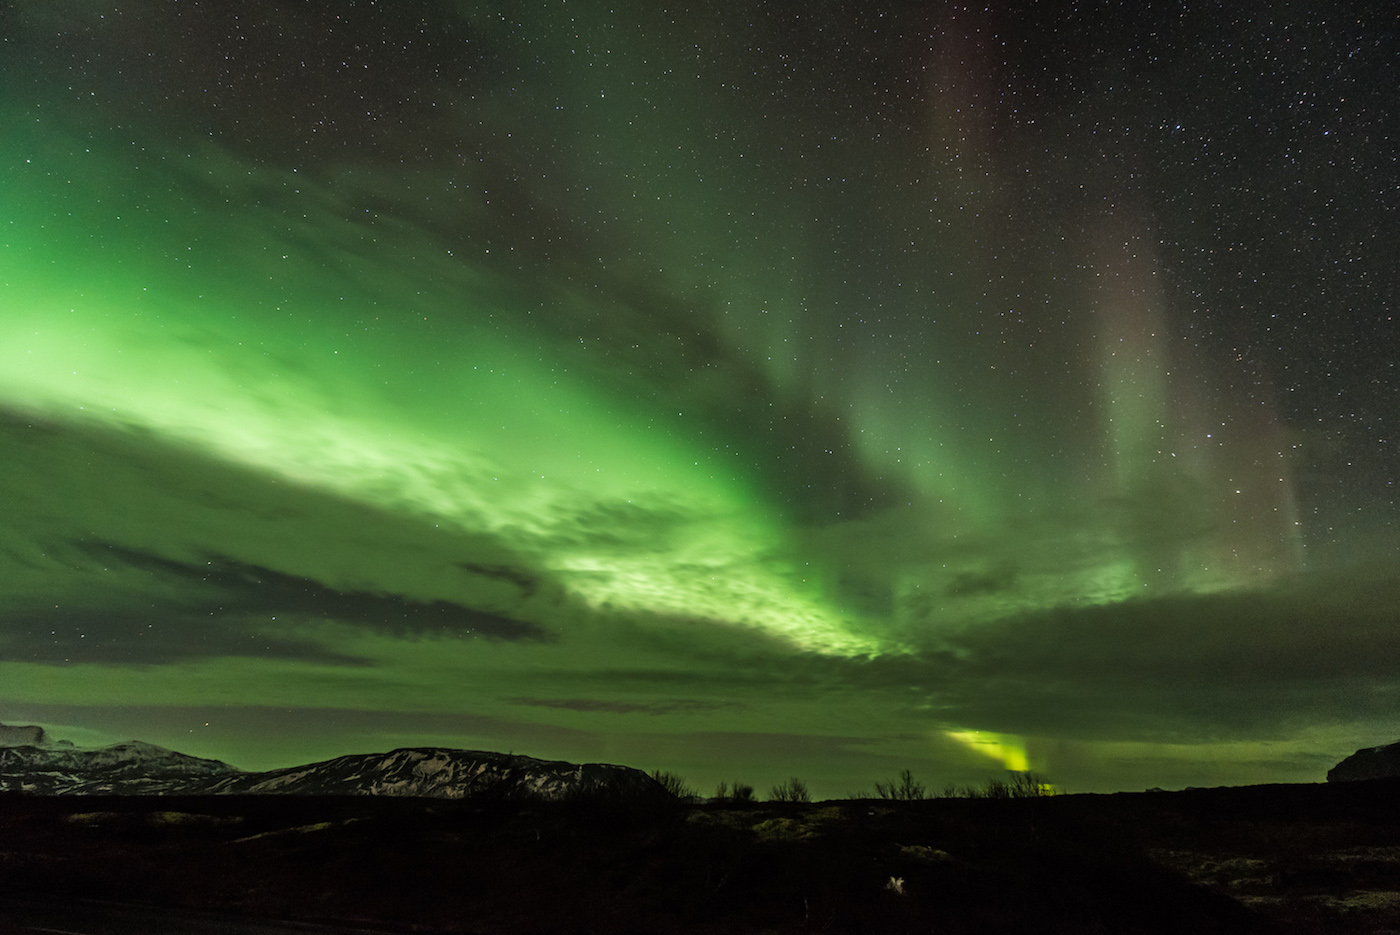
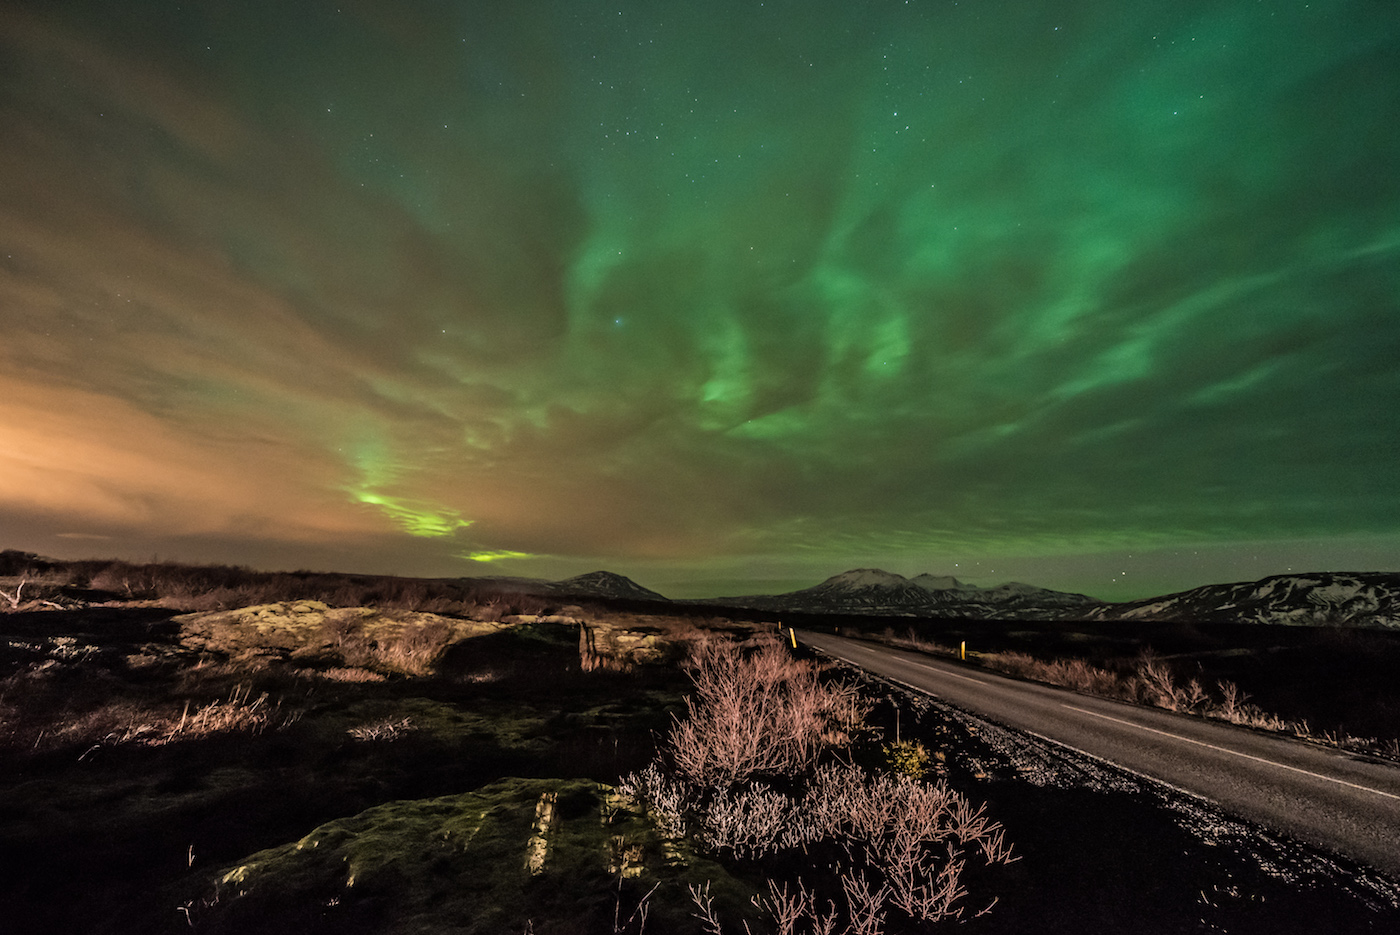
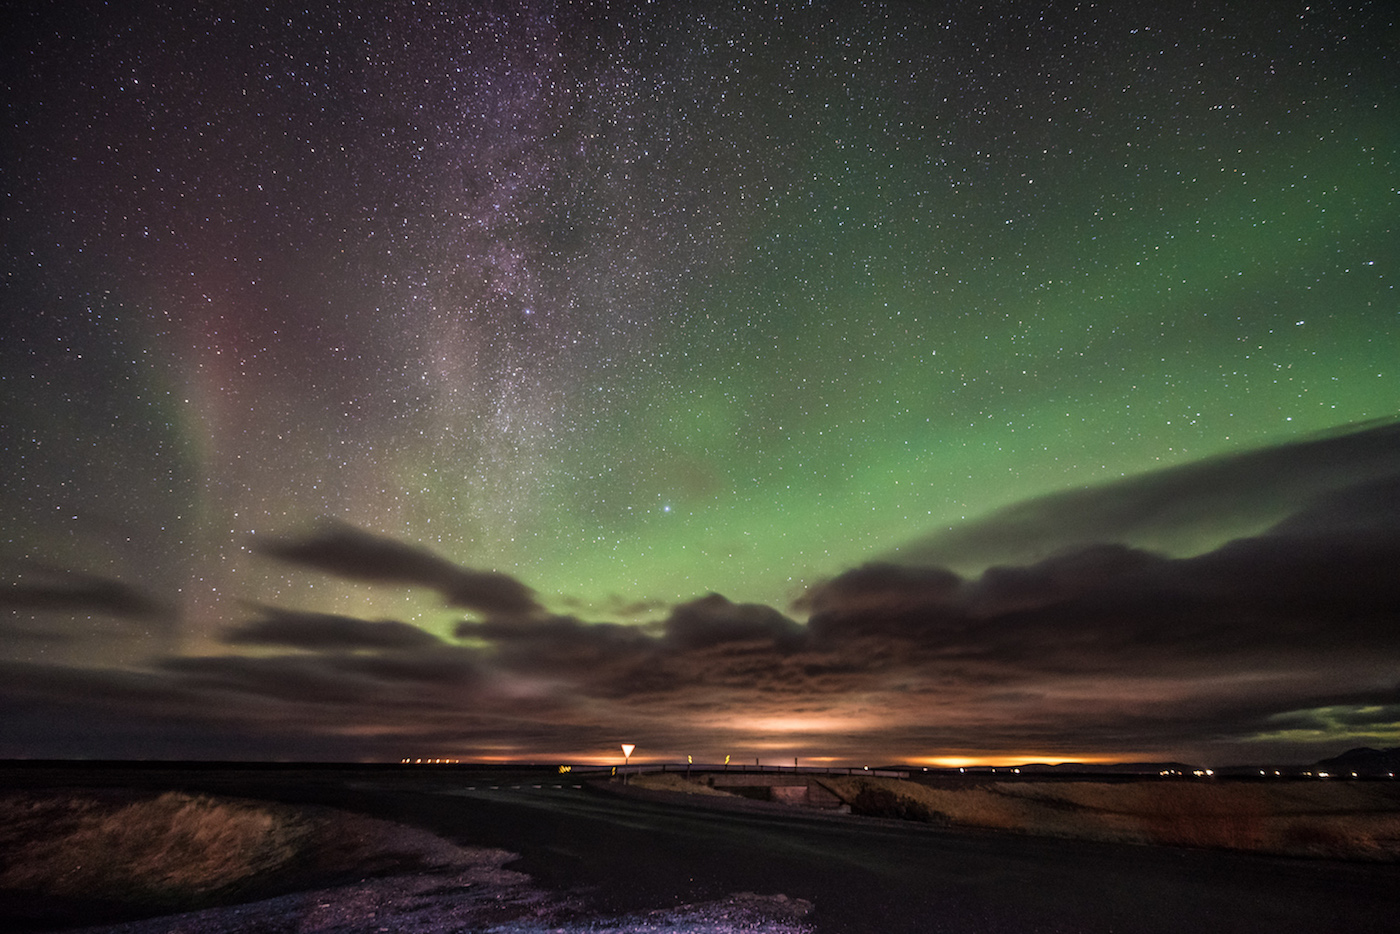
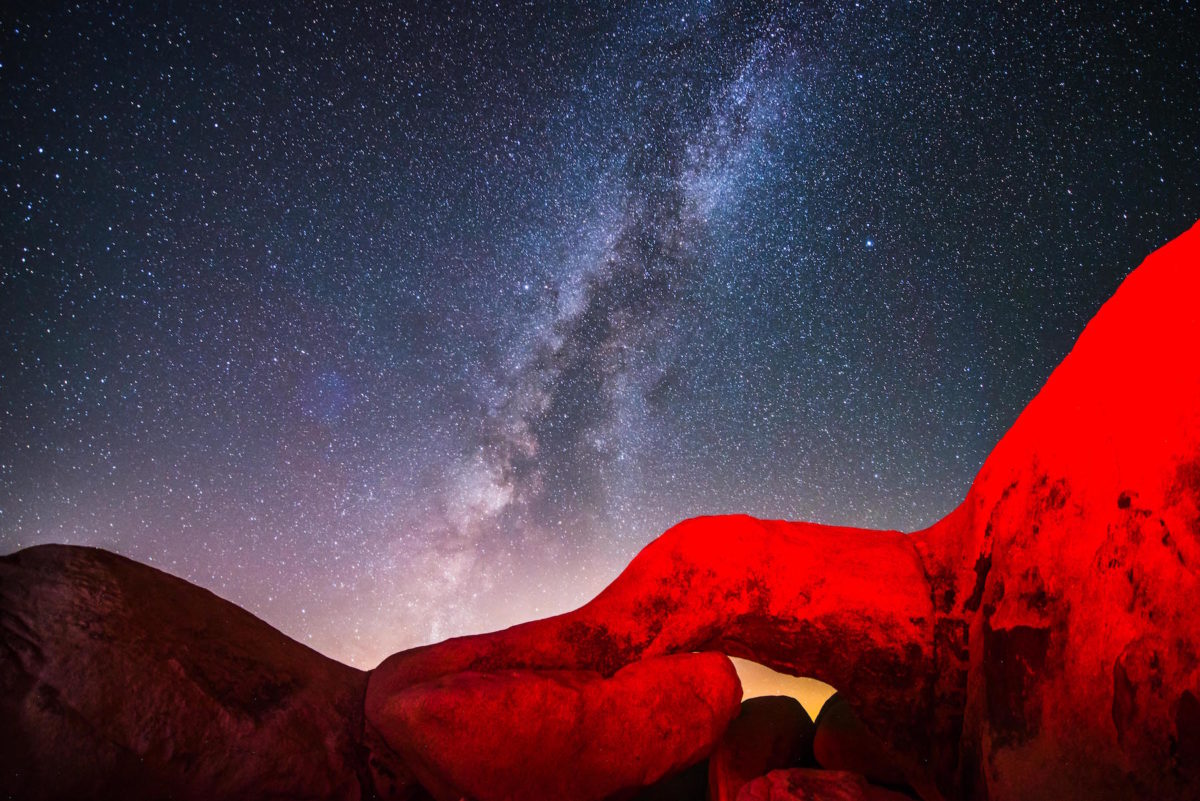
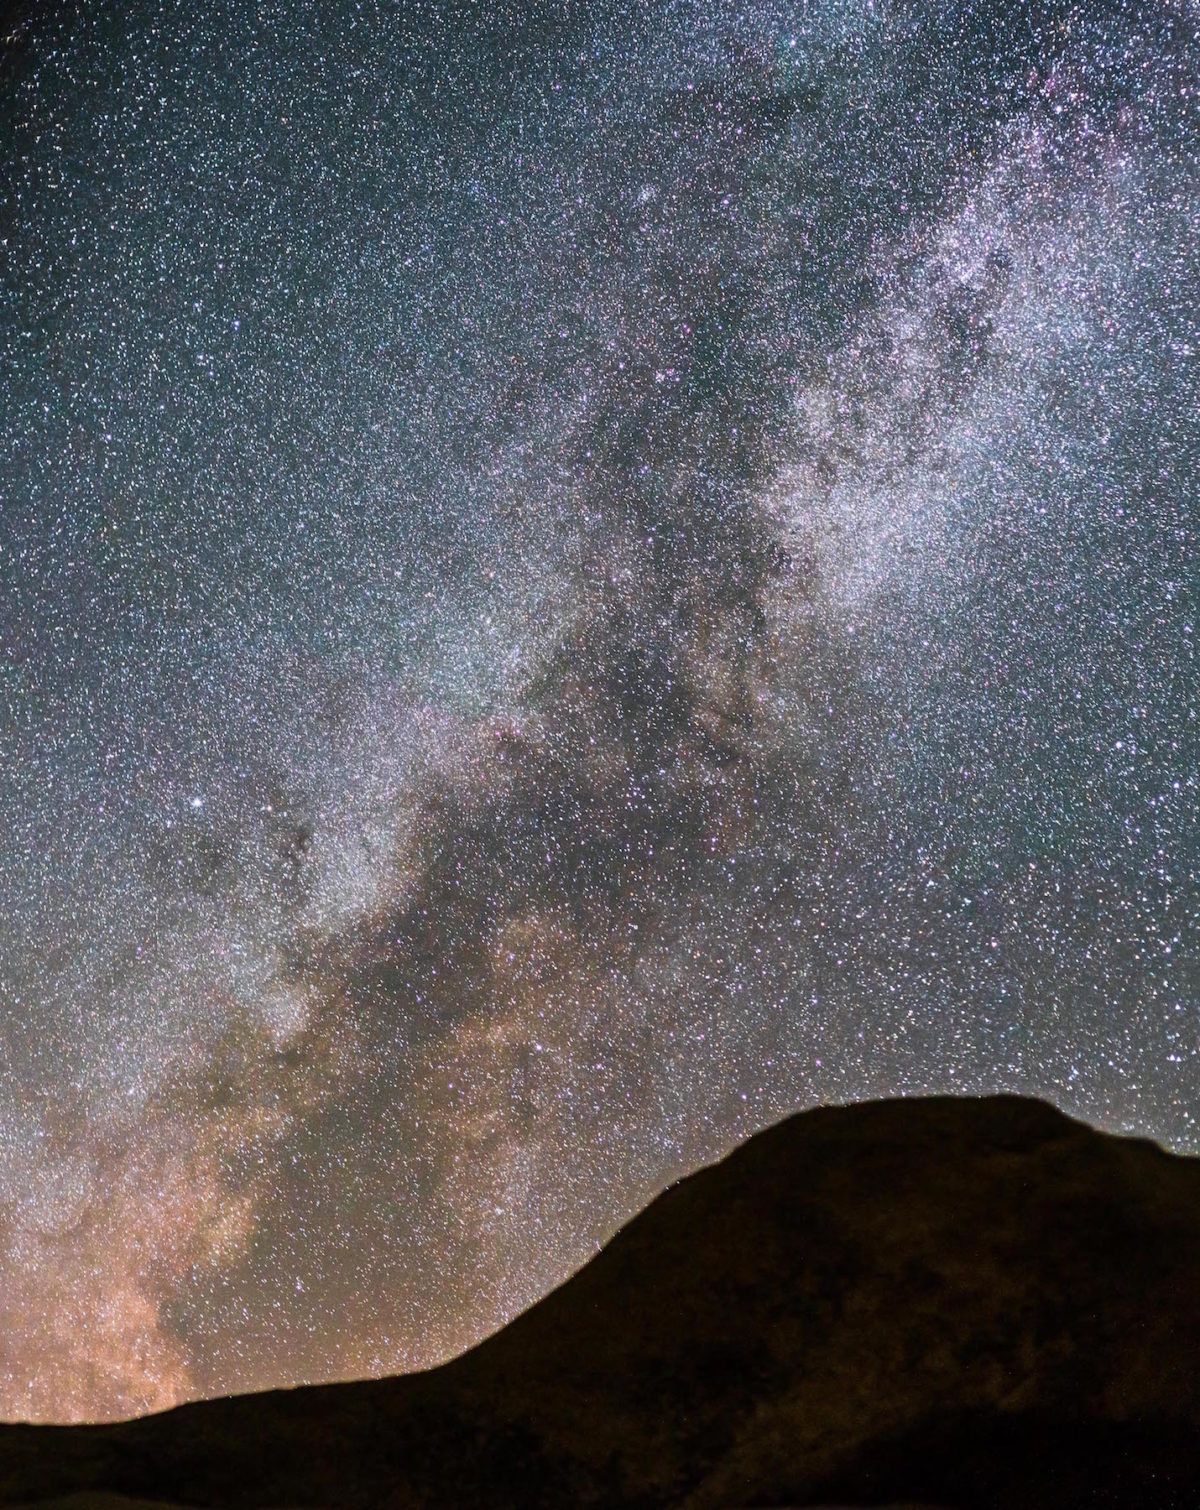
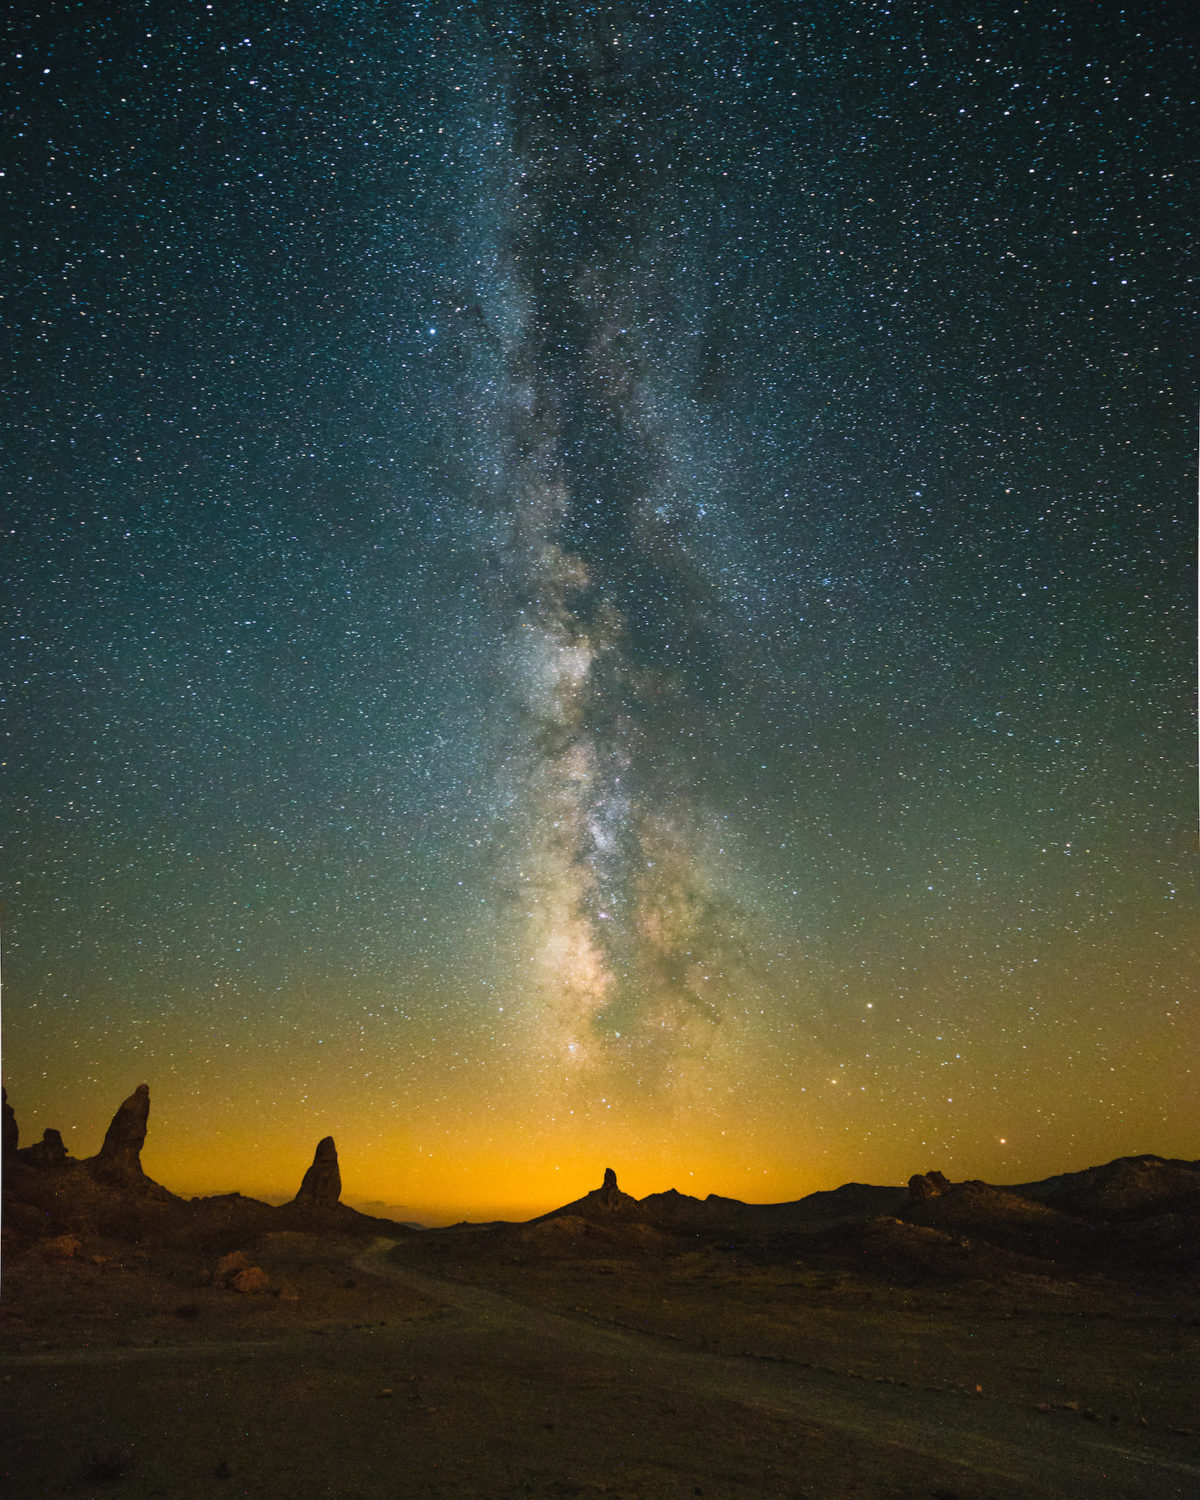
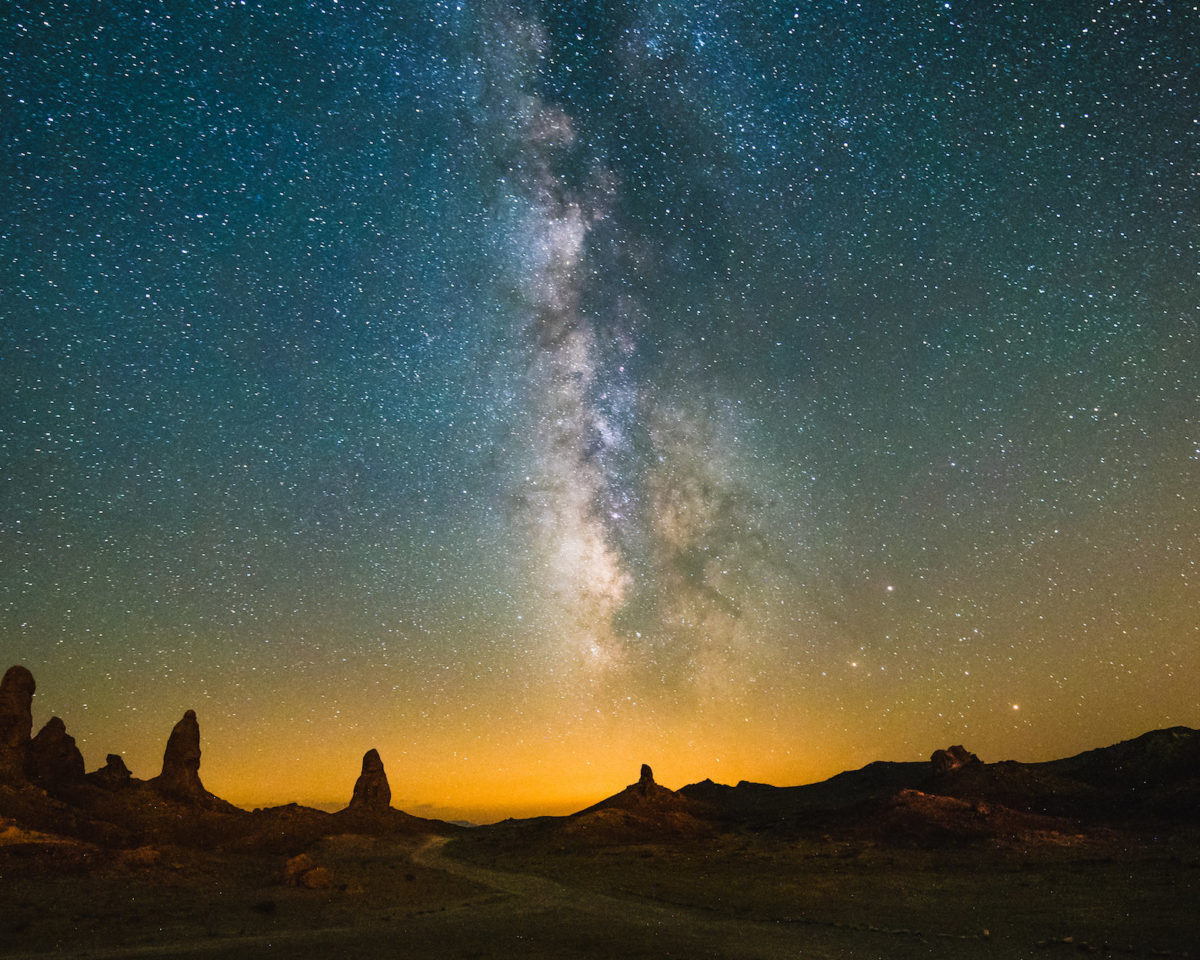
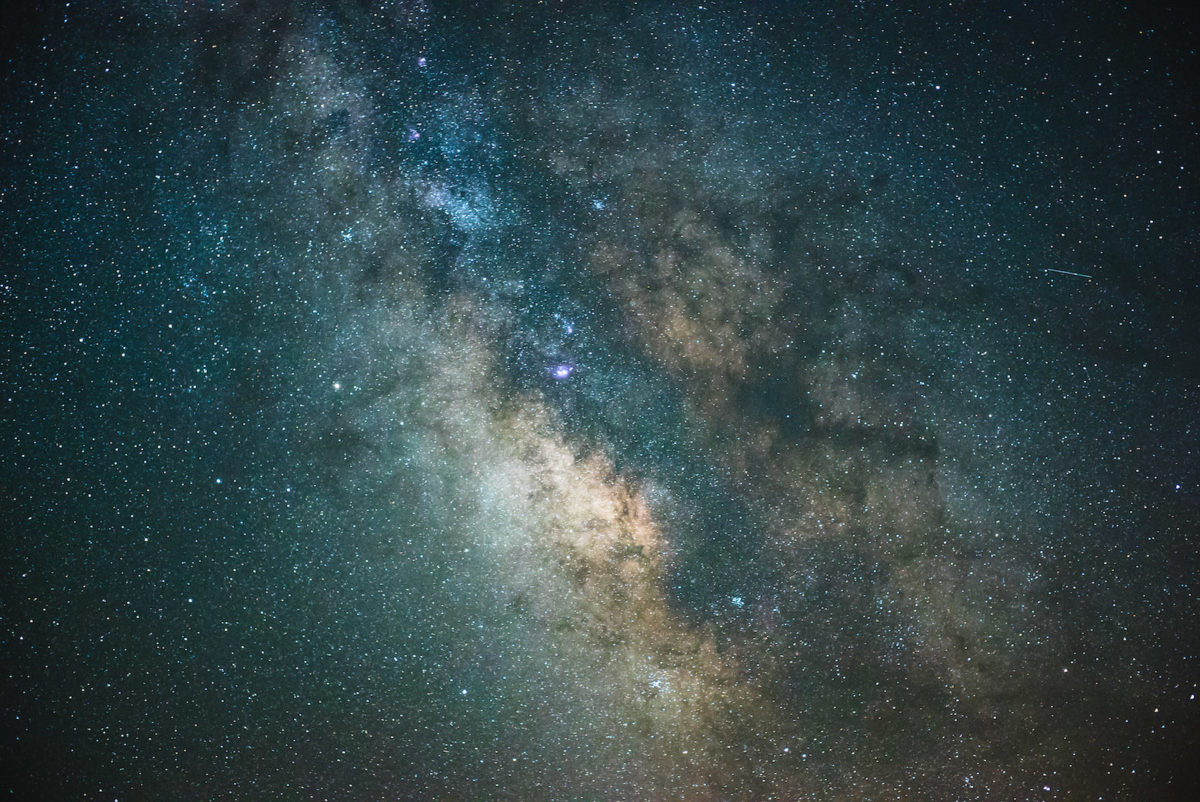
When making a visit to Iceland, one of the great natural wonders that everyone wants to see is the Aurora Borealis, more commonly known as Northern Lights. The northern lights are a spectacle unlike any other with the intense swirling movement of green lights “dancing” in the starry skies. We were fortunate enough to see it again during our latest visit and it was a dazzling couple of nights.
But finding the northern lights and attempting to photograph them can be very challenging tasks, so we’re going to prepare you in the best way possible. Here are 7 tips for finding and photographing the Northern Lights during your visit to Iceland:
1. Download the Aurora Alerts Northern Lights App,
This could be one of your best resources to track the northern lights. The Aurora Alerts Northern Lights App is a free app provides live up-to-date information of the northern light activity, including the probability of seeing the lights based on location, geomagnetic conditions (KP Index) on a scale of 1-9, hourly to long-term forecasts, and projected northern light coverage worldwide.
You’ll want to go out when the KP Index reads 3 or higher for the best conditions. You can also set up alerts that will tell you when the best chance is to see the lights. This app also works for other countries as well.
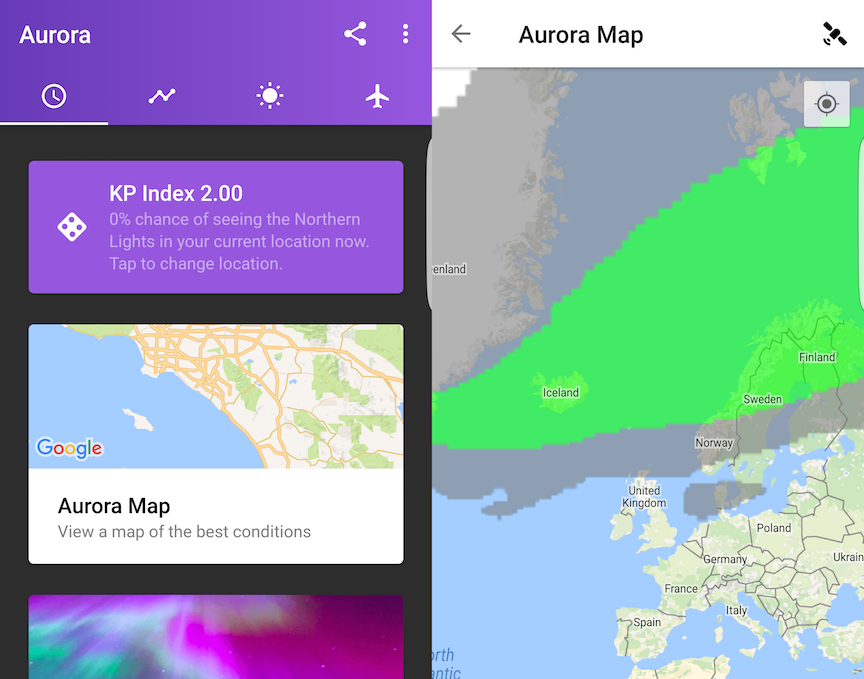
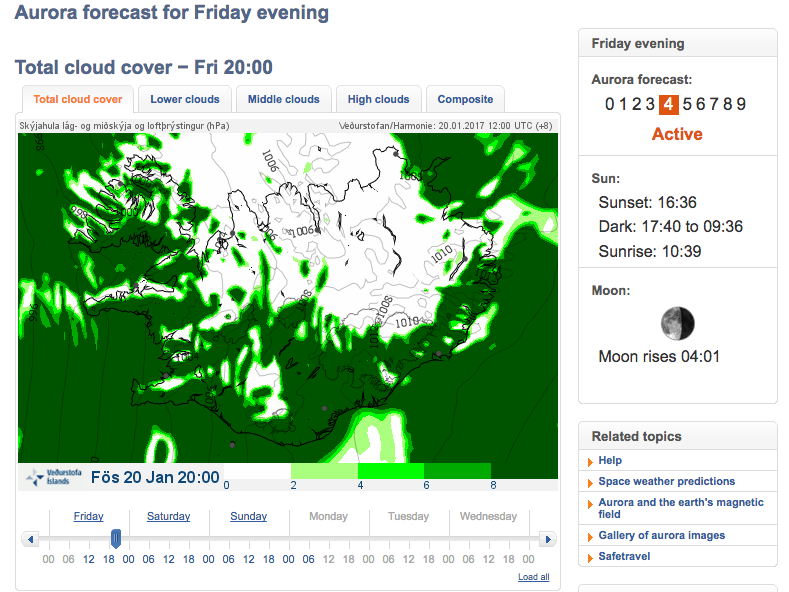
Just about the only thing it doesn’t do is provide a weather report, so it’s good to have an app or website to show the weather. I liked using the Rainy Days App and also used the Icelandic Met Office website, both showing project cloud coverage throughout the country by the hour. With a combination of these resources, you’ll have everything you need to track the northern lights.
2. Find dark clear skies away from the city
The best places to see the northern lights are places that are away from the city to avoid light pollution. This way your eyes will adjust to the darkness and it’ll be easier to see and photograph the northern lights. That’s simple enough to do since there are plenty of places in Iceland that are far from the city.
The more challenging part may be trying to find dark clear skies. As the locals would say, “If you don’t like Iceland’s weather, wait 5 minutes.” The weather can be particularly fickle, going from very clear skies one moment and then raining minutes later. During our recent visit, it rained 5 of the 7 days we were there and in some instances, it can be cloudy/rainy for days or weeks at a time!
Having the Rainy Days App or the Icelandic Met Office website can help you showing projected cloud coverage and find an area with clear skies. Even partial covered skies can give you some great shots of the northern lights, as long as you have some open sky to show the lights.
Another thing to remember is to not go to Iceland in summer if you specifically want to see the northern lights because the days are very long and at night, it doesn’t get completely dark. It would be very difficult to see the lights under these conditions. The best time to see them would be during fall or winter when the nights are longer and darker.
3. The Northern Lights are not always easily visible
When the northern lights are VERY bright, they are very visible and can illuminate the entire sky. However, sometimes even if the sky looks dark, the lights can still be there. They will be very faint and pretty difficult to see, especially if you’re driving and your eyes are not adjusted to the dark.
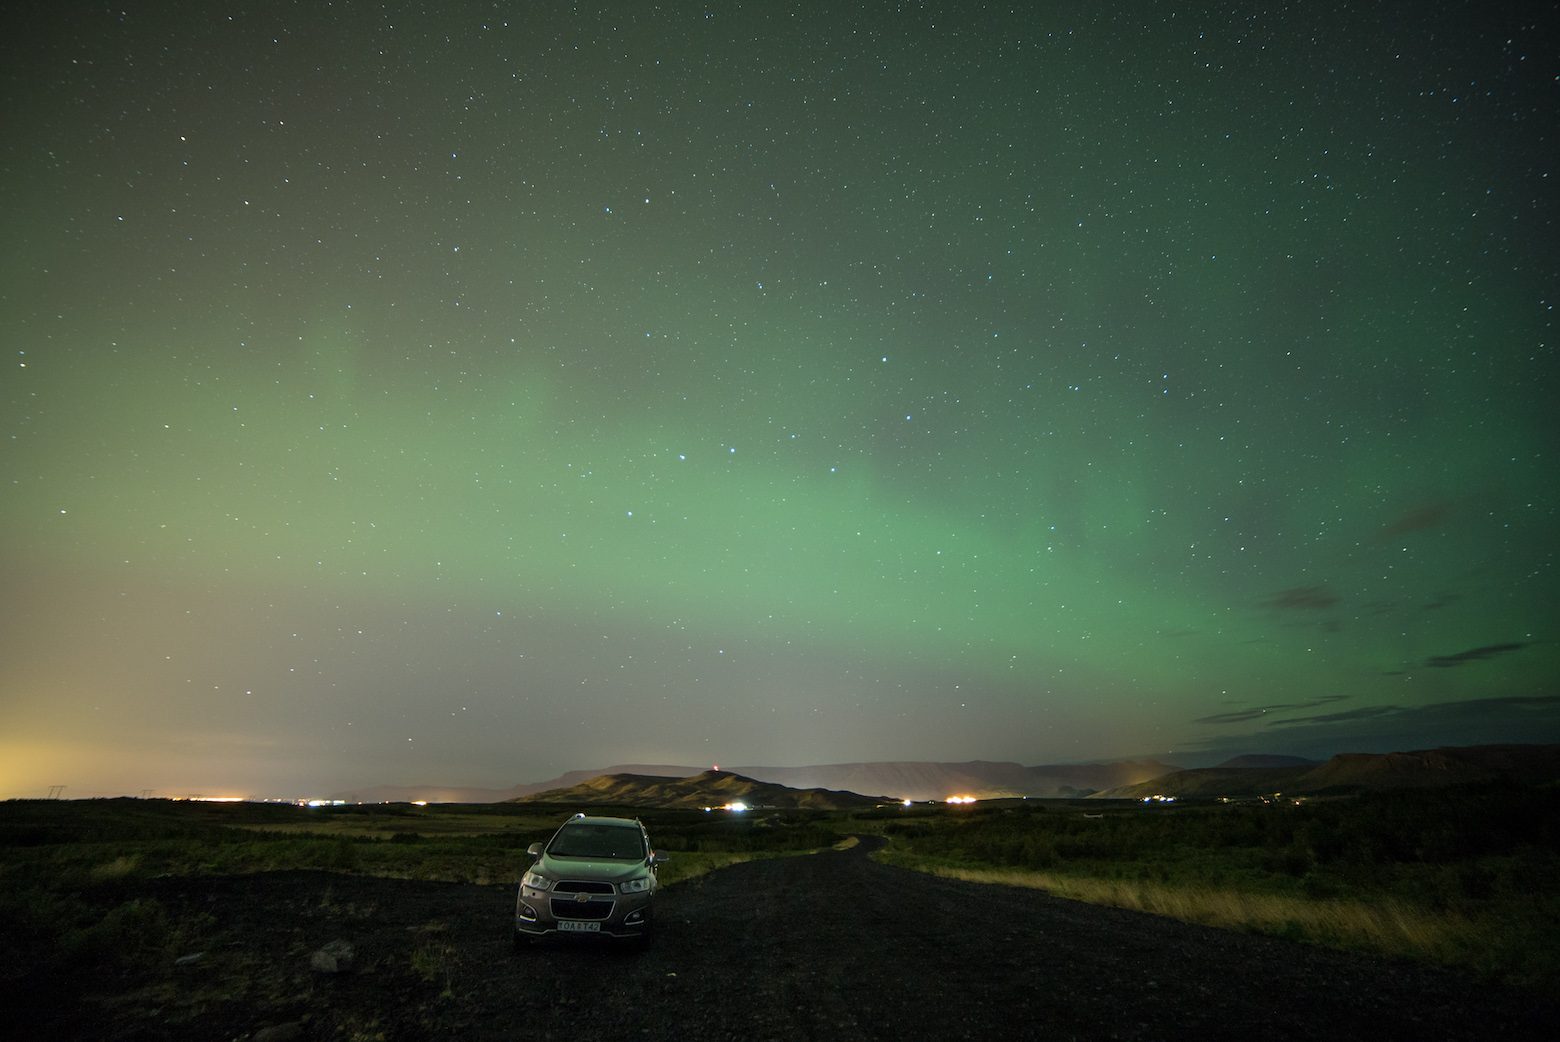
If you want to be sure whether or not the lights are there or not, then stop to the side on occasion and let your eyes adjust to the dark. If you can see a faint streak of color in the sky, it is possible those are the northern lights. If you have a camera with the right settings, you can confirm it with a test shot. While the lights may look very weak initially, you can wait a bit and see if the activity gets stronger. In both instances I’ve seen the northern lights, they started out as faint trails, but then intensified into much brighter lights.
4. Having the right camera and equipment
So you found the northern lights! You’re enjoying the wondrous spectacle of dancing lights dazzling through the sky! You bring out your phone or point-and-shoot camera to take a picture and…it’s almost pitch black…you can barely see the lights on your screen…it’s blurry…
Shooting photos at night are not the best conditions for a phone or point-and-shoot camera. If you really want to capture vivid shots of the lights, you need the right equipment. Here is the basic gear you should carry:
Tripod – Any tripod generally will be OK, but it’s highly recommended to bring a strong and sturdy tripod and prevent any vibration causing blurry images and especially on nights when it can be windy and will blow away any cheap tripod. You’ll be working with exposures from 5-20 seconds, so you need to be sure your tripod will keep your camera completely still.
Camera with Manual Mode – You need a camera that you can adjust the settings manually, primarily shutter speed, F-stop, and ISO. Auto will not help you here.
Although it’s still recommended to have a full-frame camera because of better low-light capabilities, better ISO performance and image quality, and more lens selection, you can still get shots with an advanced mirrorless or point-and-shoot camera as long as they have manual capabilities. I used full-frame cameras, including a Nikon D750 and a Sony A7s. However, if you’re on a budget, you can do well with a non-full-frame mirrorless camera like a Sony D6300 or Fujifilm XT1, or even use an advanced point-and-shoots like the Sony RX100 series or a Canon GX7.
Wide Angle Lens – A wide angle lens will help you capture a good amount of the foreground as well as the sky. When looking for a lens, anything 24mm or lower is ideal, and you want to look for F-stops as low as 2.8.
Remote Trigger (Optional) – It’s good to have if you want to take selfies and also to take a shot without pushing the camera button to prevent any vibration. If you don’t have a trigger, you can use the camera self-timer to take a shot.
Powerful flashlight (Highly Recommend) – We’ll get into more of this in the next tip.
5. Setting up your focus
Perhaps the most challenging part of night photography is focusing in the dark. In pitch black darkness, cameras are not able to properly autofocus on a particular object. Thus, you have to figure out how to manually focus your lens.
An easy way to set up your focus is to do it before dark sets. You can use your camera to autofocus on a distant point. Once the lens is focused, switch your lens to manual focus and do not touch it for the rest of the night. You can use tape to hold the lens’ focus ring or use a marker to mark the focus point on your lens. You’ll be good to go when shooting the northern lights in any direction.
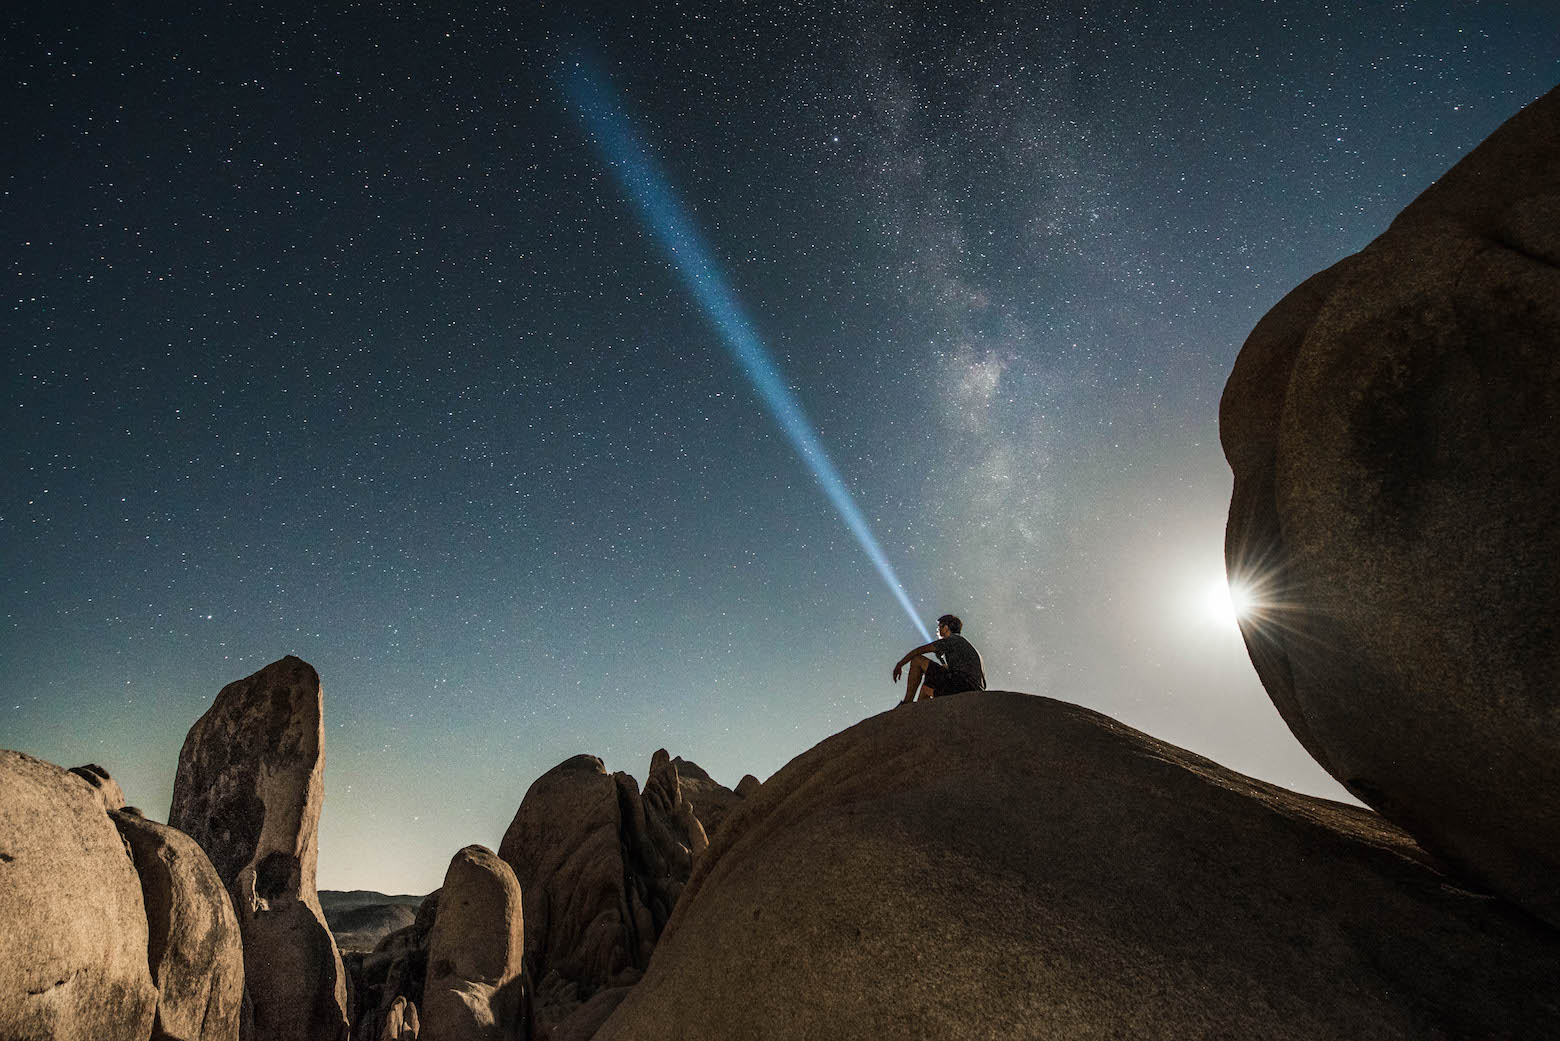
If you did not focus before dark, then you’ll have to figure out how to focus at night. My favorite method is using a powerful flashlight that can illuminate an object at a distance. If you can light a distant object, many cameras will be able to autofocus on the object, which then you can switch back to manual focus. If your camera cannot focus on the illuminated object, have someone take the flashlight and walk 50-100 feet away. Your camera should be able to autofocus at the brightest point this way, and you can fine-tune the focus manually. I love Maglite flashlights because they are incredibly powerful and make it easier to focus at night at a distance, but a good headlamp will do the job too.
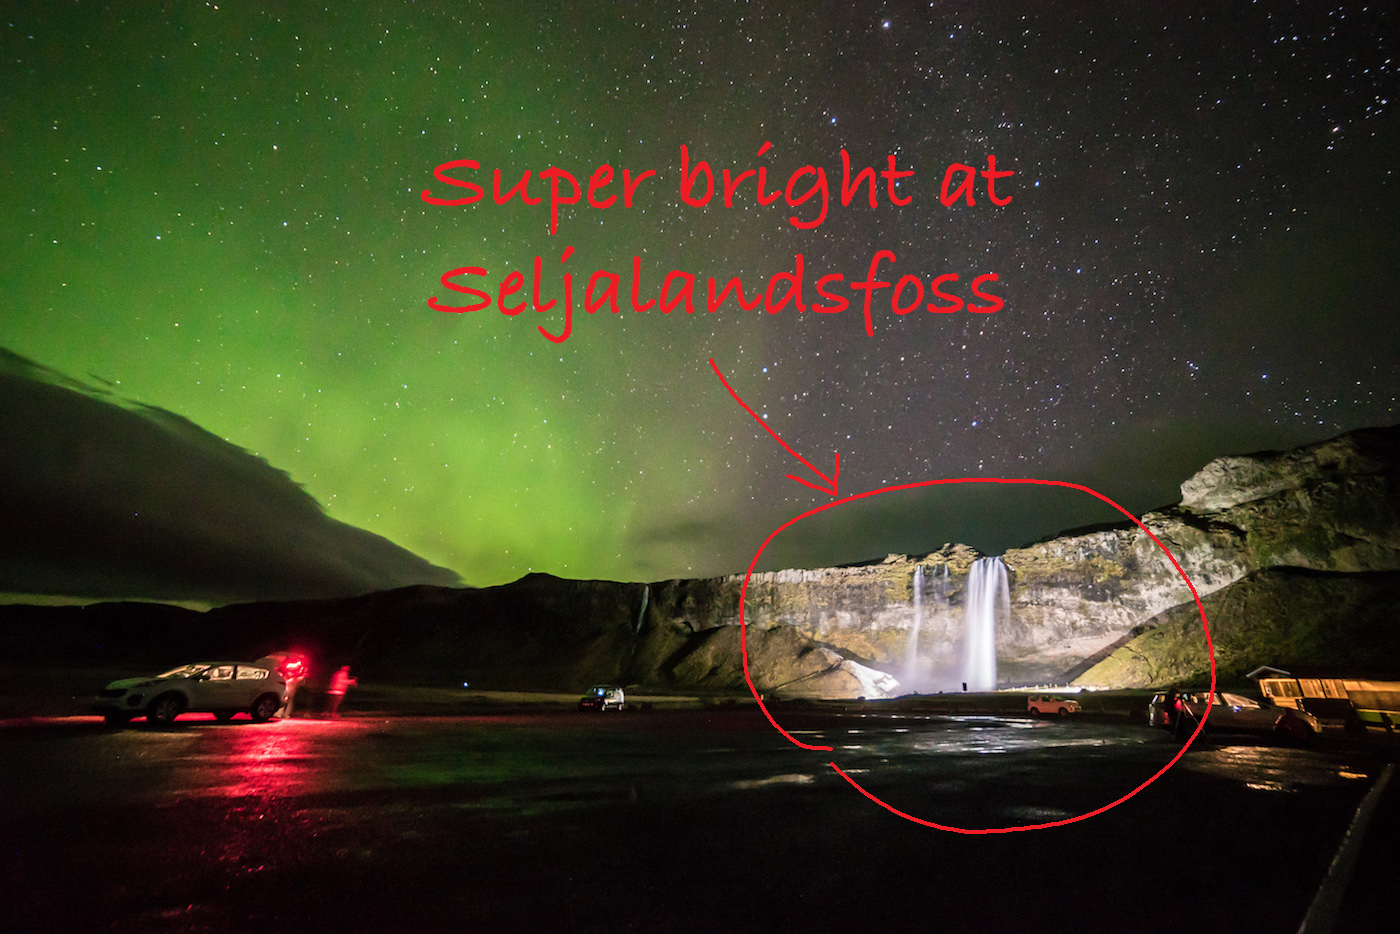
Without at least flashlight, focusing can be a little trickier. Some full-frame cameras have excellent live-viewfinders that perform remarkably well at night, so it can be easy to find the brightest star and bring it into focus. If you don’t have that, then the next best option is to start your lens from ∞ (infinity symbol) and adjust by trial and error with minuscule adjustments after each trial shot.
6. Manual Settings to use
The best combination of settings to use to shoot the northern lights is a large aperture (f2.8 – 4), longer shutter speed (5-20 seconds), and relatively high ISO (800-6400, though ideally around 1600 ISO). You can start with something like f2.8, 15 seconds, 1600 ISO and work from there. If you stick around those ranges and make the necessary adjustments, you will be able to get good shots of the northern lights. You should also manually set your color temperature (K) to around 2800-4800.
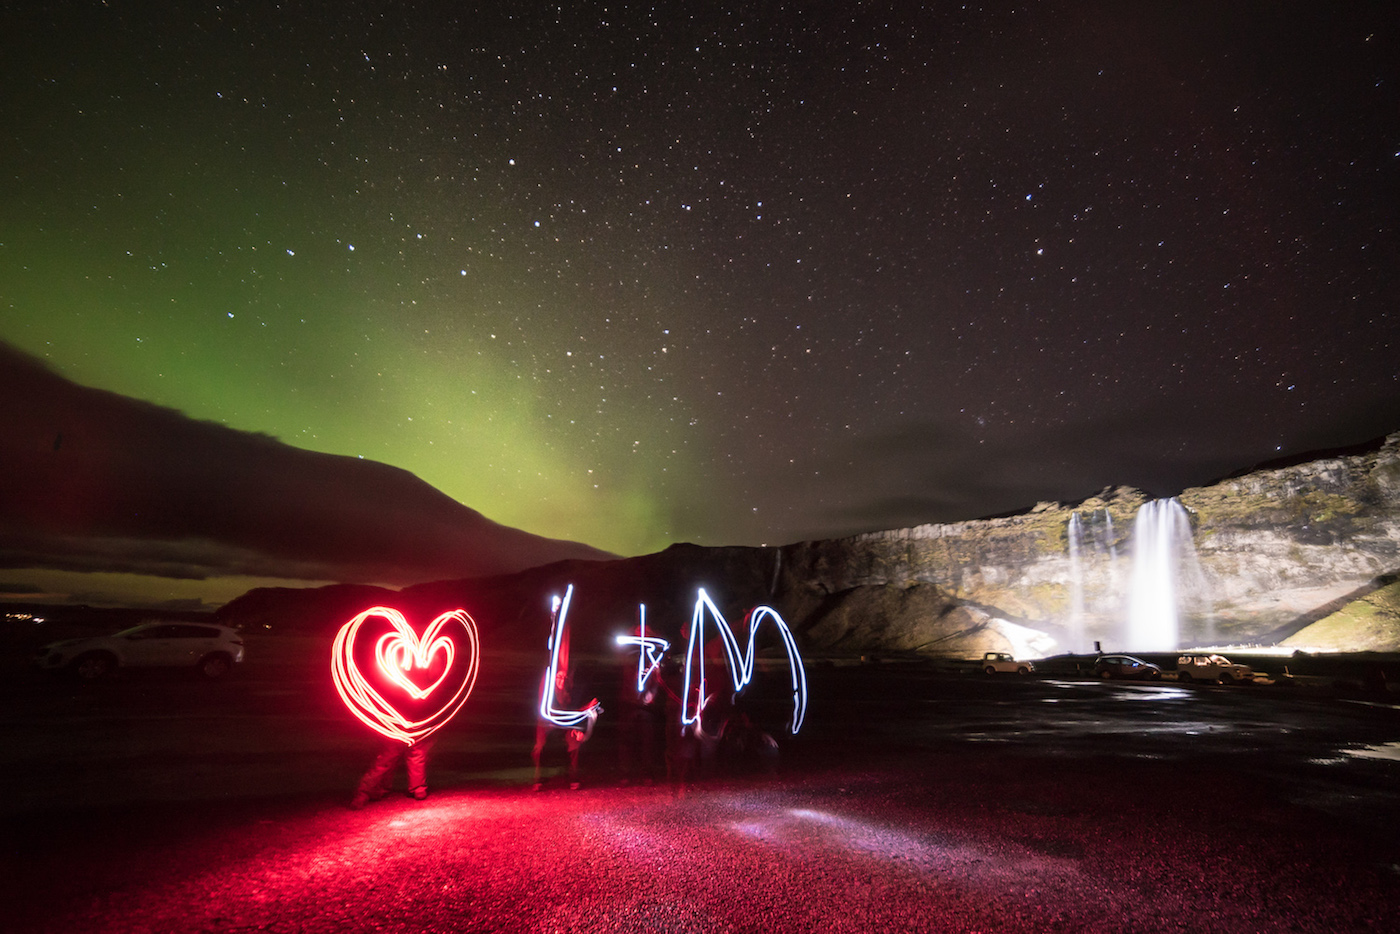
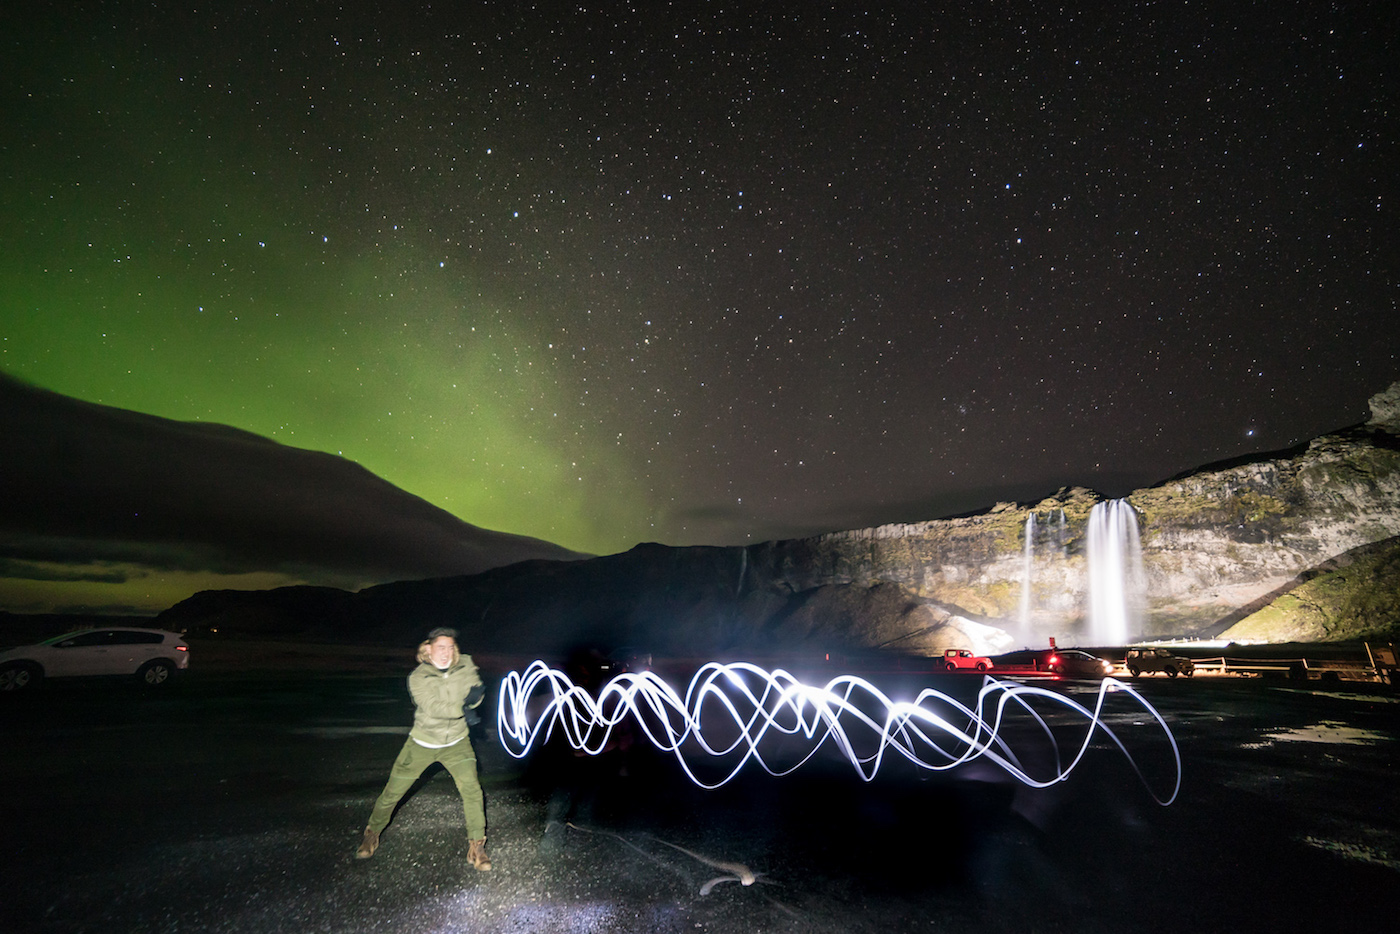
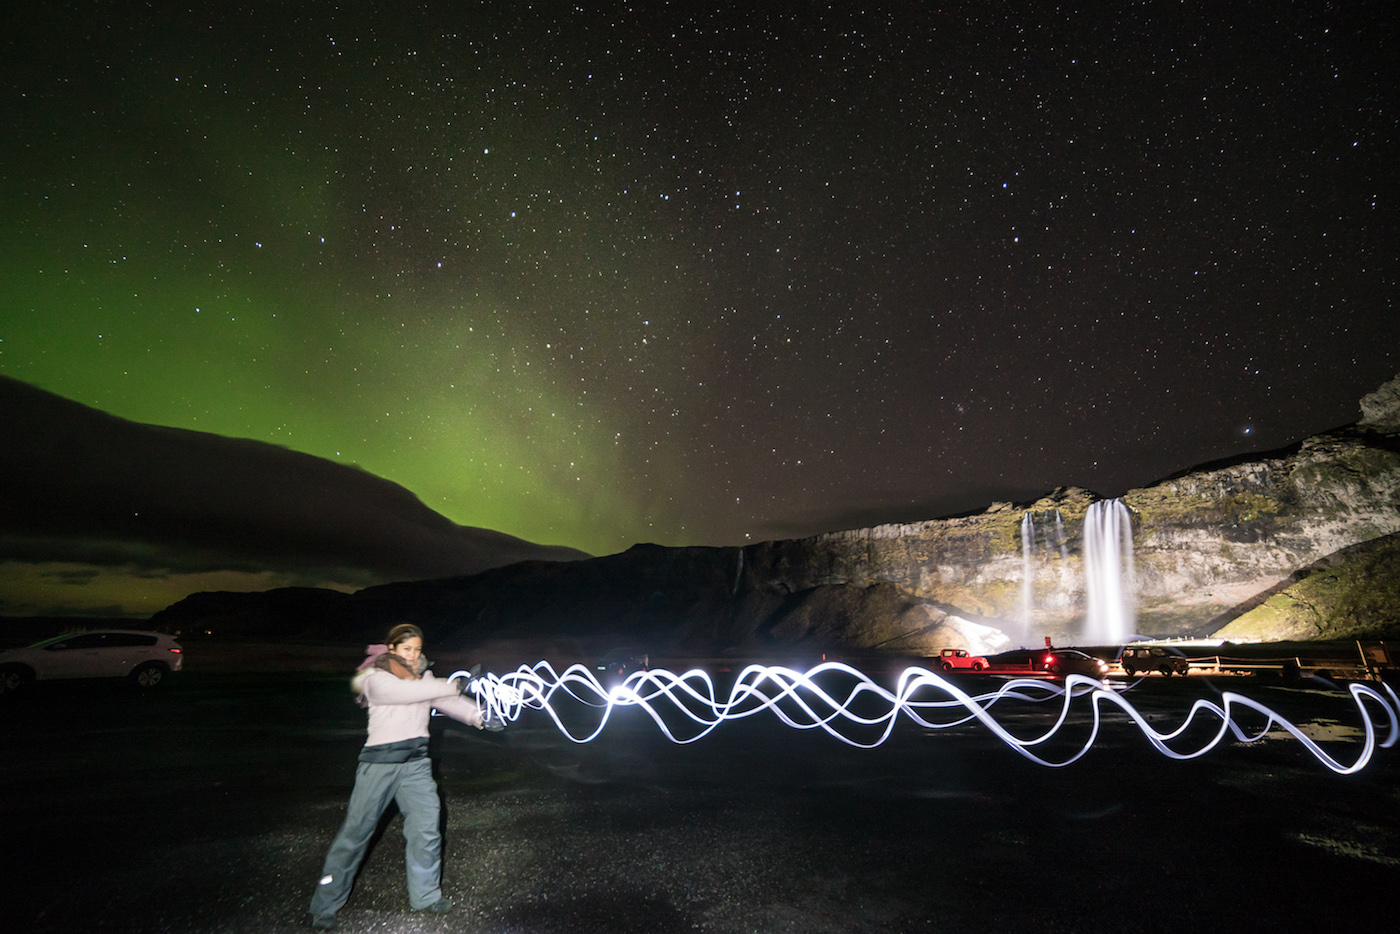
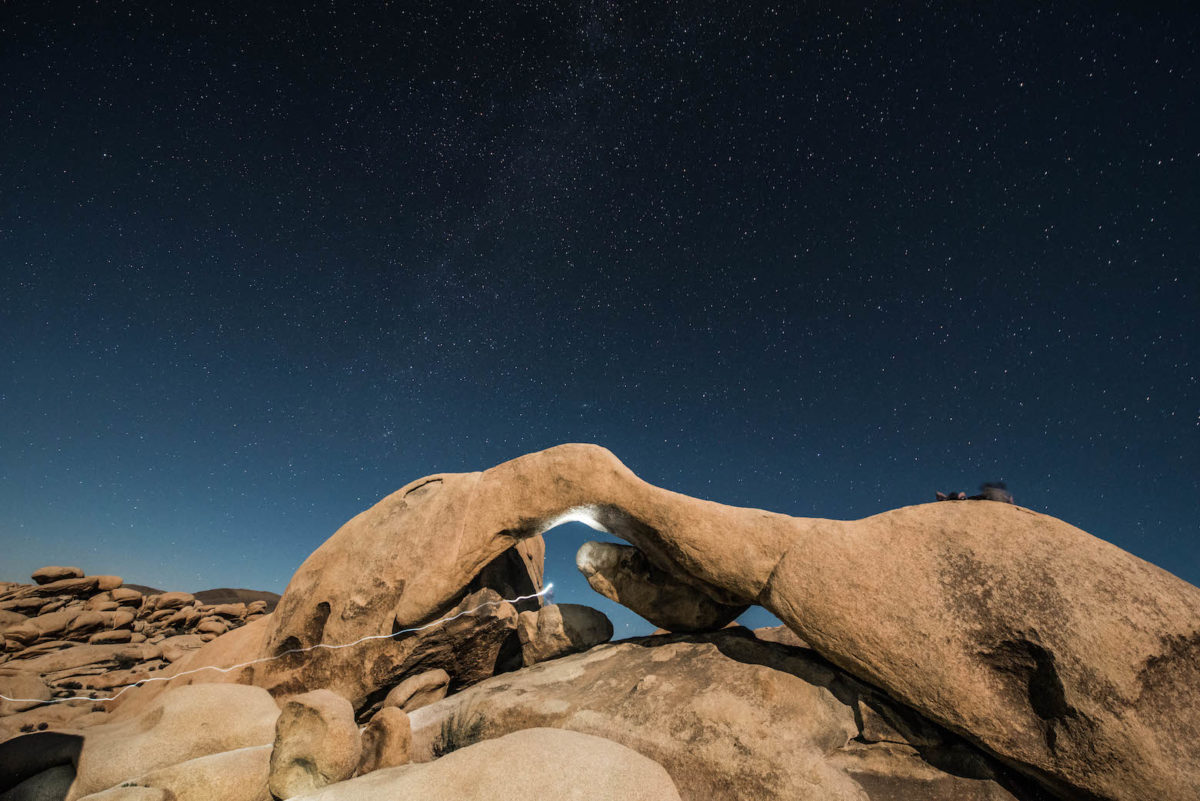
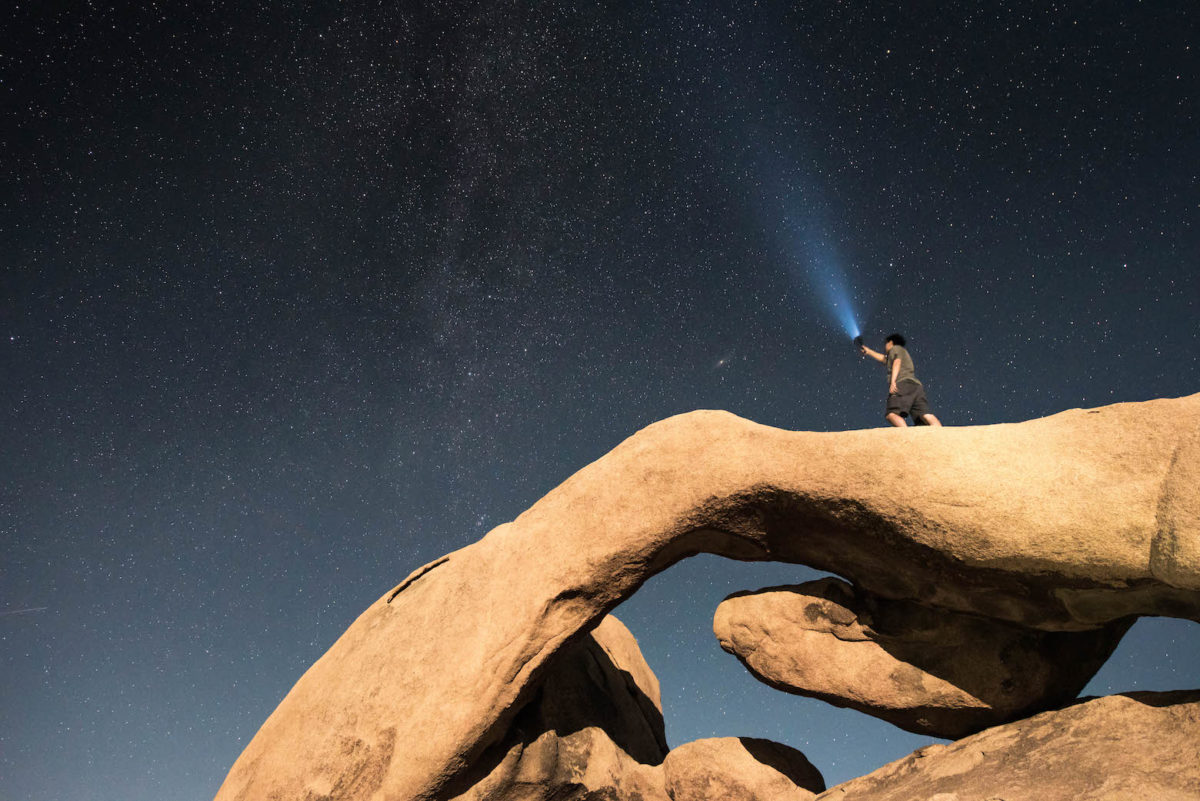
As an added bonus, if you have long enough shutter speeds, you can do light painting and make doodles in your images. When you turn on a light, the camera will capture the movement of the lights until you turn off the light. Try this out when you do long exposures!
7. ALWAYS Shoot Raw
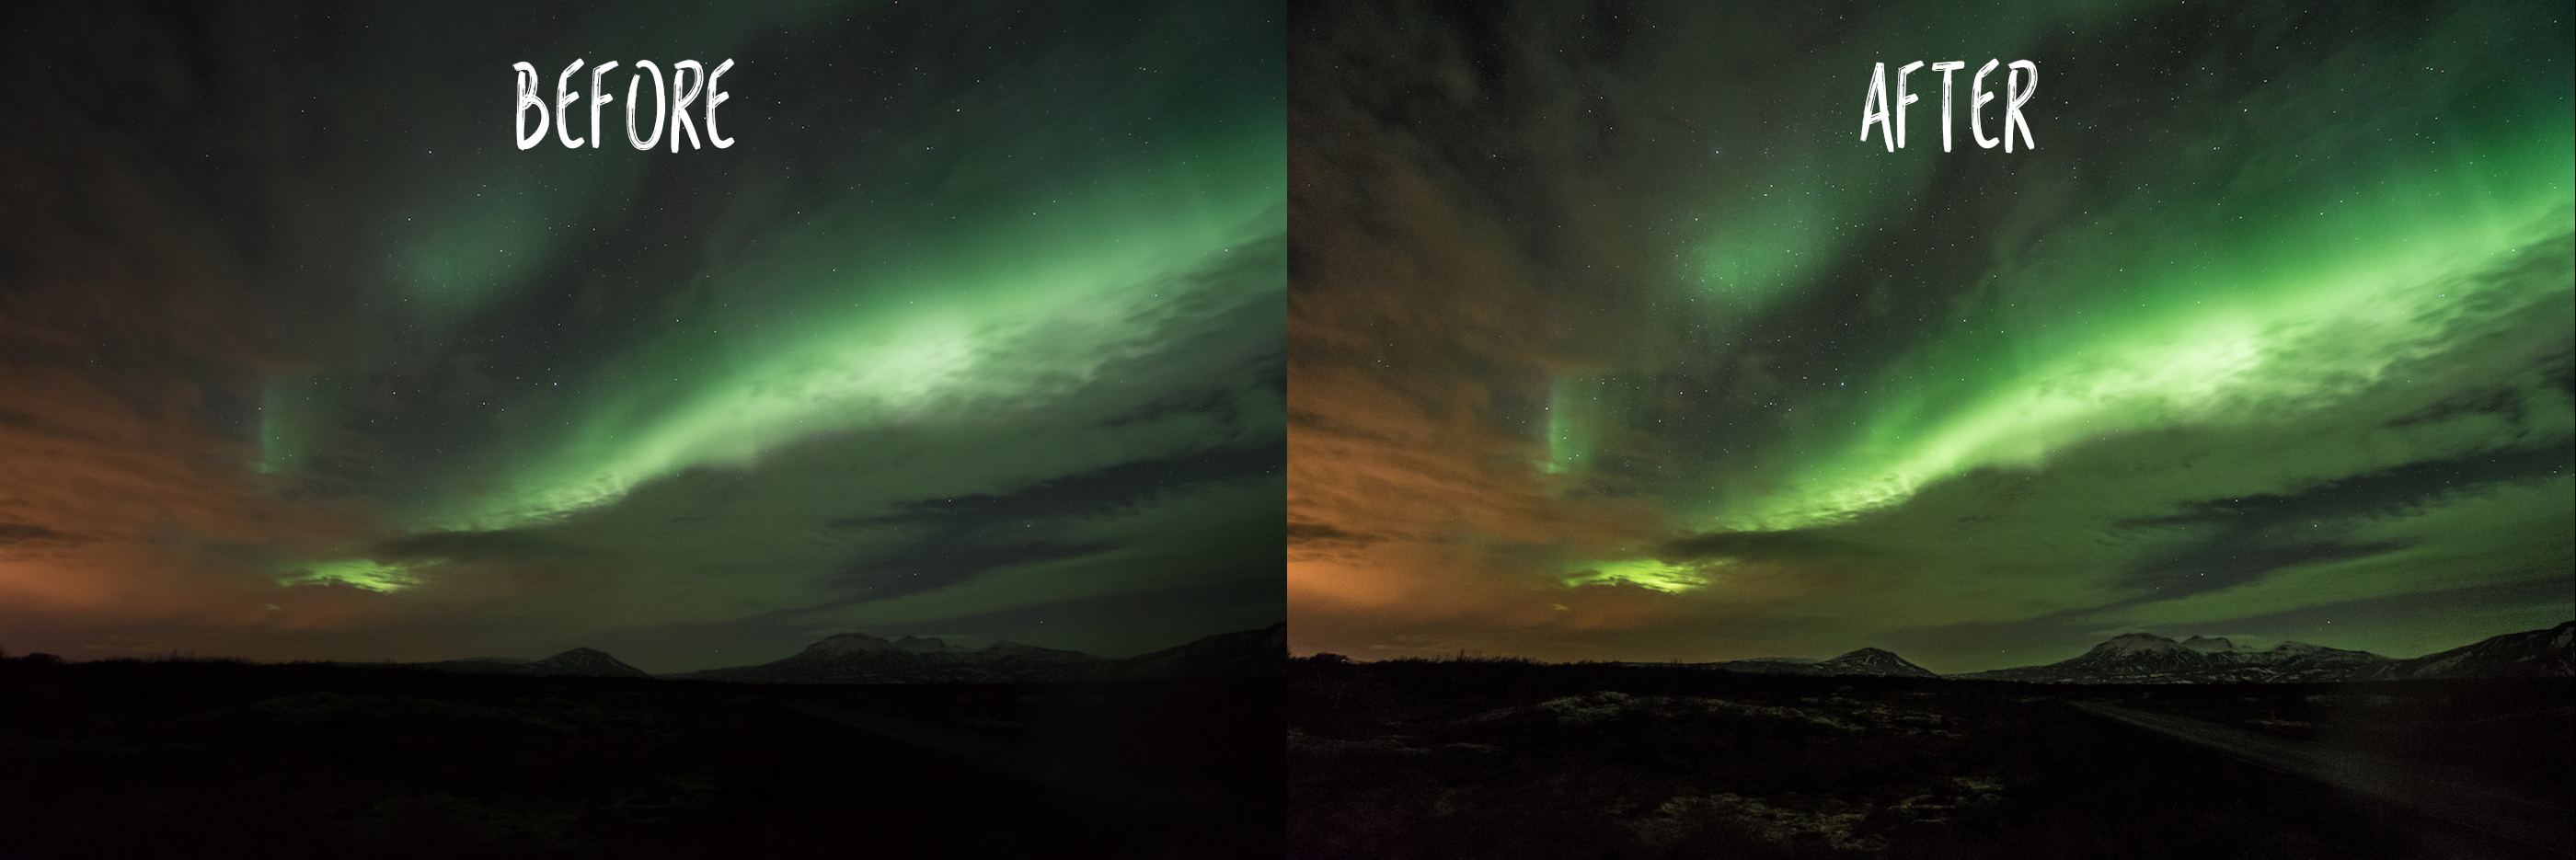
One of the biggest mistakes I see people make while taking photos at night (and in general) is only shooting in JPEG. You should always shoot in RAW, which creates a digital negative of your image. This file allows you to make much more adjustments in post-processing with Photoshop or Lightroom, whereas adjusting a JPEG image is very limited and will hurt the quality of the image. Most advanced cameras offer the ability to shoot RAW, so although it takes up significantly more space, it is still almost a necessity to shoot in that format.
Hope these tips will help you when you’re out searching for the Northern Lights. Ask us any questions and let us know what helped you photograph the lights!

