7 Tips to Photographing the Northern Lights in Iceland

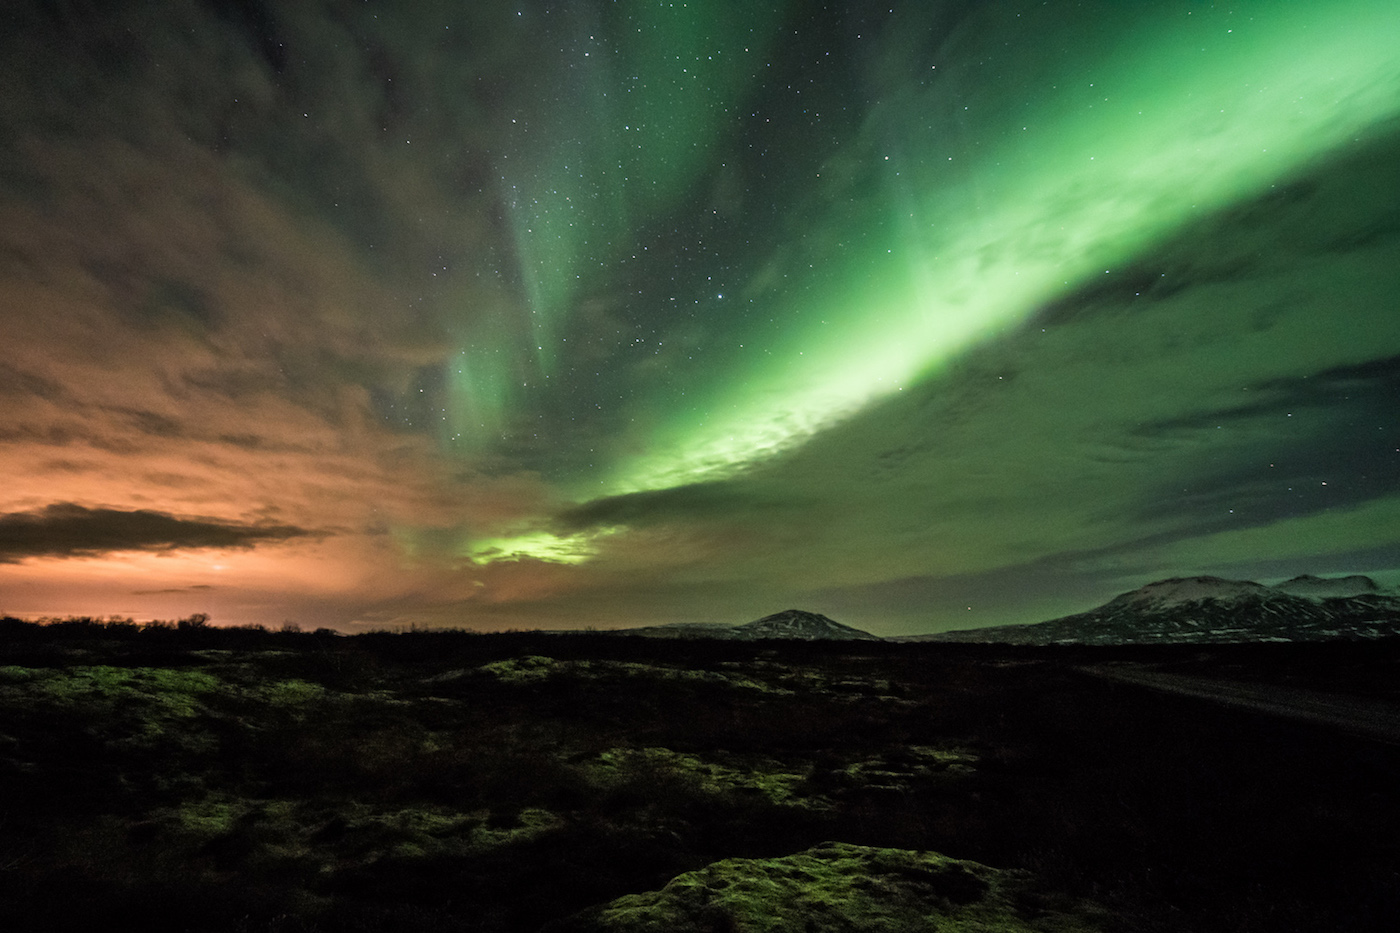
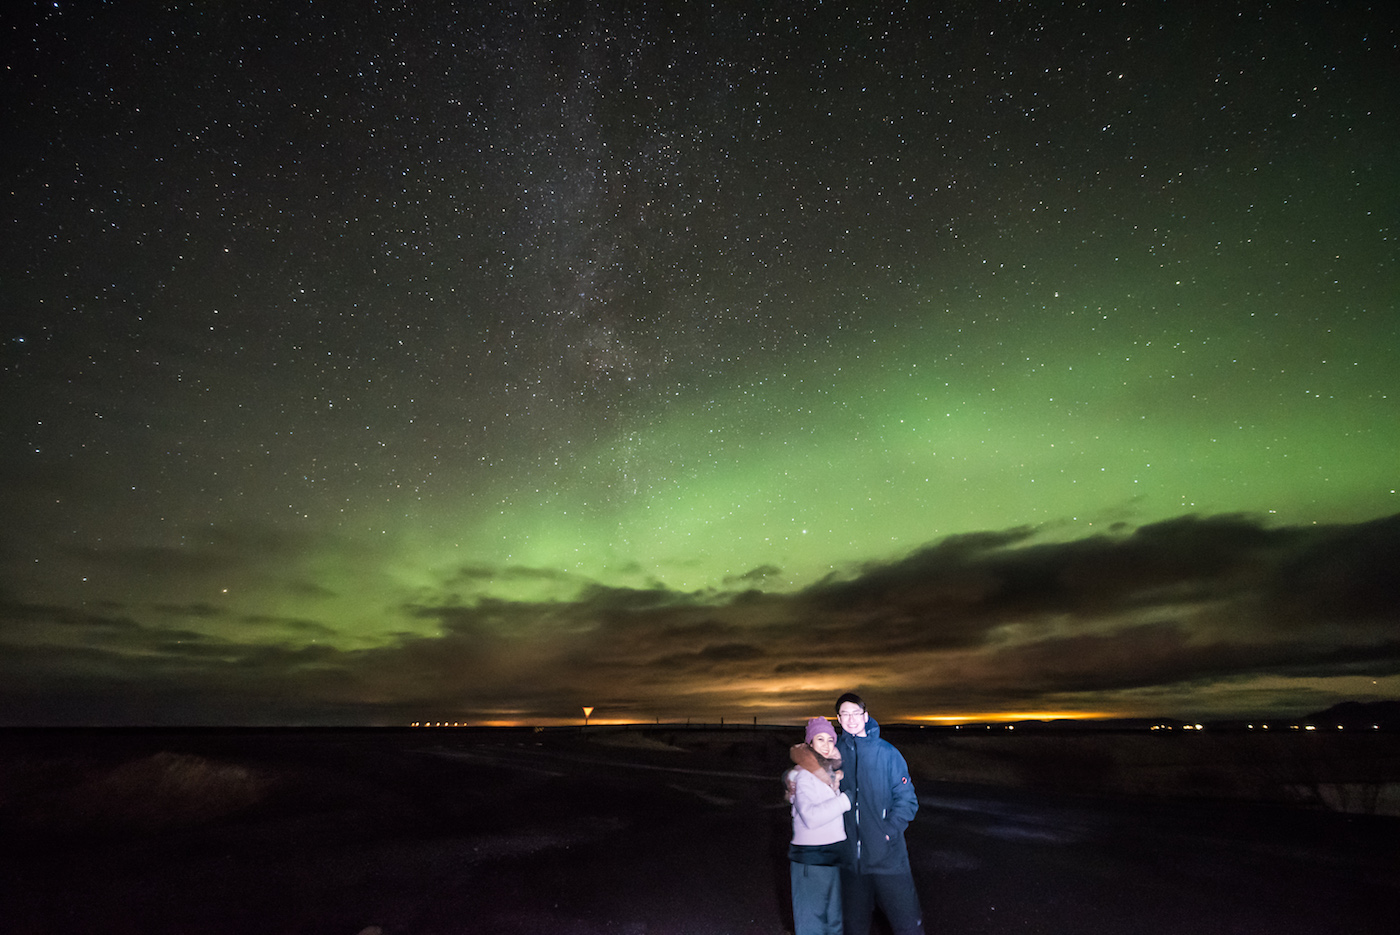
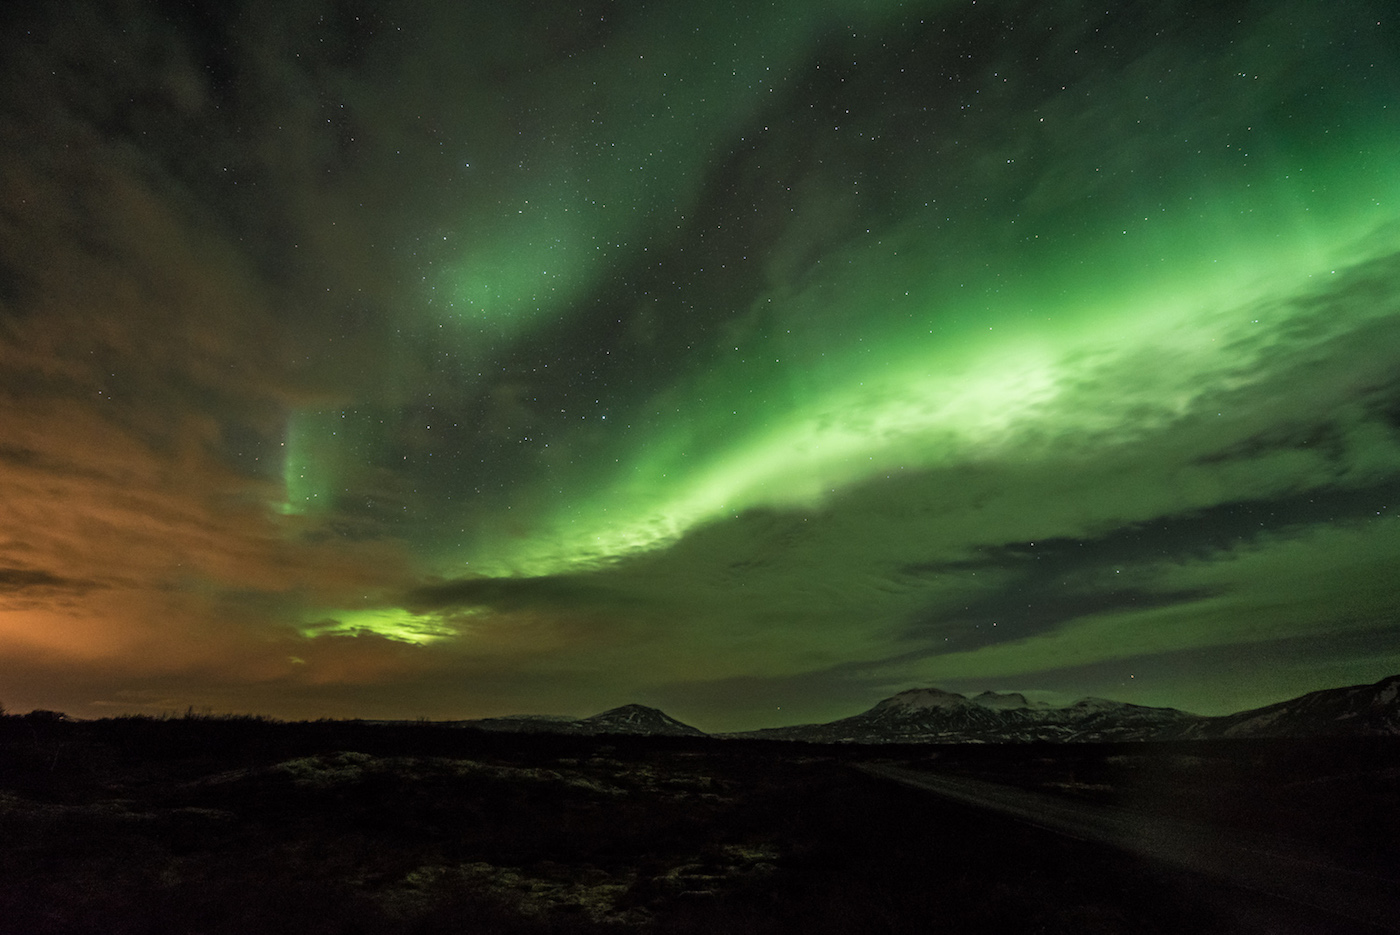
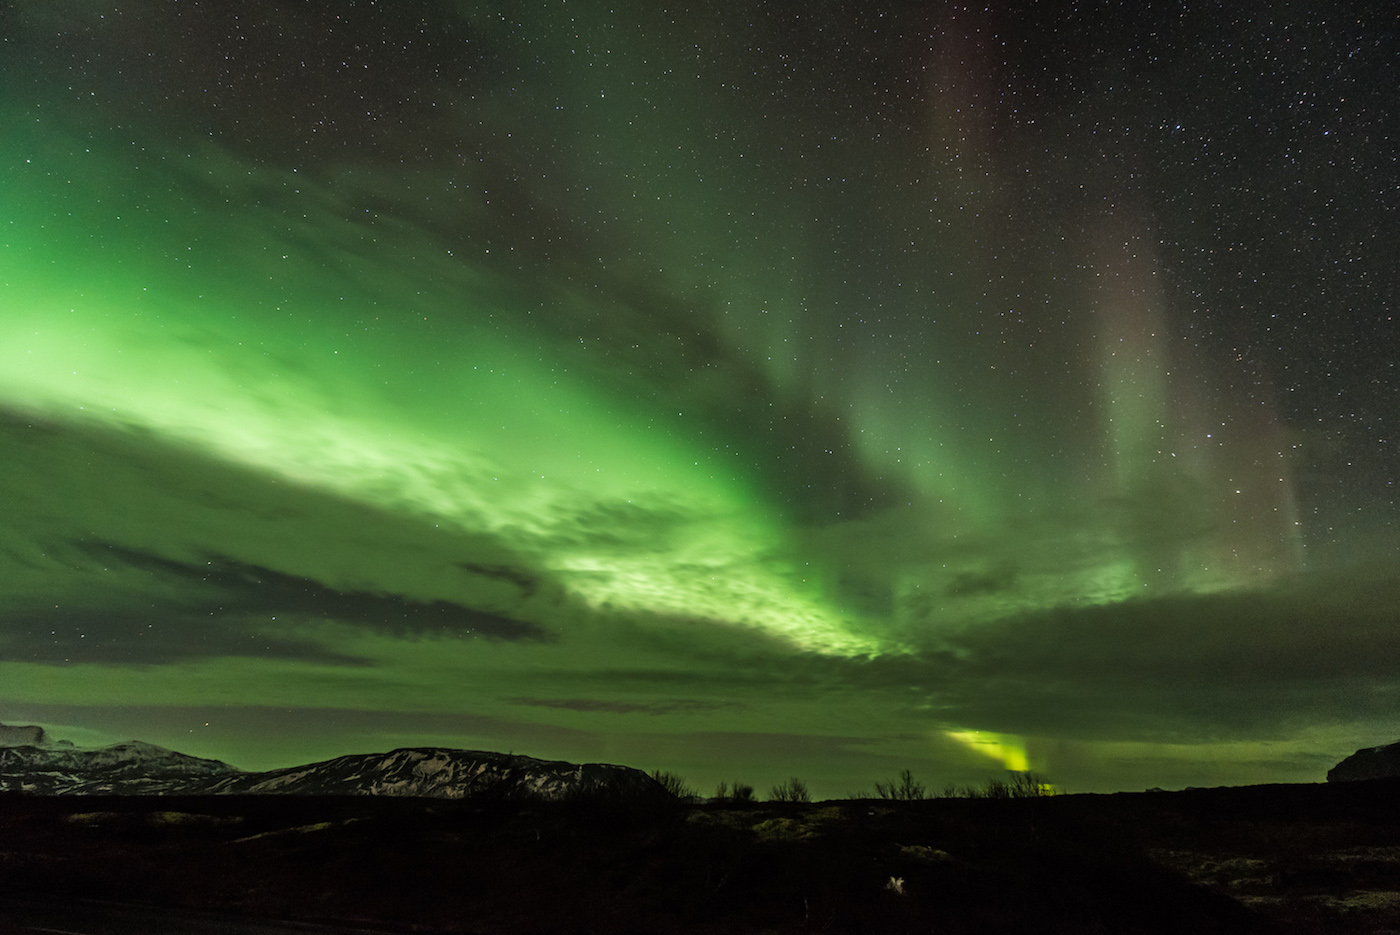
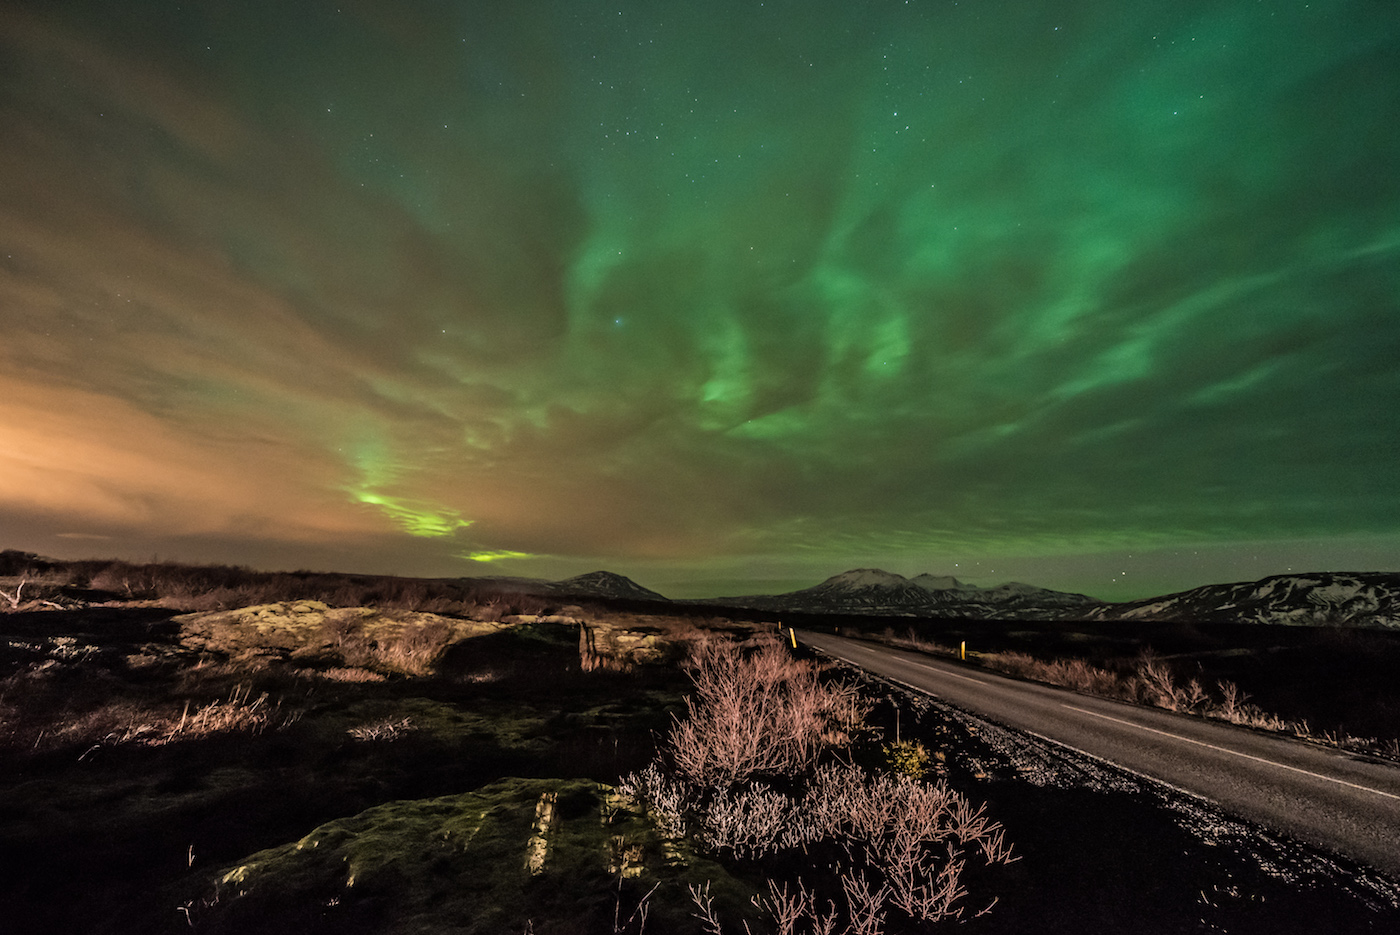
When making a visit to Iceland, one of the great natural wonders that everyone wants to see is the Aurora Borealis, more commonly known as Northern Lights. The northern lights are a spectacle unlike any other with the intense swirling movement of green lights “dancing” in the starry skies. We were fortunate enough to see it again during our latest visit and it was a dazzling couple of nights.

But finding the northern lights and attempting to photograph them can be very challenging tasks, so we’re going to prepare you in the best way possible. Here are 7 tips for finding and photographing the Northern Lights during your visit to Iceland:

1. Download the Aurora Alerts Northern Lights App,

This could be one of your best resources to track the northern lights. The Aurora Alerts Northern Lights App is a free app provides live up-to-date information of the northern light activity, including the probability of seeing the lights based on location, geomagnetic conditions (KP Index) on a scale of 1-9, hourly to long-term forecasts, and projected northern light coverage worldwide.

You’ll want to go out when the KP Index reads 3 or higher for the best conditions. You can also set up alerts that will tell you when the best chance is to see the lights. This app also works for other countries as well.
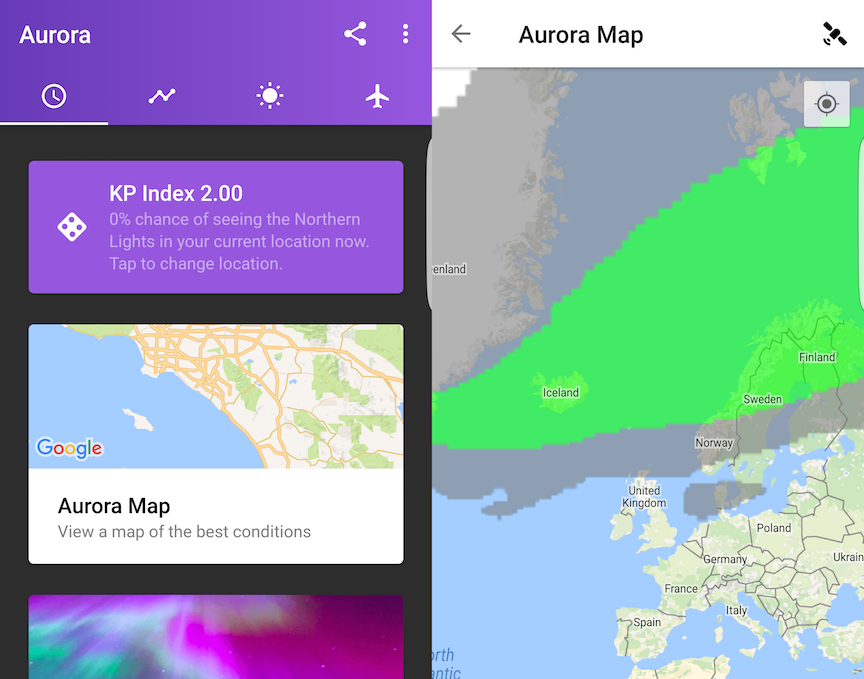
Aurora Alerts Northern Lights App

Just about the only thing it doesn’t do is provide a weather report, so it’s good to have an app or website to show the weather. I liked using the Rainy Days App and also used the Icelandic Met Office website, both showing project cloud coverage throughout the country by the hour. With a combination of these resources, you’ll have everything you need to track the northern lights.

2. Find dark clear skies away from the city

The best places to see the northern lights are places that are away from the city to avoid light pollution. This way your eyes will adjust to the darkness and it’ll be easier to see and photograph the northern lights. That’s simple enough to do since there are plenty of places in Iceland that are far from the city.

The more challenging part may be trying to find dark clear skies. As the locals would say, “If you don’t like Iceland’s weather, wait 5 minutes.” The weather can be particularly fickle, going from very clear skies one moment and then raining minutes later. During our recent visit, it rained 5 of the 7 days we were there and in some instances, it can be cloudy/rainy for days or weeks at a time!

Having the Rainy Days App or the Icelandic Met Office website can help you showing projected cloud coverage and find an area with clear skies. Even partial covered skies can give you some great shots of the northern lights, as long as you have some open sky to show the lights.
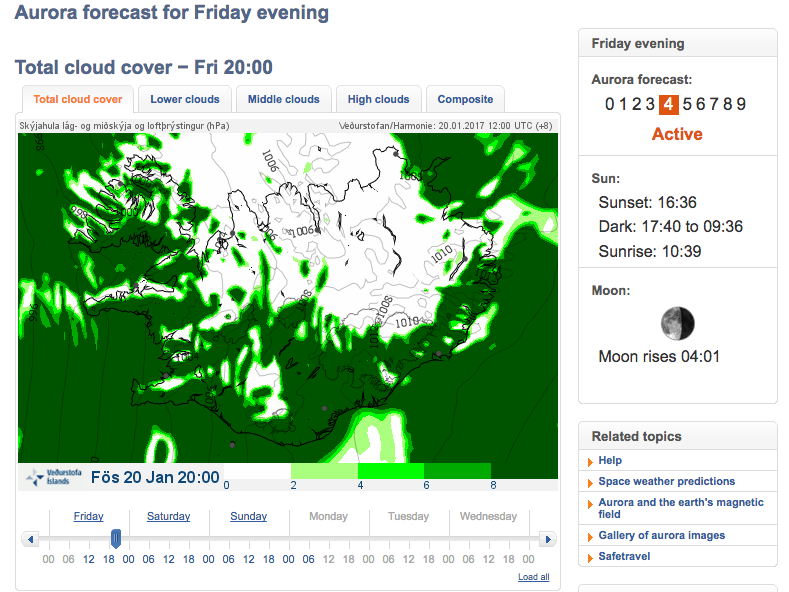
Icelandic Met Office Website. This shot indicates it will be may be a good night to see the northern lights in southern Iceland.

Another thing to remember is to not go to Iceland in summer if you specifically want to see the northern lights because the days are very long and at night, it doesn’t get completely dark. It would be very difficult to see the lights under these conditions. The best time to see them would be during fall or winter when the nights are longer and darker.

3. The Northern Lights are not always easily visible

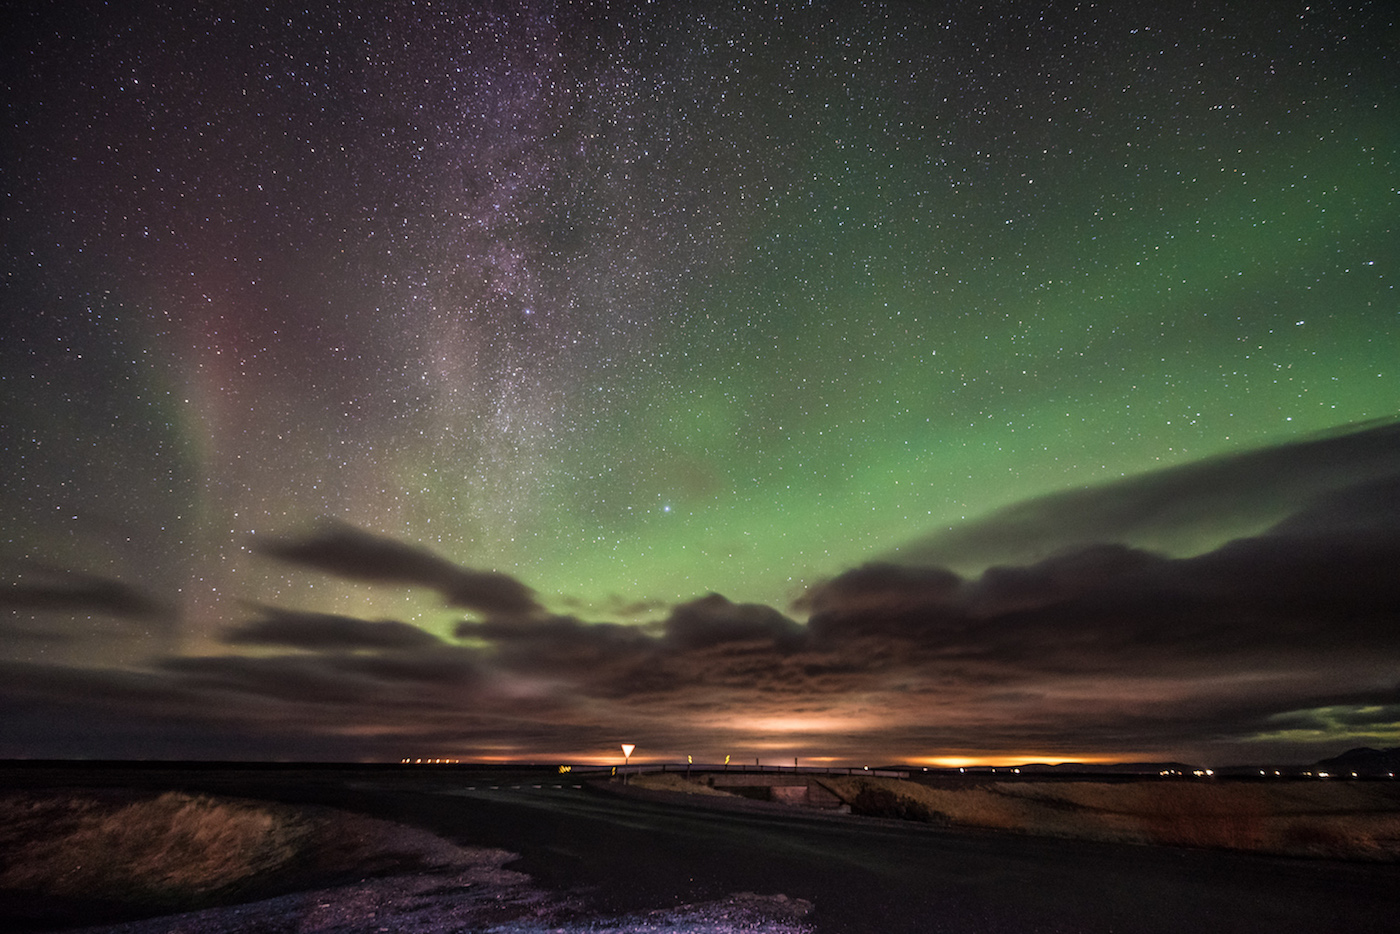
When the northern lights are VERY bright, they are very visible and can illuminate the entire sky. However, sometimes even if the sky looks dark, the lights can still be there. They will be very faint and pretty difficult to see, especially if you’re driving and your eyes are not adjusted to the dark.
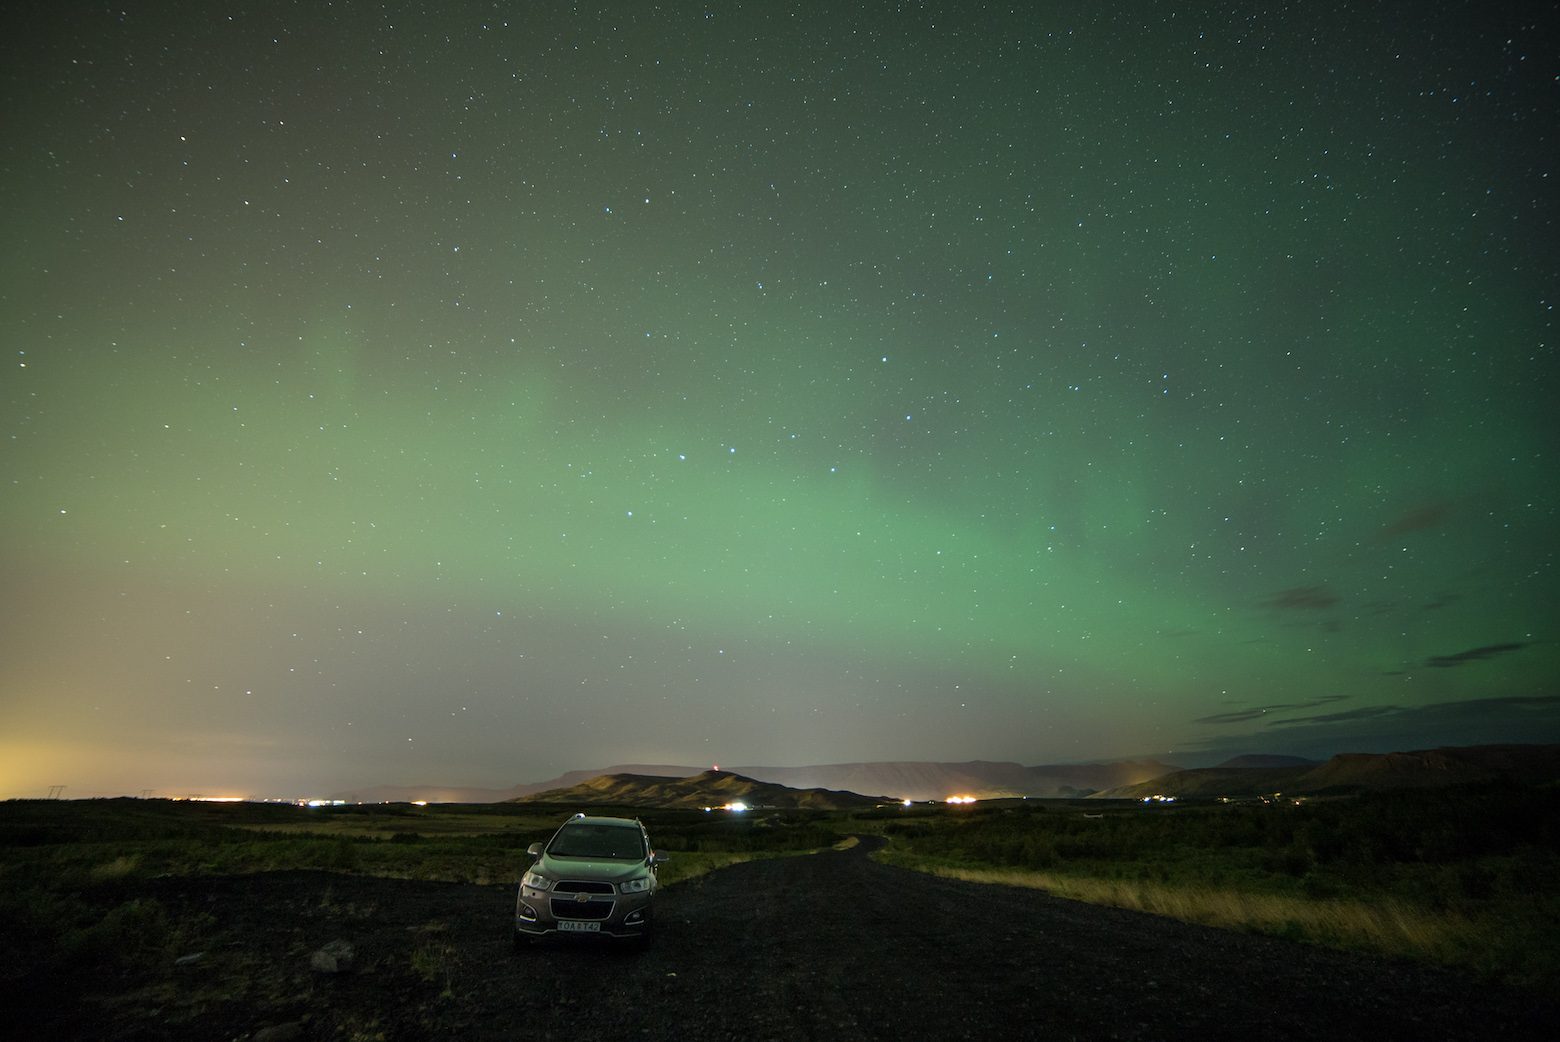
These lights were too faint to see clearly. Only my camera could capture this low activity
These lights were too faint to see clearly with my eyes. Only my camera could capture this low activity

If you want to be sure whether or not the lights are there or not, then stop to the side on occasion and let your eyes adjust to the dark. If you can see a faint streak of color in the sky, it is possible those are the northern lights. If you have a camera with the right settings, you can confirm it with a test shot. While the lights may look very weak initially, you can wait a bit and see if the activity gets stronger. In both instances I’ve seen the northern lights, they started out as faint trails, but then intensified into much brighter lights.

4. Having the right camera and equipment

So you found the northern lights! You’re enjoying the wondrous spectacle of dancing lights dazzling through the sky! You bring out your phone or point-and-shoot camera to take a picture and…it’s almost pitch black…you can barely see the lights on your screen…it’s blurry…

Shooting photos at night are not the best conditions for a phone or point-and-shoot camera. If you really want to capture vivid shots of the lights, you need the right equipment. Here is the basic gear you should carry:

Tripod – Any tripod generally will be OK, but it’s highly recommended to bring a strong and sturdy tripod and prevent any vibration causing blurry images and especially on nights when it can be windy and will blow away any cheap tripod. You’ll be working with exposures from 5-20 seconds, so you need to be sure your tripod will keep your camera completely still.

Camera with Manual Mode – You need a camera that you can adjust the settings manually, primarily shutter speed, F-stop, and ISO. Auto will not help you here.

Although it’s still recommended to have a full-frame camera because of better low-light capabilities, better ISO performance and image quality, and more lens selection, you can still get shots with an advanced mirrorless or point-and-shoot camera as long as they have manual capabilities. I used full-frame cameras, including a Nikon D750 and a Sony A7s. However, if you’re on a budget, you can do well with a non-full-frame mirrorless camera like a Sony D6300 or Fujifilm XT1, or even use an advanced point-and-shoots like the Sony RX100 series or a Canon GX7.

Wide Angle Lens – A wide angle lens will help you capture a good amount of the foreground as well as the sky. When looking for a lens, anything 24mm or lower is ideal, and you want to look for F-stops as low as 2.8.

Remote Trigger (Optional) – It’s good to have if you want to take selfies and also to take a shot without pushing the camera button to prevent any vibration. If you don’t have a trigger, you can use the camera self-timer to take a shot.

Powerful flashlight (Highly Recommend) – We’ll get into more of this in the next tip.

5. Setting up your focus

Perhaps the most challenging part of night photography is focusing in the dark. In pitch black darkness, cameras are not able to properly autofocus on a particular object. Thus, you have to figure out how to manually focus your lens.

An easy way to set up your focus is to do it before dark sets. You can use your camera to autofocus on a distant point. Once the lens is focused, switch your lens to manual focus and do not touch it for the rest of the night. You can use tape to hold the lens’ focus ring or use a marker to mark the focus point on your lens. You’ll be good to go when shooting the northern lights in any direction.

If you did not focus before dark, then you’ll have to figure out how to focus at night. My favorite method is using a powerful flashlight that can illuminate an object at a distance. If you can light a distant object, many cameras will be able to autofocus on the object, which then you can switch back to manual focus. If your camera cannot focus on the illuminated object, have someone take the flashlight and walk 50-100 feet away. Your camera should be able to autofocus at the brightest point this way, and you can fine-tune the focus manually. I love Maglite flashlights because they are incredibly powerful and make it easier to focus at night at a distance, but a good headlamp will do the job too.
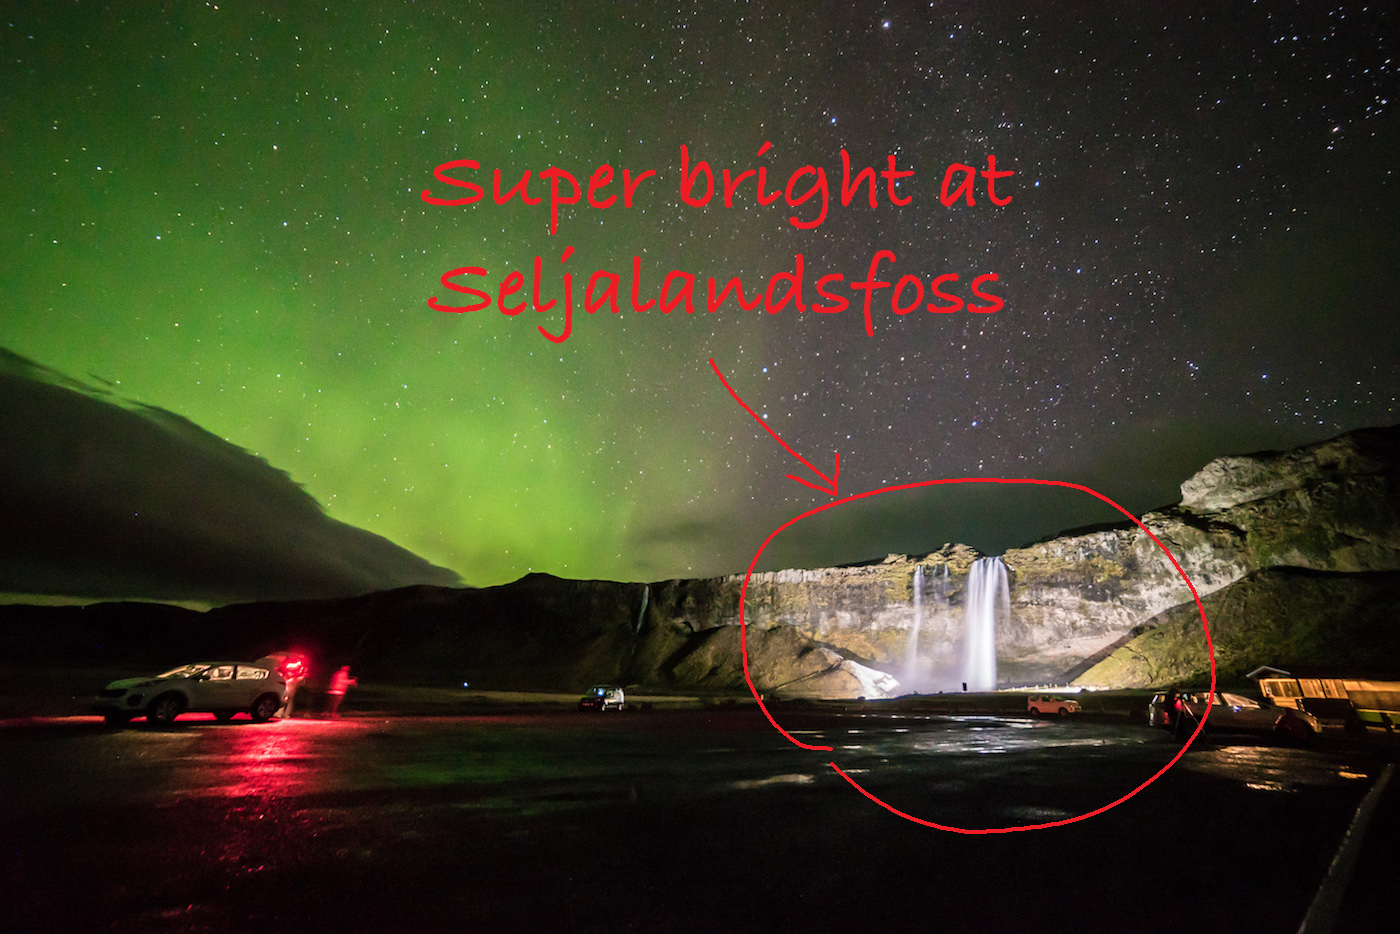
Seljalandsfoss brightly lit with flood lights. Easy for cameras to focus

Without at least flashlight, focusing can be a little trickier. Some full-frame cameras have excellent live-viewfinders that perform remarkably well at night, so it can be easy to find the brightest star and bring it into focus. If you don’t have that, then the next best option is to start your lens from ∞ (infinity symbol) and adjust by trial and error with minuscule adjustments after each trial shot.

6. Manual Settings to use

The best combination of settings to use to shoot the northern lights is a large aperture (f2.8 – 4), longer shutter speed (5-20 seconds), and relatively high ISO (800-6400, though ideally around 1600 ISO). You can start with something like f2.8, 15 seconds, 1600 ISO and work from there. If you stick around those ranges and make the necessary adjustments, you will be able to get good shots of the northern lights. You should also manually set your color temperature (K) to around 2800-4800.

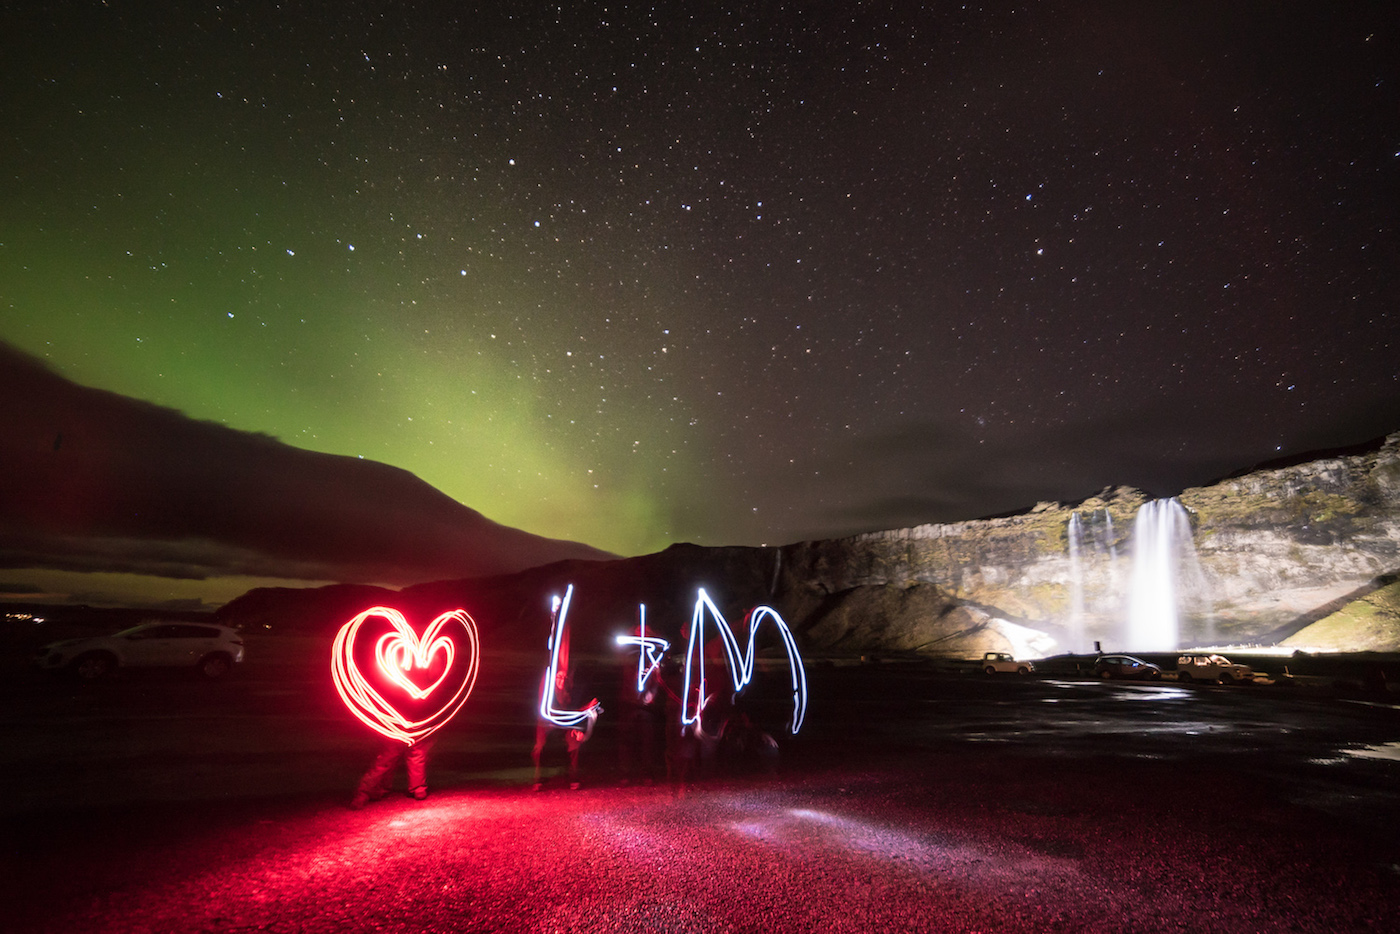
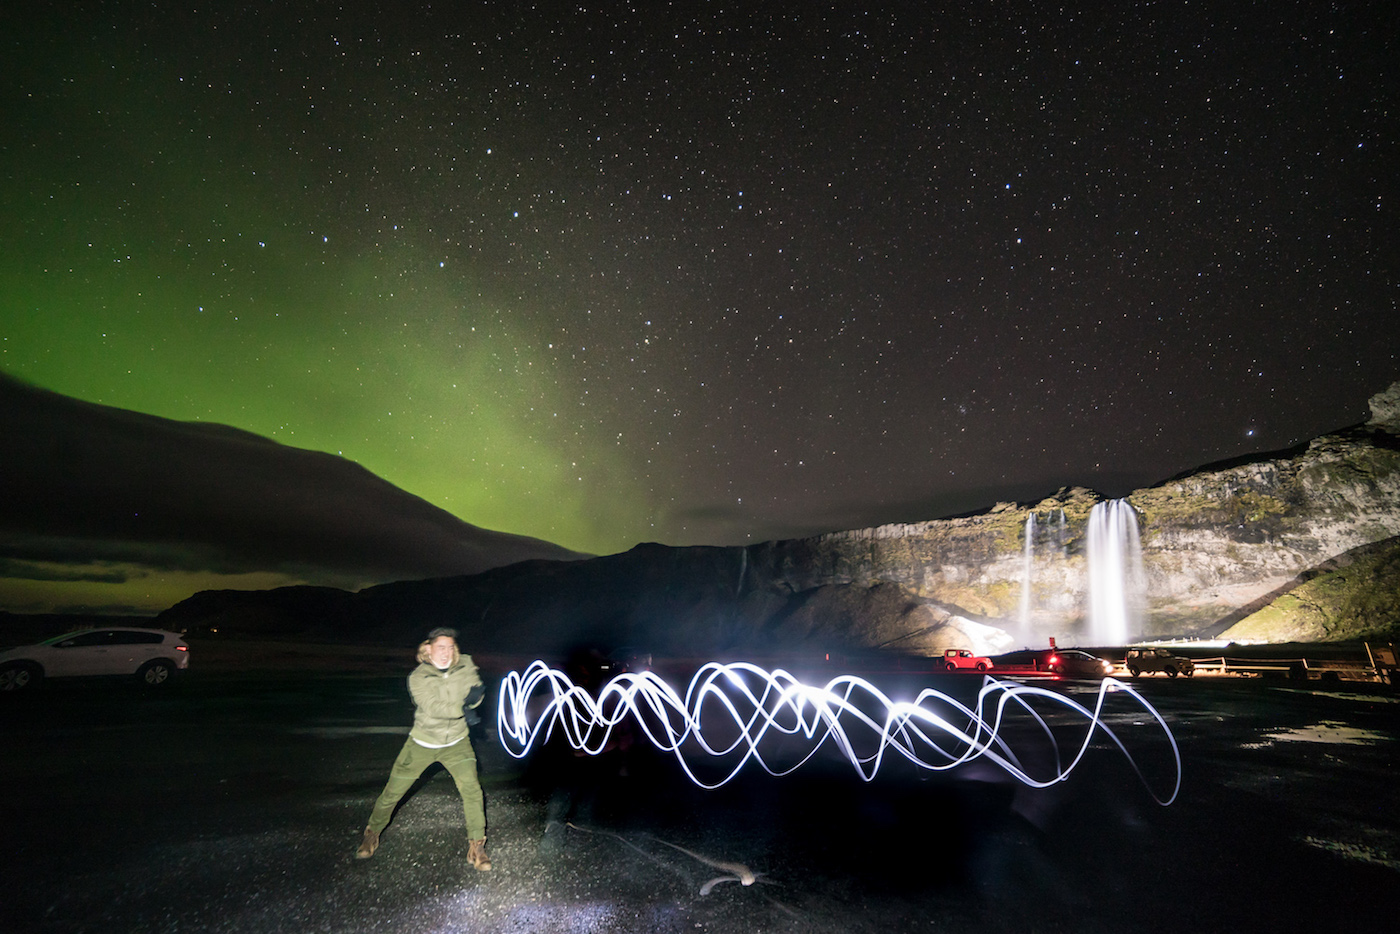
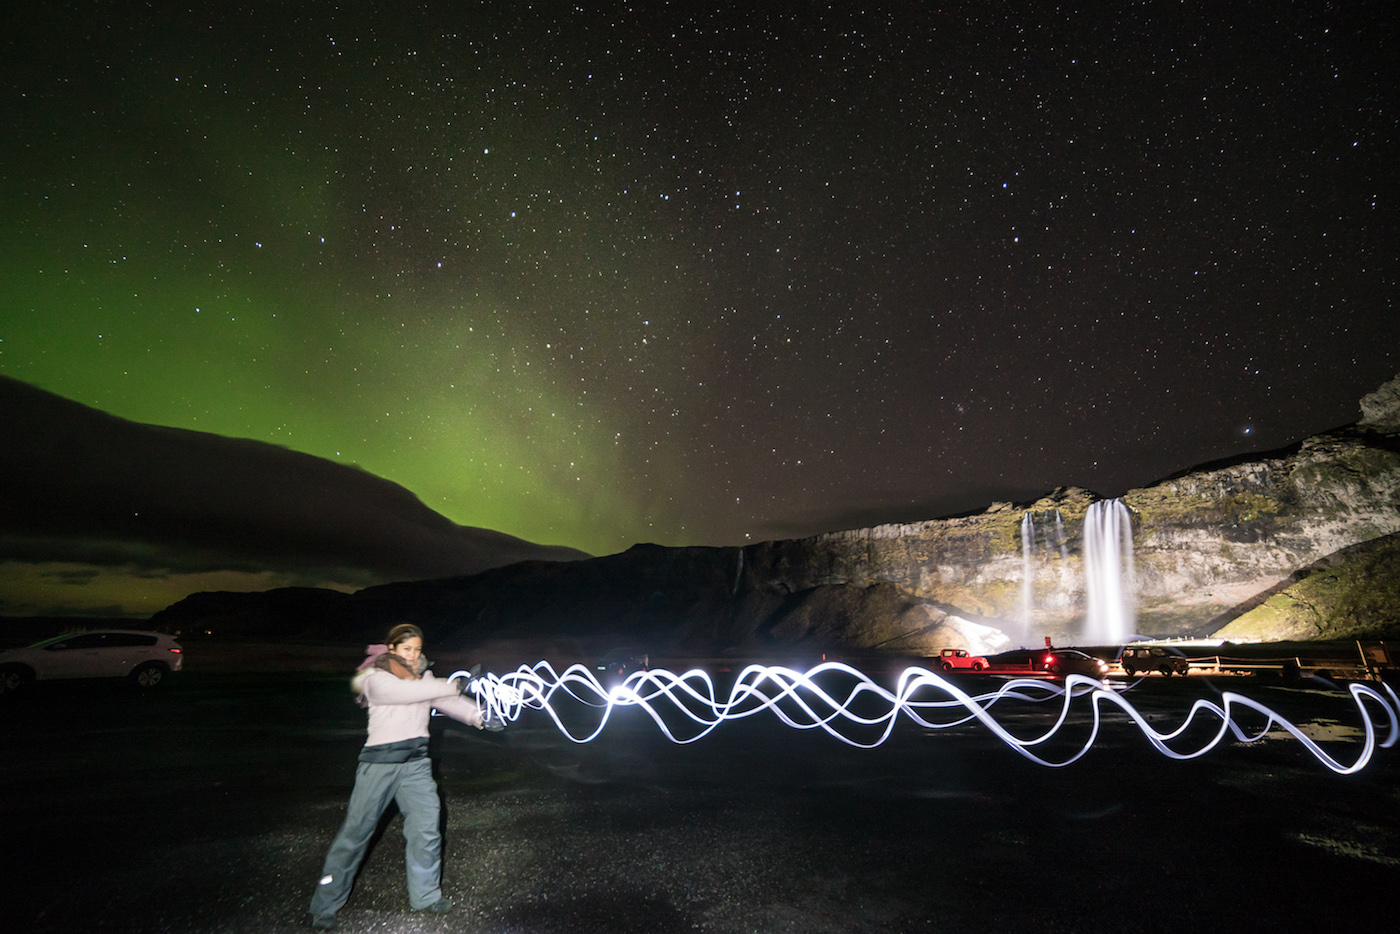
As an added bonus, if you have long enough shutter speeds, you can do light painting and make doodles in your images. When you turn on a light, the camera will capture the movement of the lights until you turn off the light. Try this out when you do long exposures!

7. ALWAYS Shoot Raw

One of the biggest mistakes I see people make while taking photos at night (and in general) is only shooting in JPEG. You should always shoot in RAW, which creates a digital negative of your image. This file allows you to make much more adjustments in post-processing with Photoshop or Lightroom, whereas adjusting a JPEG image is very limited and will hurt the quality of the image. Most advanced cameras offer the ability to shoot RAW, so although it takes up significantly more space, it is still almost a necessity to shoot in that format.
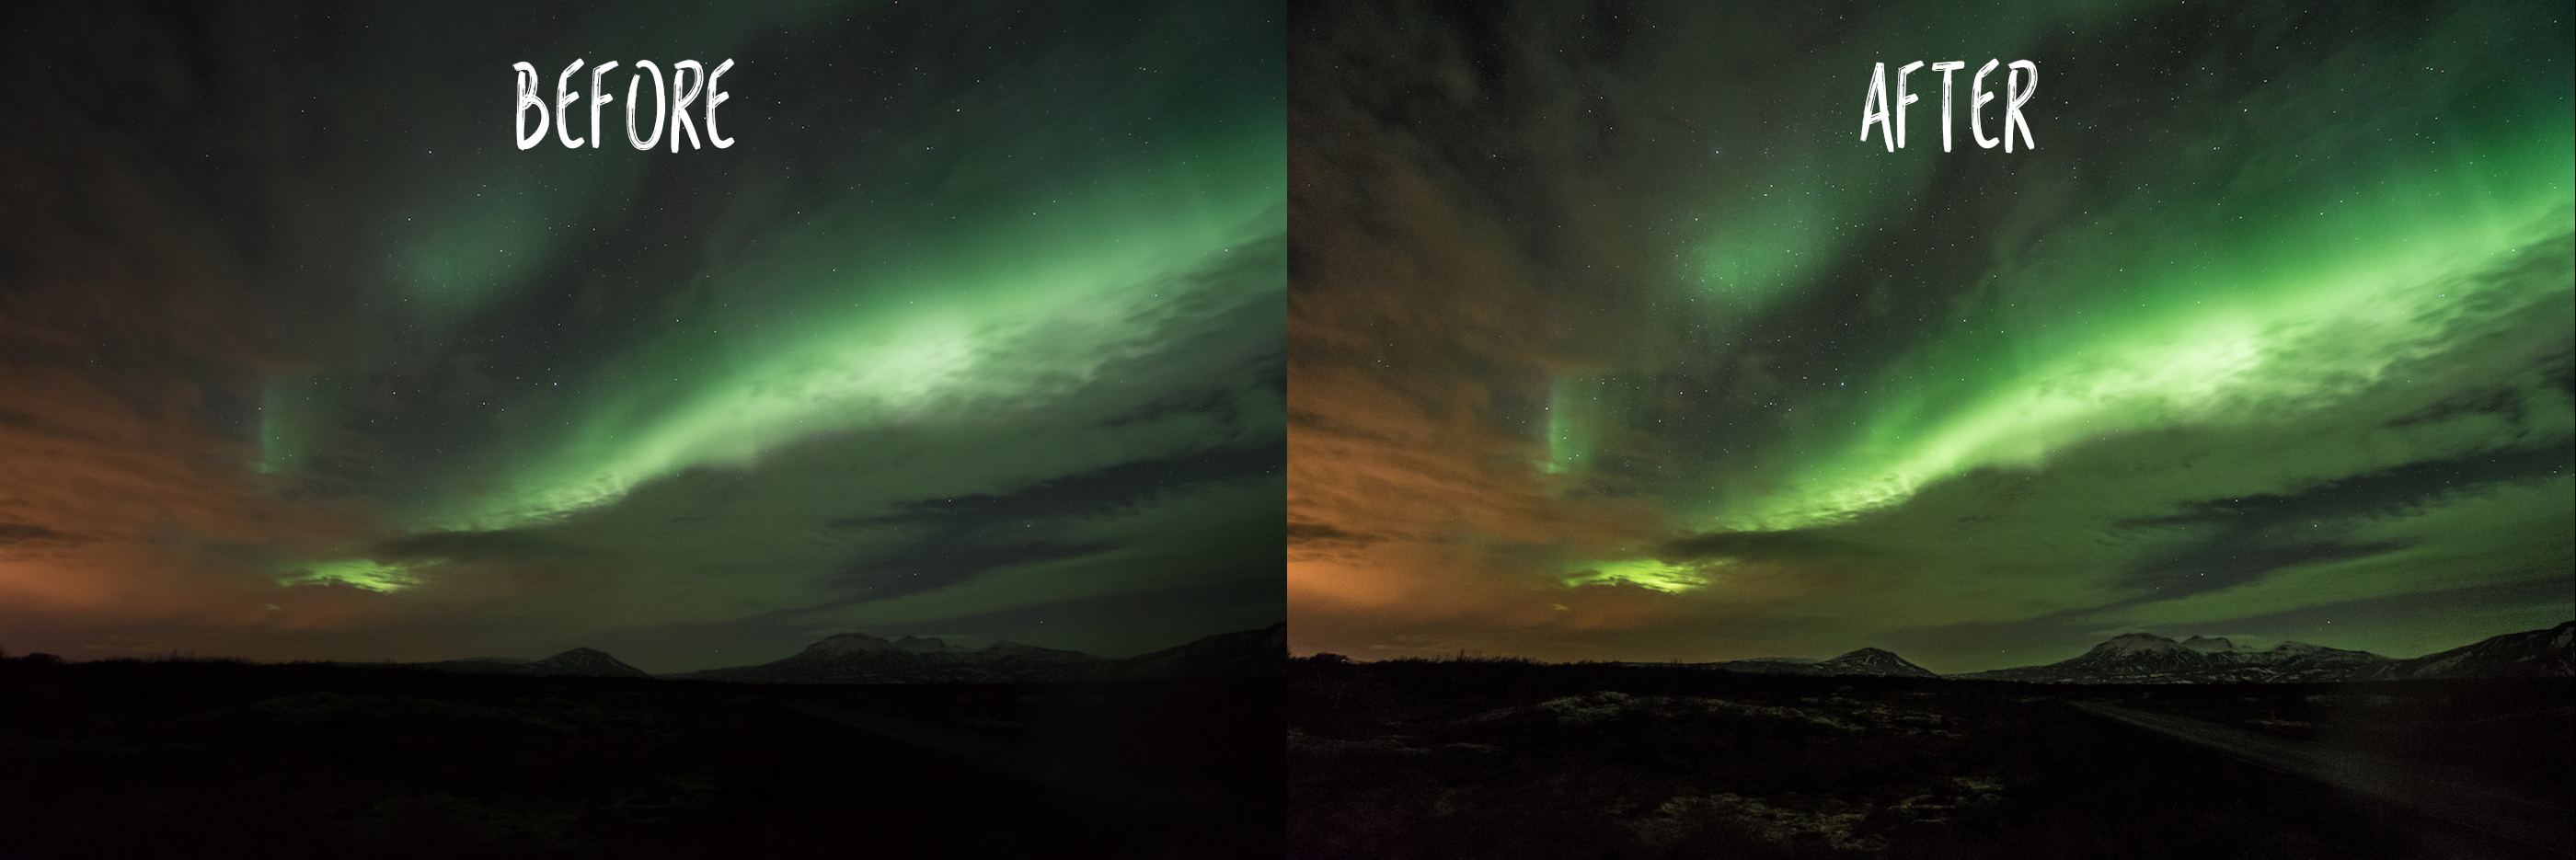
Adjustments made with a RAW file. Cannot be easily done with a JPEG

Hope these tips will help you when you’re out searching for the Northern Lights. Ask us any questions and let us know what helped you photograph the lights!

7 Tips to Photographing the Northern Lights in Iceland

Share

Celebrating Winter Holiday, Christmas in Edinburgh & Paris

The winter holiday season may be over for 2016, but that doesn’t mean you can’t start planning for your 2017 winter holiday! Here is how Edinburgh and Paris celebrated their holiday season in 2016:

Scotland – “Edinburgh’s Christmas 2016”

Edinburgh started its Christmas celebration on November 18th and is still slated to run through January 7th, 2017. There are various locations where celebrations and activities are held.

At the Scott Monument on East Princes Street, you can find the European Christmas Market for a very festive shopping experience! As the name suggests, the market contains a large number of food, drink, arts, crafts, and cultural stands being represented by numerous countries. You’ll have no trouble chowing down on various delicacies, satisfying your sweet tooth with candies and chocolates, or keeping warm with some hearty hot wine!

The market also has a variety of rides, including the Big Wheel and the fairly intimidating Star Flyer that swings near Scott Monument (this is actually more terrifying than I had expected it to be)! There are also smaller rides, an ice skating rink, and other activities for kids and families.

Throughout other parts of the city, you’ll see brilliantly decorated lights and smaller markets. George Street features “The Street of Light,” a spectacular castle-shaped light display which has a dazzling light show with music.

Edinburgh makes sure that there is plenty to enjoy your holiday season there. How does Paris stack up against the competition?

France – Winter in Paris

Just when I thought I had my fill of Christmas Markets in Scotland and Belgium, Paris made sure I would never be satisfied! Many of the Christmas Markets this year started as early as November 11th and will continue through January 9th, 2017.

In the vast city of Paris are numerous Christmas Markets, with the largest or most prominent ones located on Champs-Élysées, La Défense, and the Eiffel Tower. Between the Christmas Markets at these three locations, there are approximately 600 stalls in total! In comparison, the main markets in Edinburgh and Brussels had 100 and 200 stalls, respectively.

We spent most of our time on the markets lined up on Champs-Élysées. The entire street is covered with Christmas lights and decorations while the sidewalks on each side of the street are set up with a total 200 stalls. Like the other markets, there is plenty to satisfy any craving or shopping need, and the shops remain open until as late as midnight, unlike other markets that usually closed around 9:00 PM. There are also many exhibits and play areas for kids, which includes an ice-skating rink, slides, animated displays.

Spending the holidays in Belgium, Scotland and France was a wonderfully festive experience and I am really looking forward to spending more winter holidays in other parts of Europe. Let us know where are your favorite places to celebrate the winter holidays!

Share

Scuba Diving in the Reefs of Roatan Island, Honduras

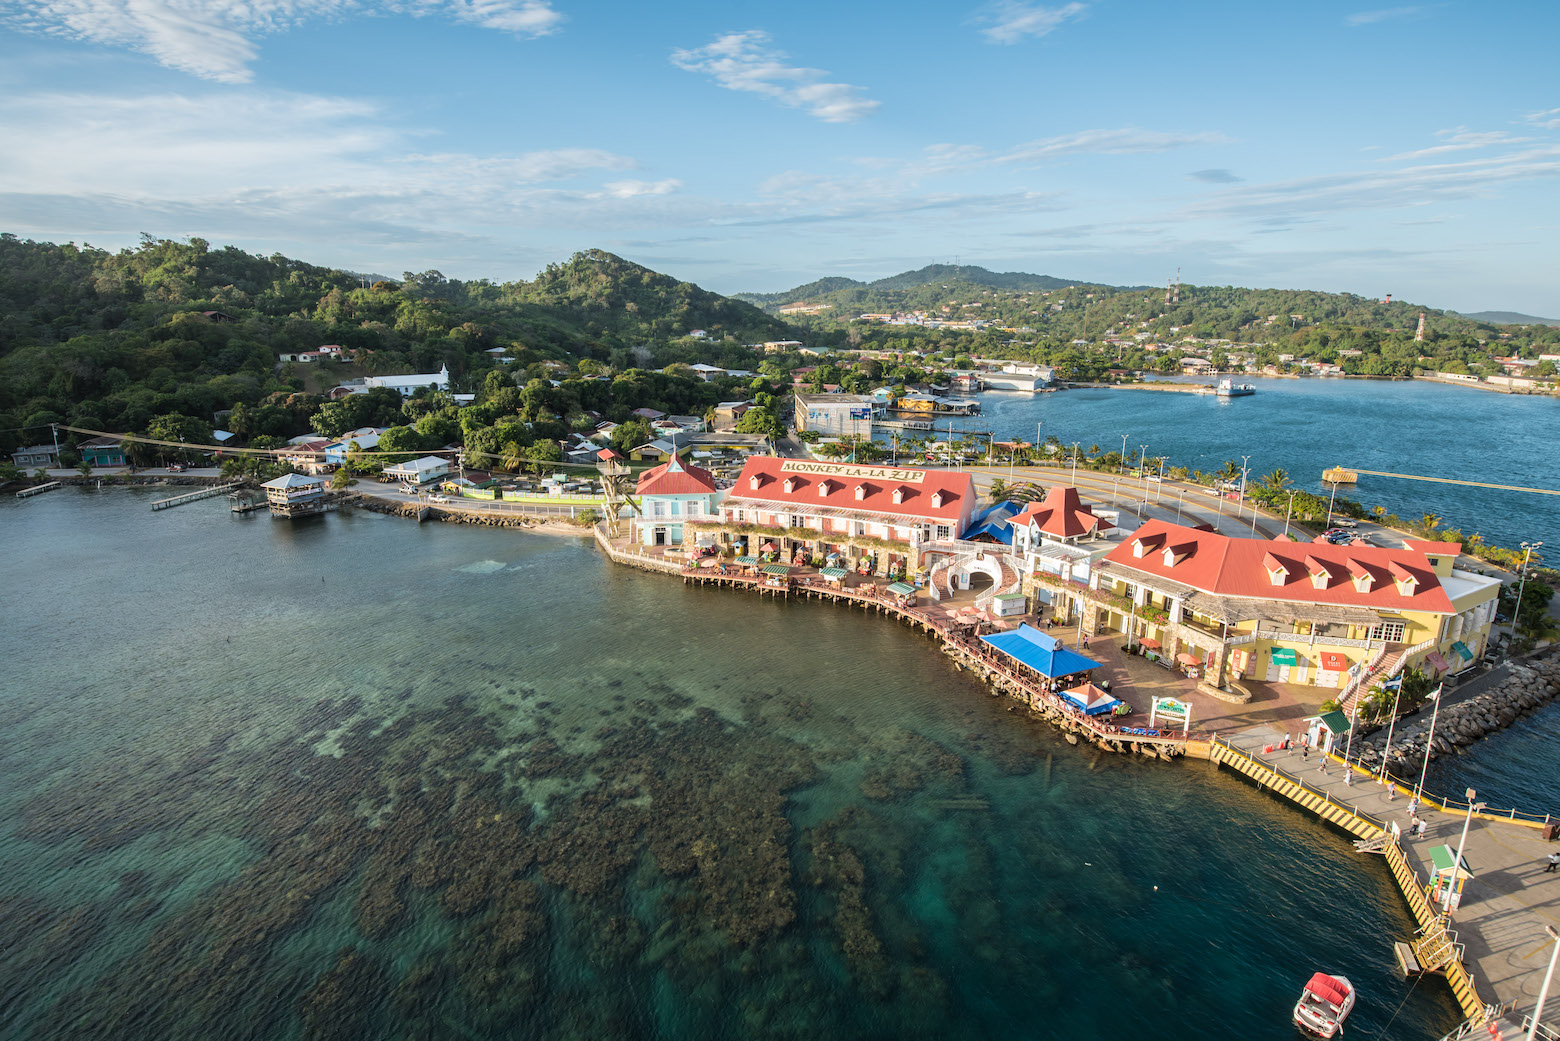
During our cruise, we stopped by Roatan Island of Honduras for a scuba diving expedition. Roatan is a tiny island located 40 miles off mainland Honduras. It’s so small that you can drive around the whole island in about 45 minutes. The population has grown fairly rapidly and has become a tourist destination for water activities but some parts are still uninhabited and covered in forests. The island is set on the southern part of the Mesoamerican Barrier Reef, the second largest reef system after the Great Barrier Reef.

Port of Roatan Island, Honduras

I’m always excited for a scuba dive trip! Scuba diving is always thrilling because I feel like I am exploring an unknown world. I always have that sense of excitement and exhilaration before a dive, but once I’m underwater I feel such a calm and peacefulness exploring a strange new place. I was definitely pumped for this dive, especially since I would see part of the Mesoamerican Reef system!

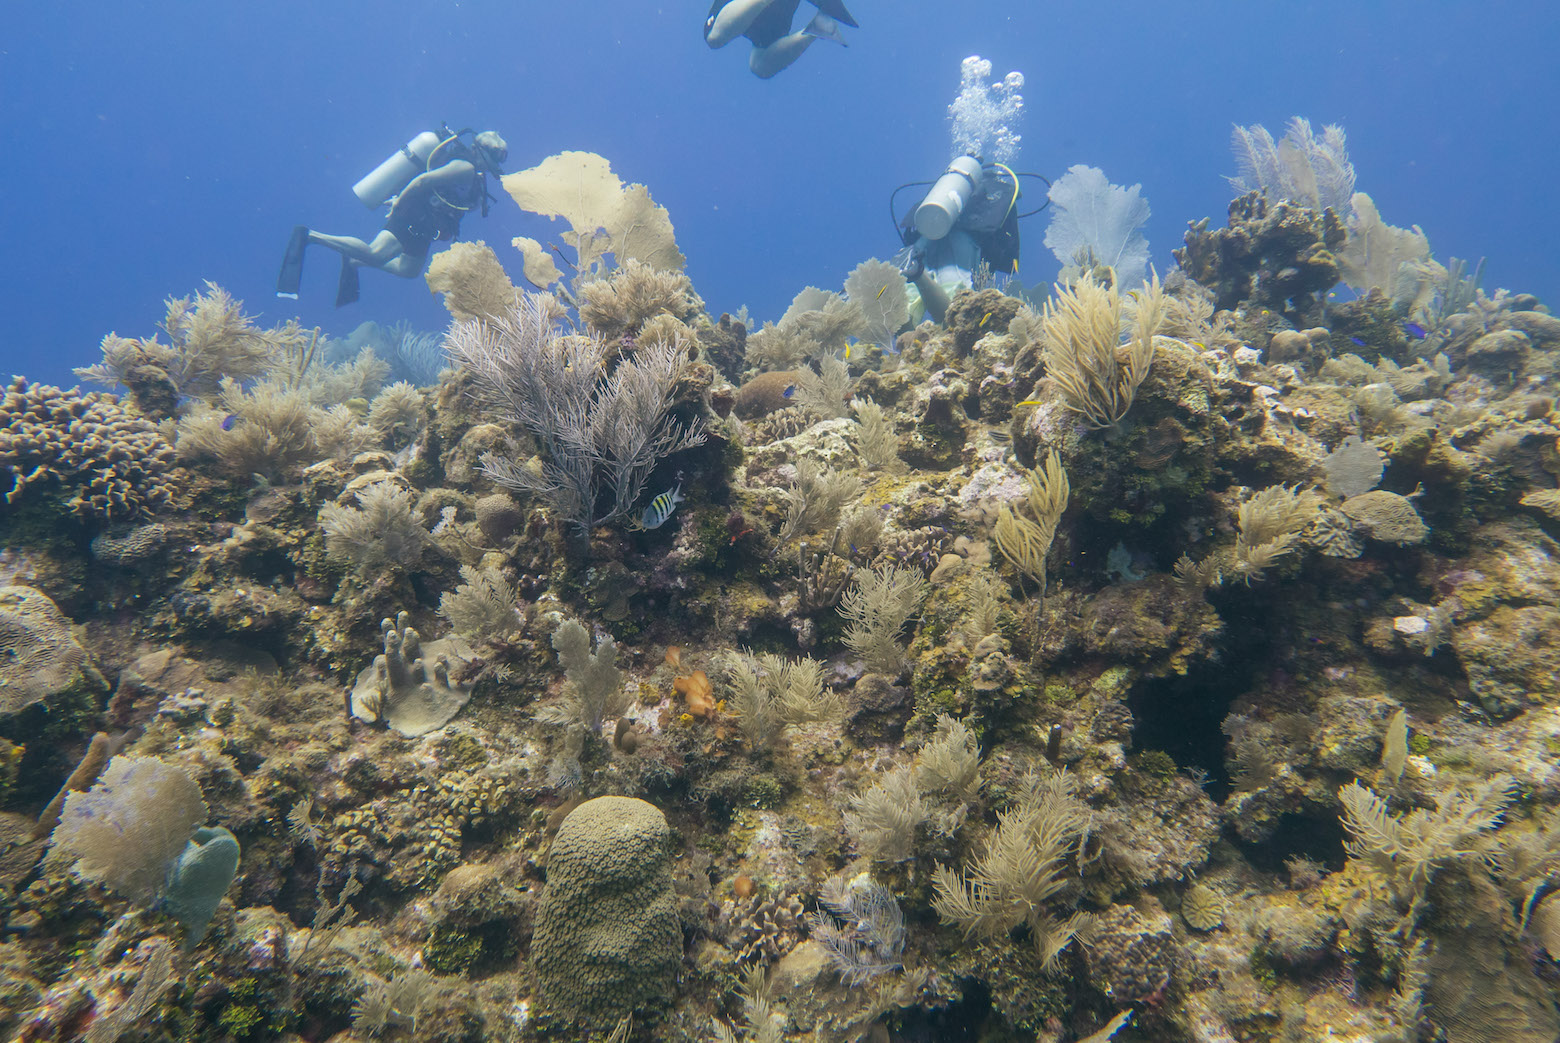
The PADI team at Anthony’s Key Resort arranged a two-dive trip for us. We were picked up from the port with a group of divers and taken to the resort for dive prep. The team did a normal pre-dive class for safety and reef conservation. The first dive was a practice dive for Mat to get comfortable with diving and obtain her PADI certification. Then second dive was dedicated to exploring the reef. Check out the video of our dive:

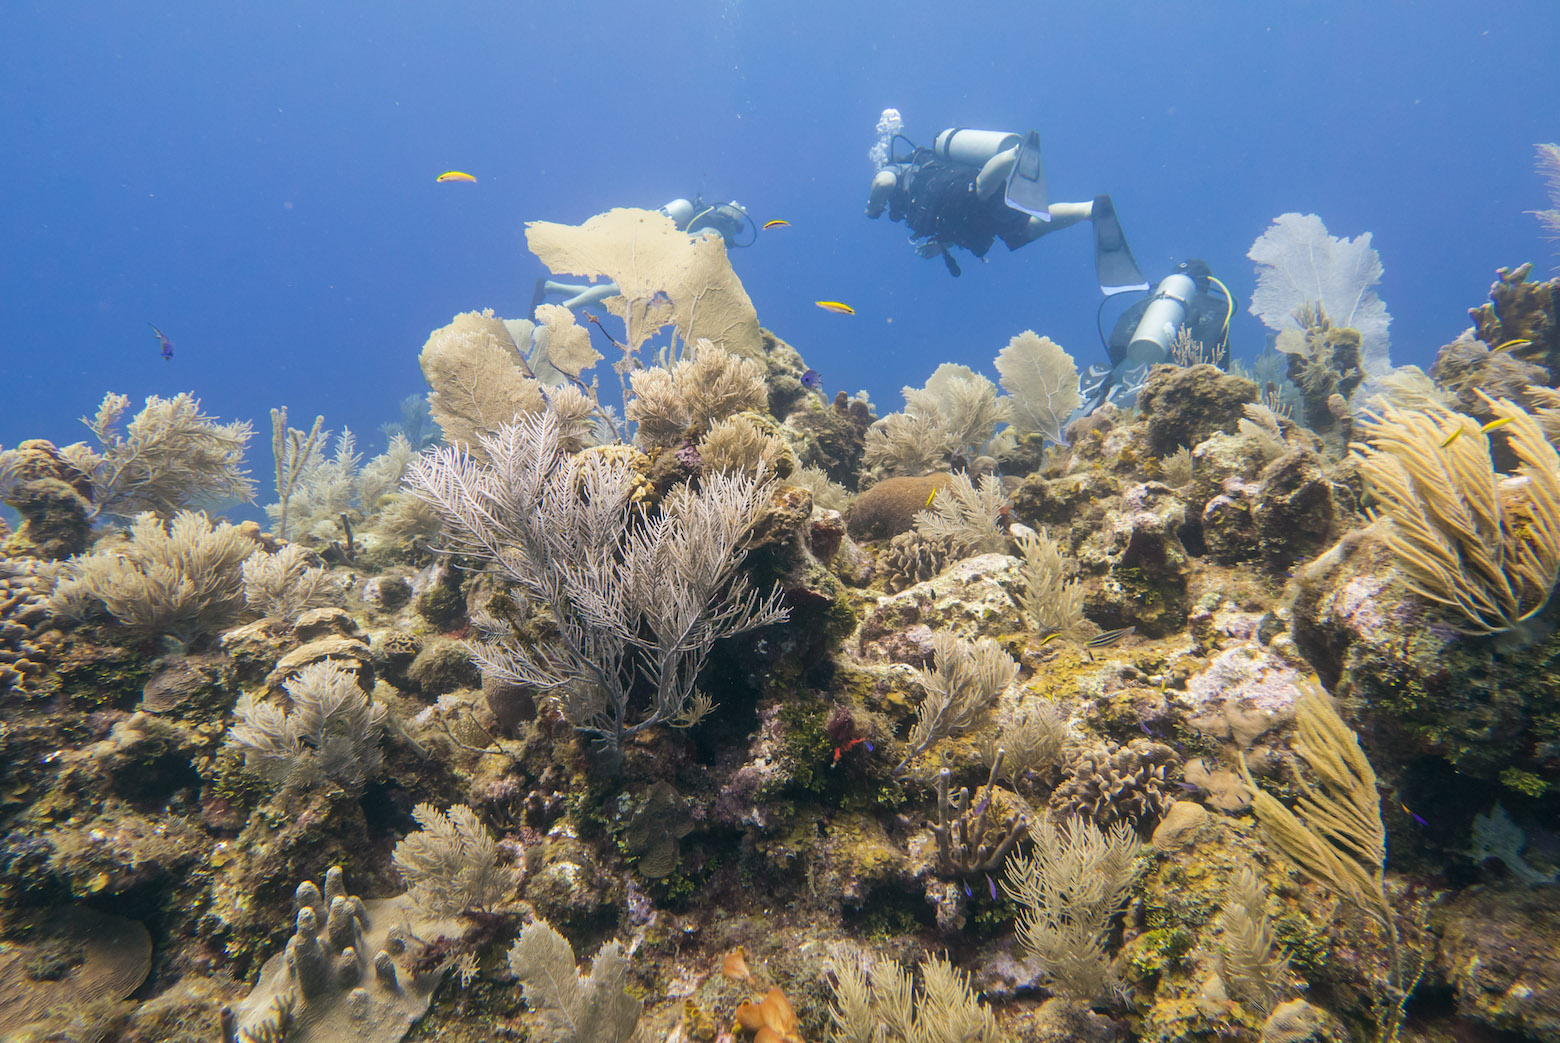
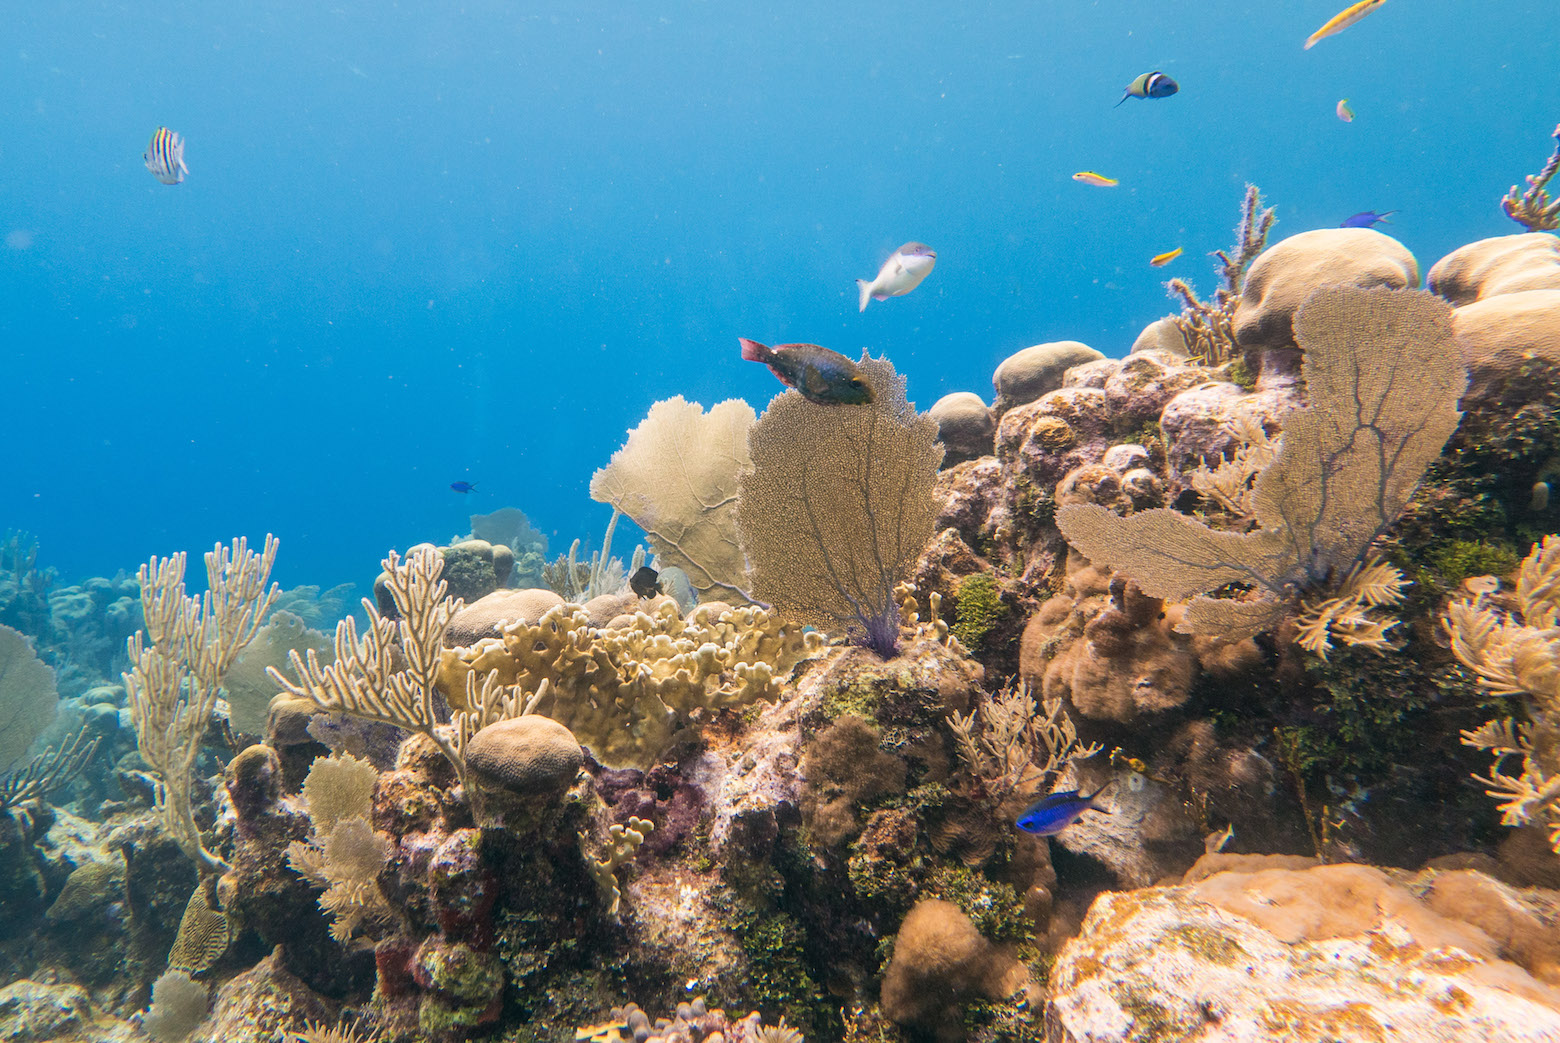
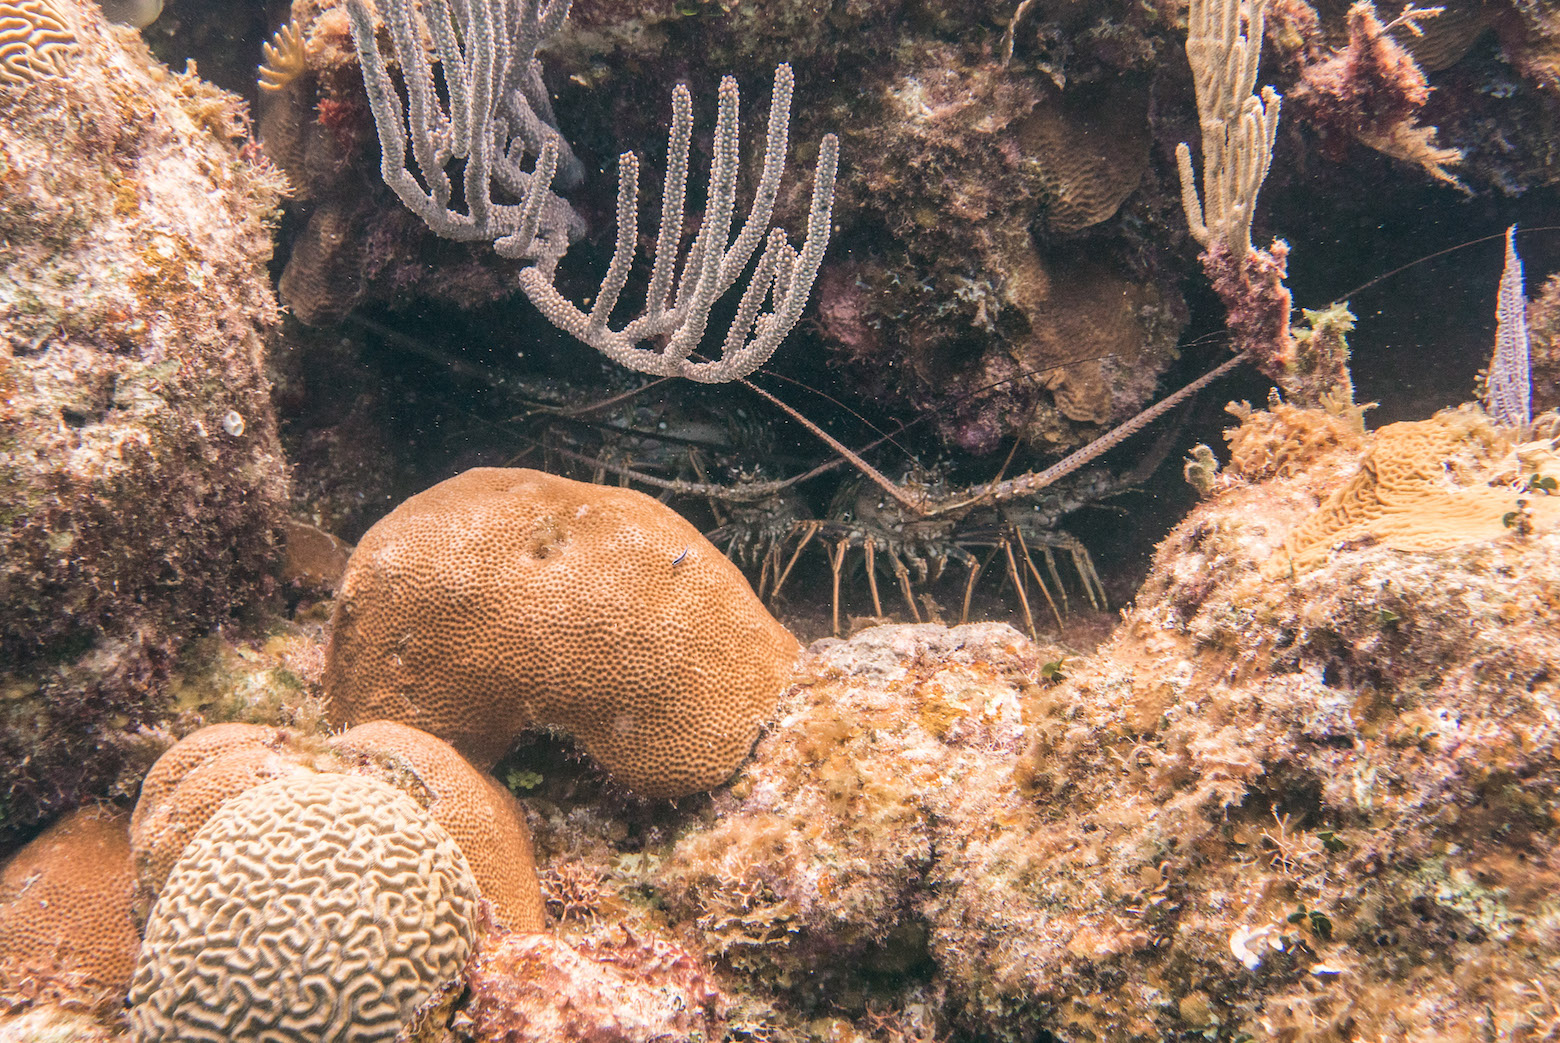
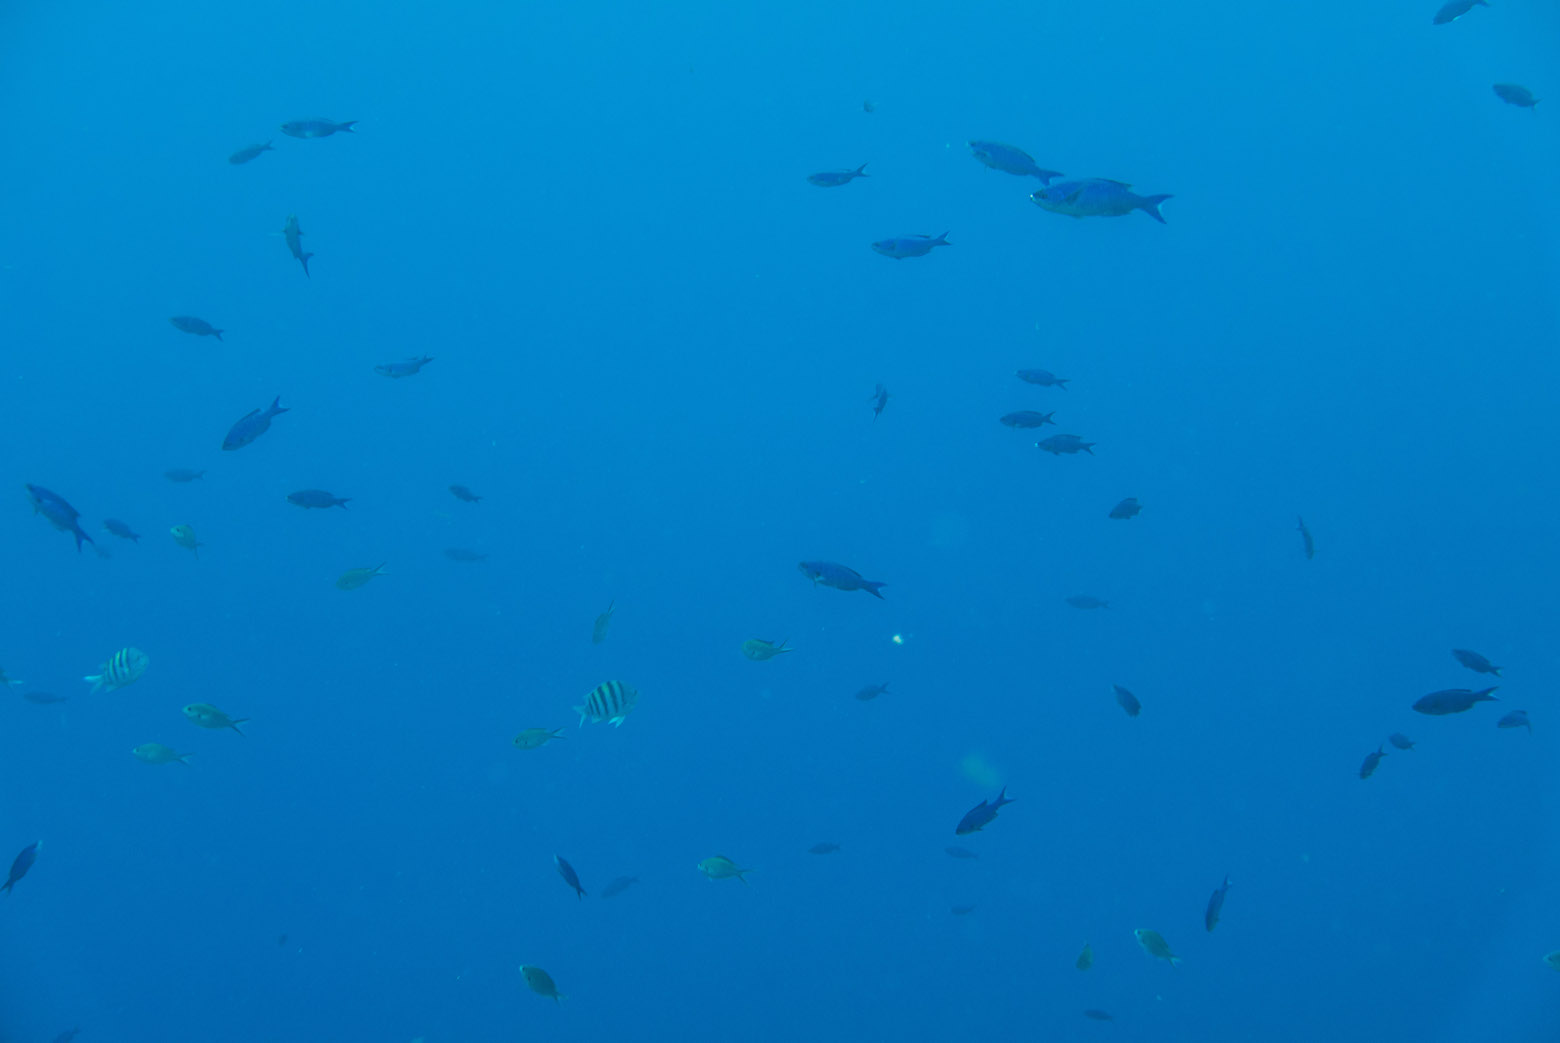
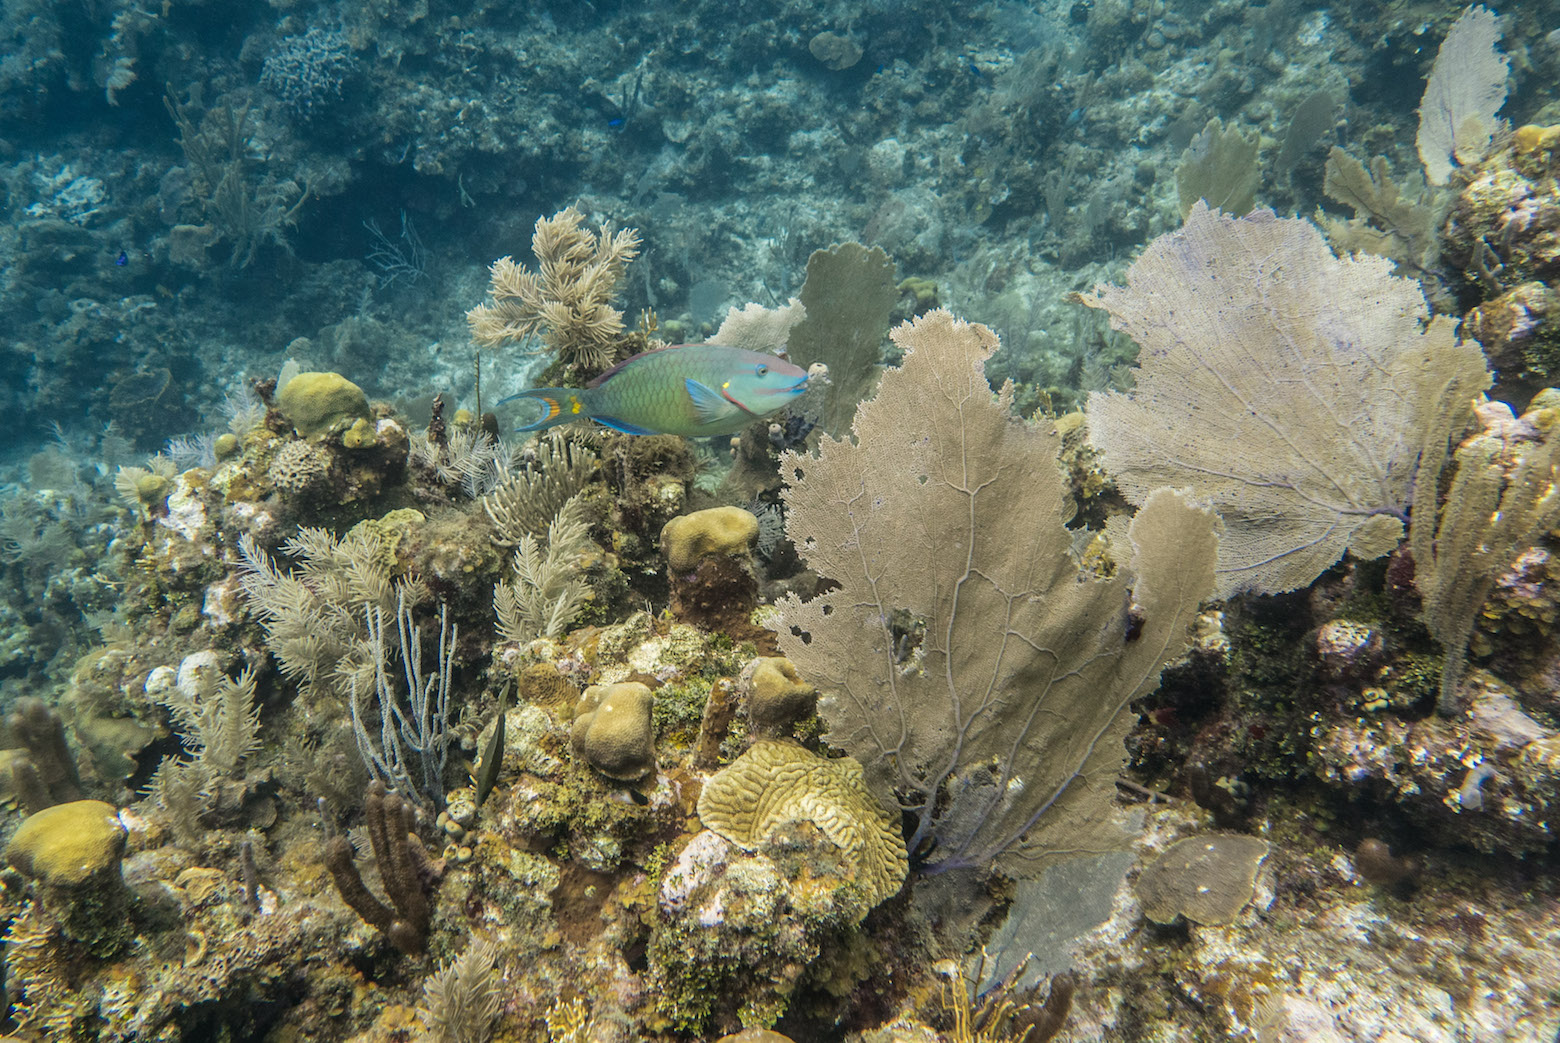
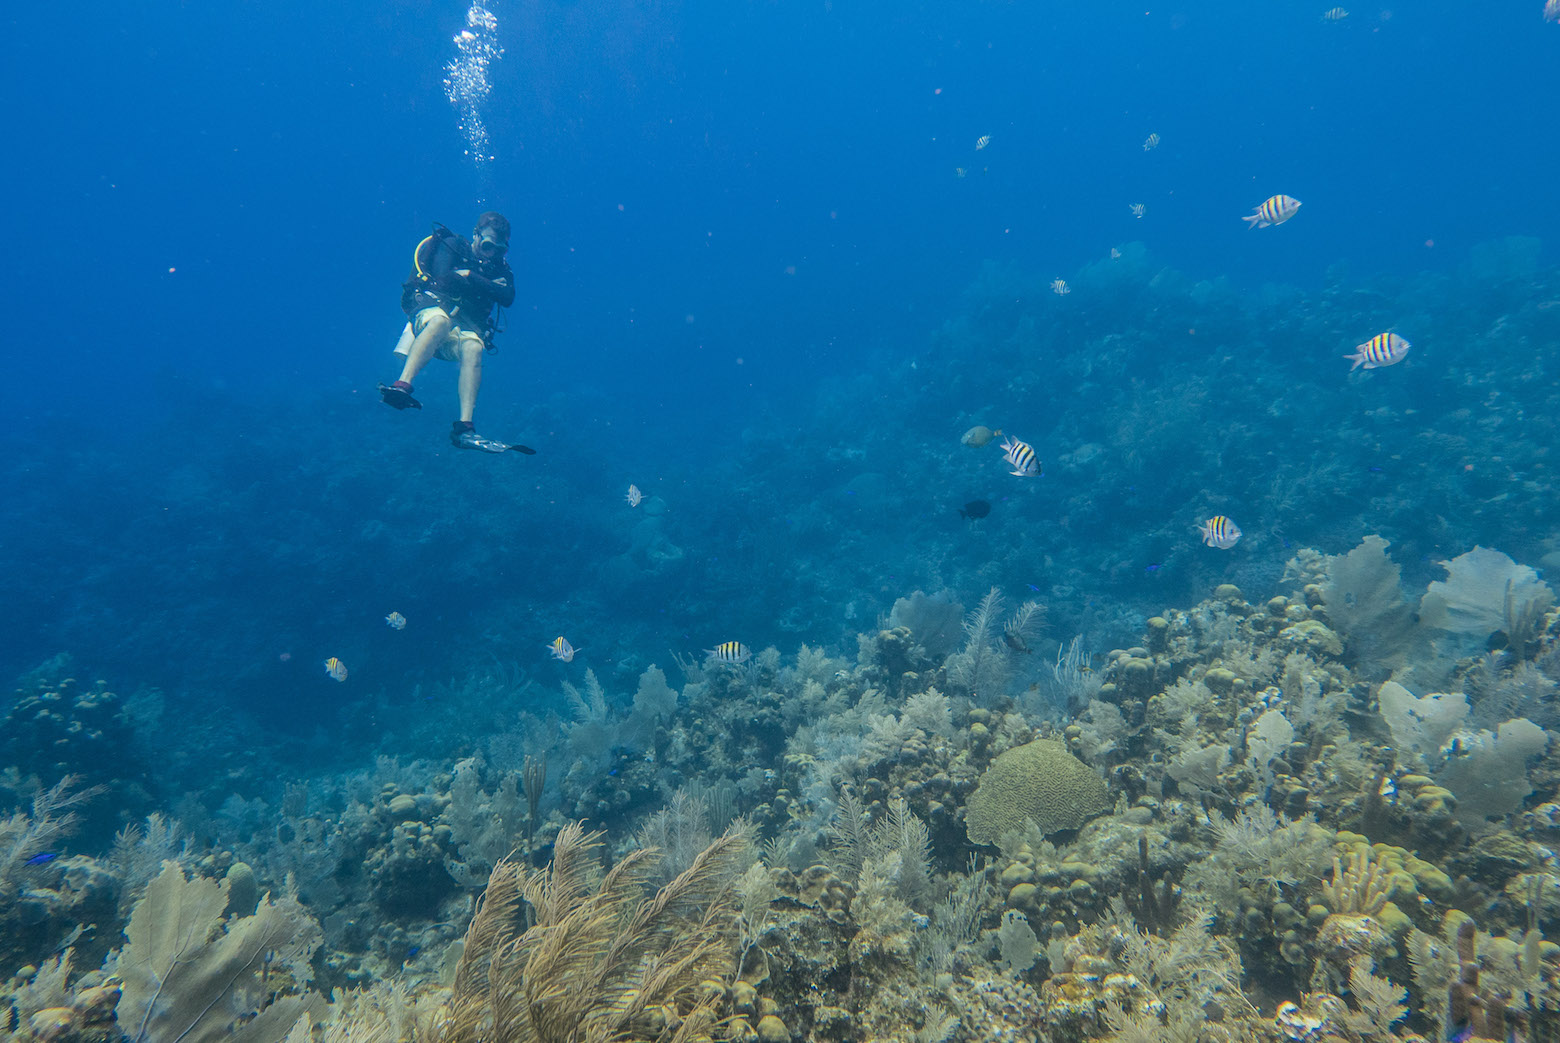
Diving in Roatan was amazing as I imagined. The reef was teeming with various species of coral and marine life. We came across many species of fish of vibrant colors and size and we also found a family of spiny lobsters hiding in the coral. They probably didn’t want us getting to close to them! There was also a sea turtle swimming near us, but it kept swimming further away and we could not get close enough. Luckily, our dive guides got the turtle on camera as it was cruising away. There was also colorful squid and cuttlefish in other areas.

One dive in the reef was not enough to explore this vast reef system! We just didn’t have enough time but we’re hoping to go back and explore the reef system further. Check out the rest of the photos and let us know what your favorite dive sites are!

Scuba Diving in Reef off RoatanSpiny Lobsters Hiding in the Reef

Scuba Diving in Reef off Roatan Scuba Diving in Reef off Roatan Scuba Diving in Reef off Roatan Scuba Diving in Reef off Roatan Scuba Diving in Reef off Roatan

Share

RiSE Lantern Festival in Nevada

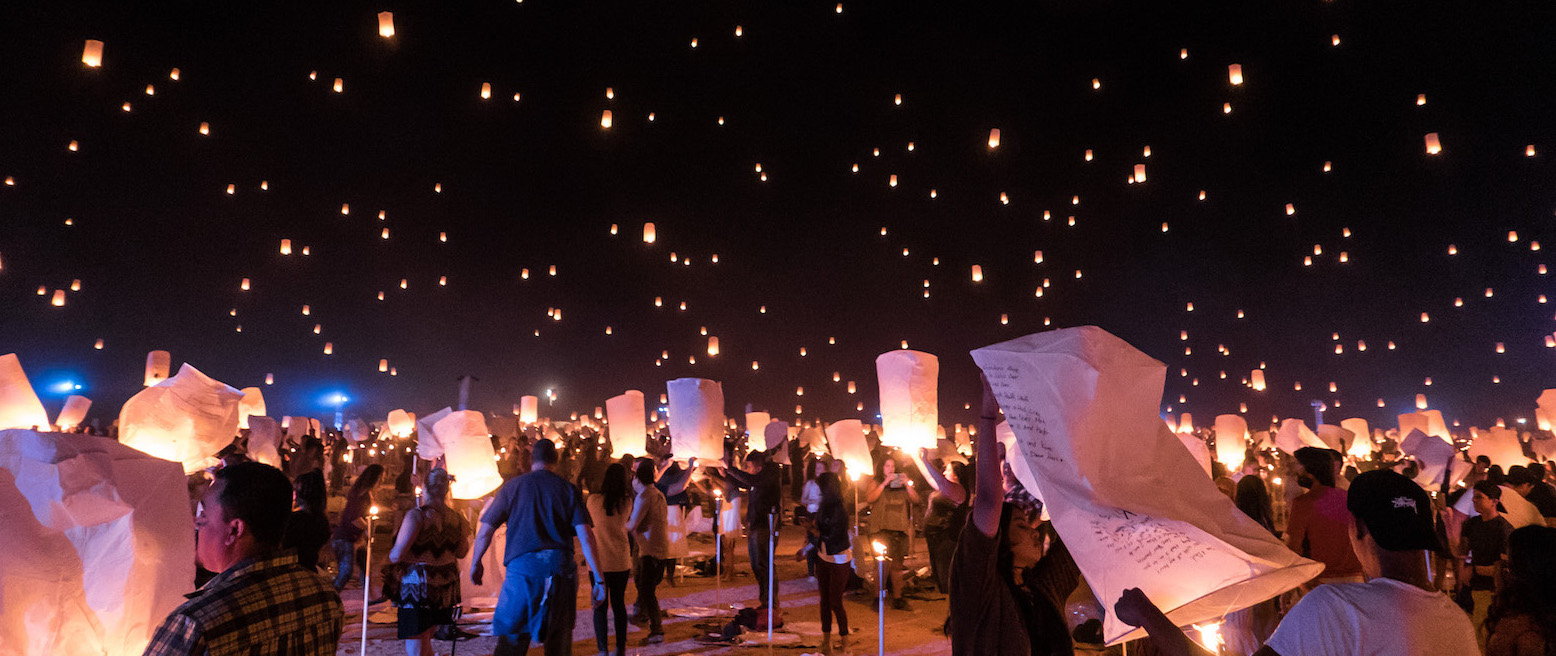
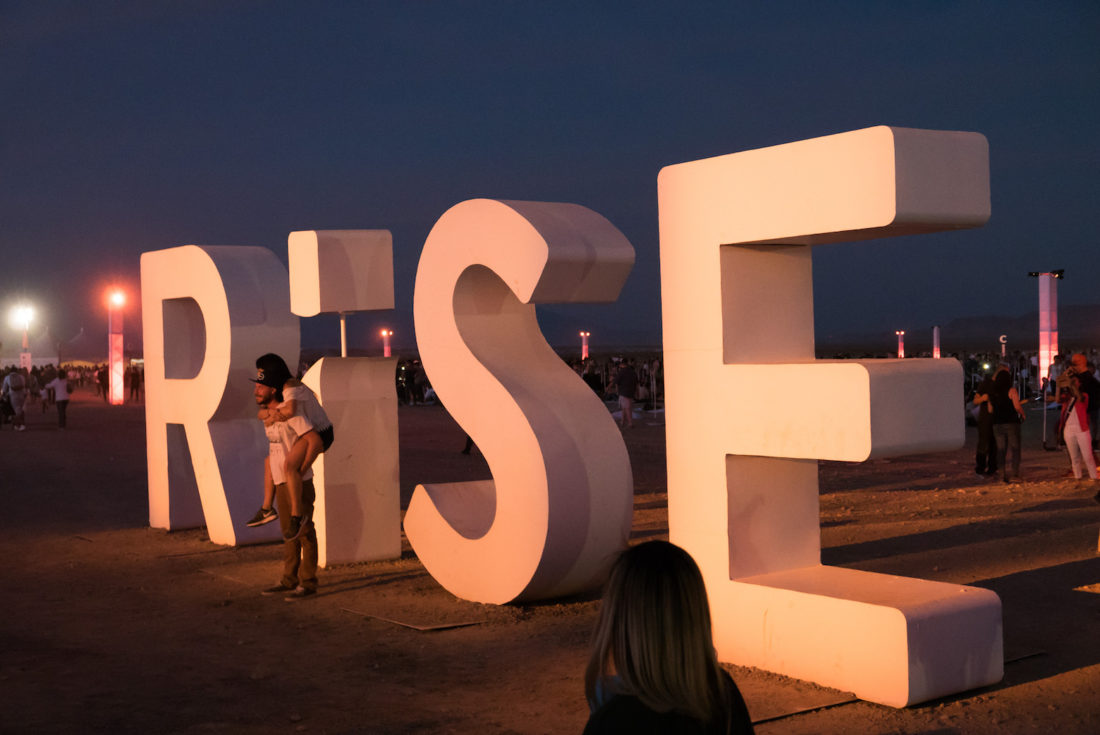
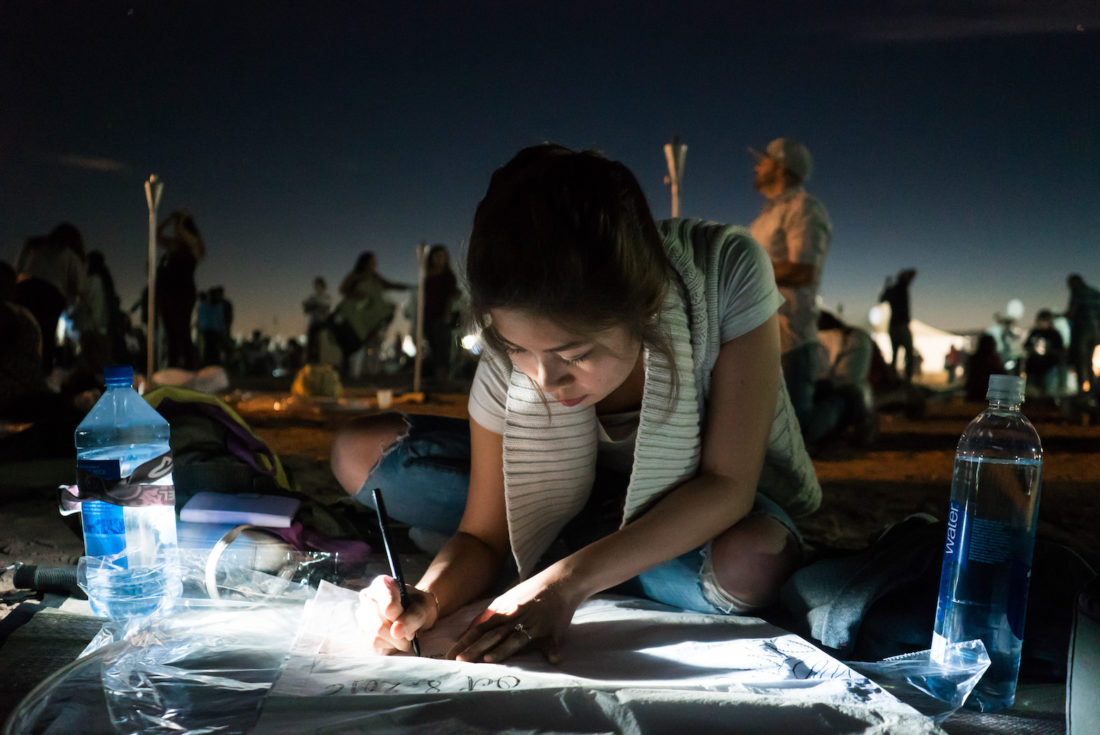
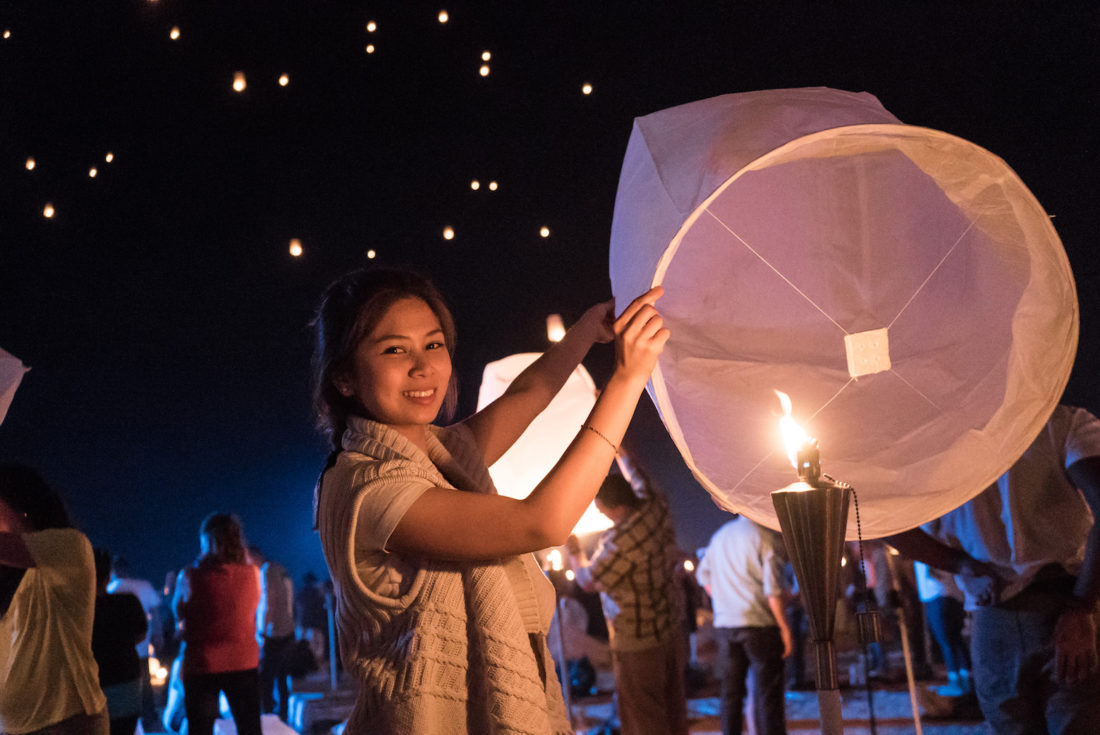
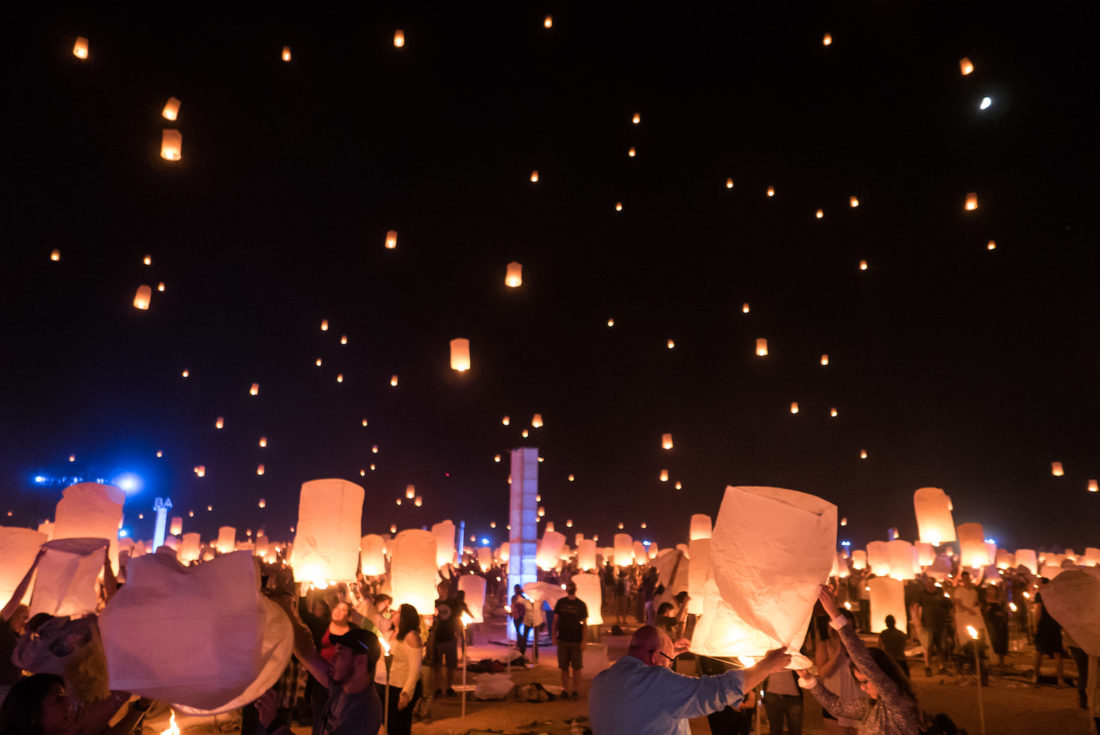
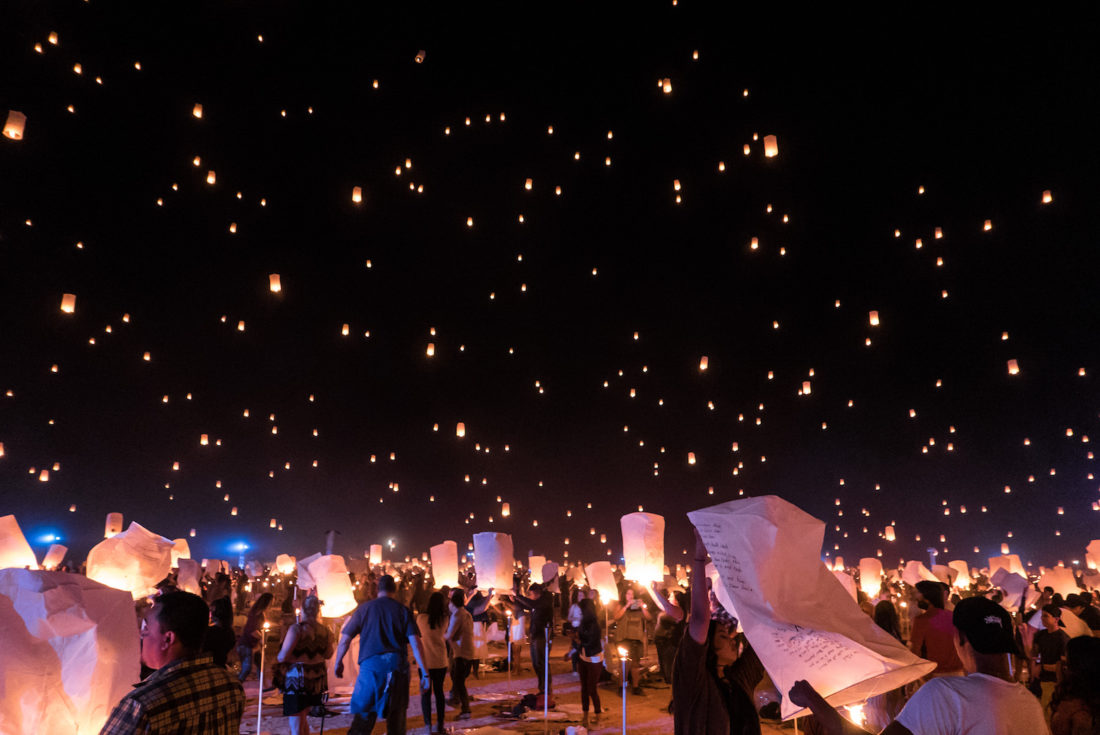
This past weekend, we attended the RiSE Lantern Festival with several friends in Nevada. Inspired by the lantern festival in Thailand, thousands of people attended the event to watch the spectacle of floating lanterns. Check out our video of this beautiful experience.

This event was held in the Moapa River Reservation, permitted by the Paiute tribe. We arrived around two hours before the first launch time to pick up our lanterns. Everyone took the time to write personal messages onto the lanterns about hope, prayers, inspiration and other positive messages. During the wait until the first launch, there was live music and food trucks to relax enjoy.

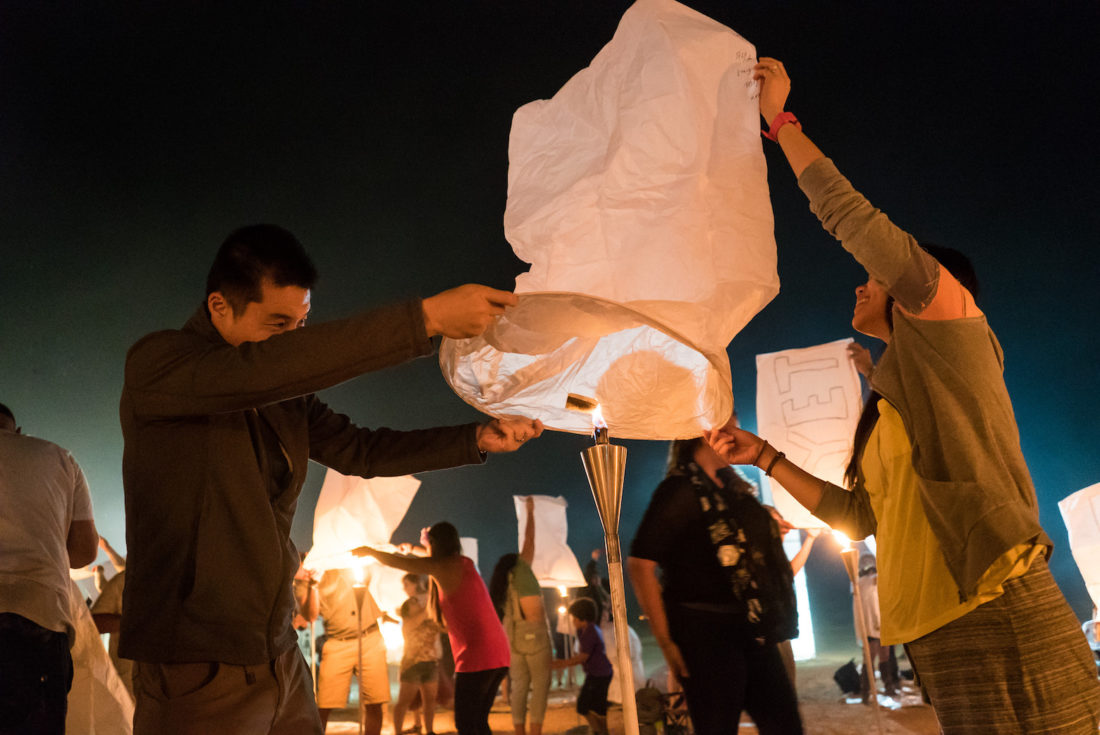
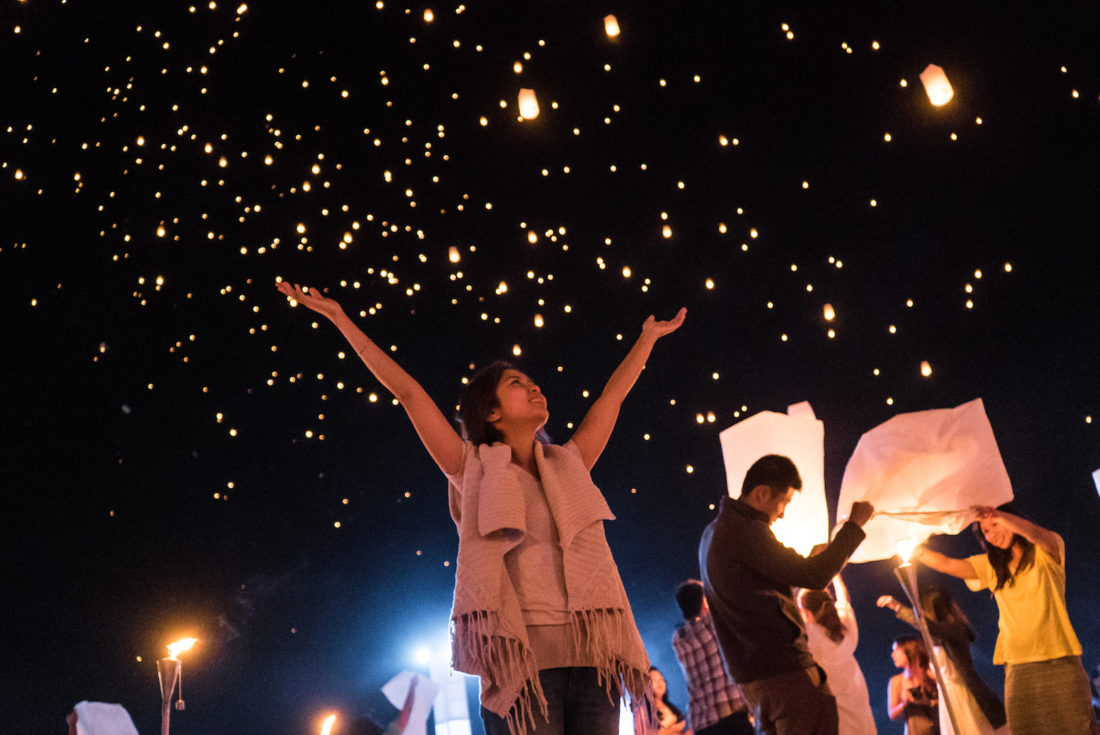
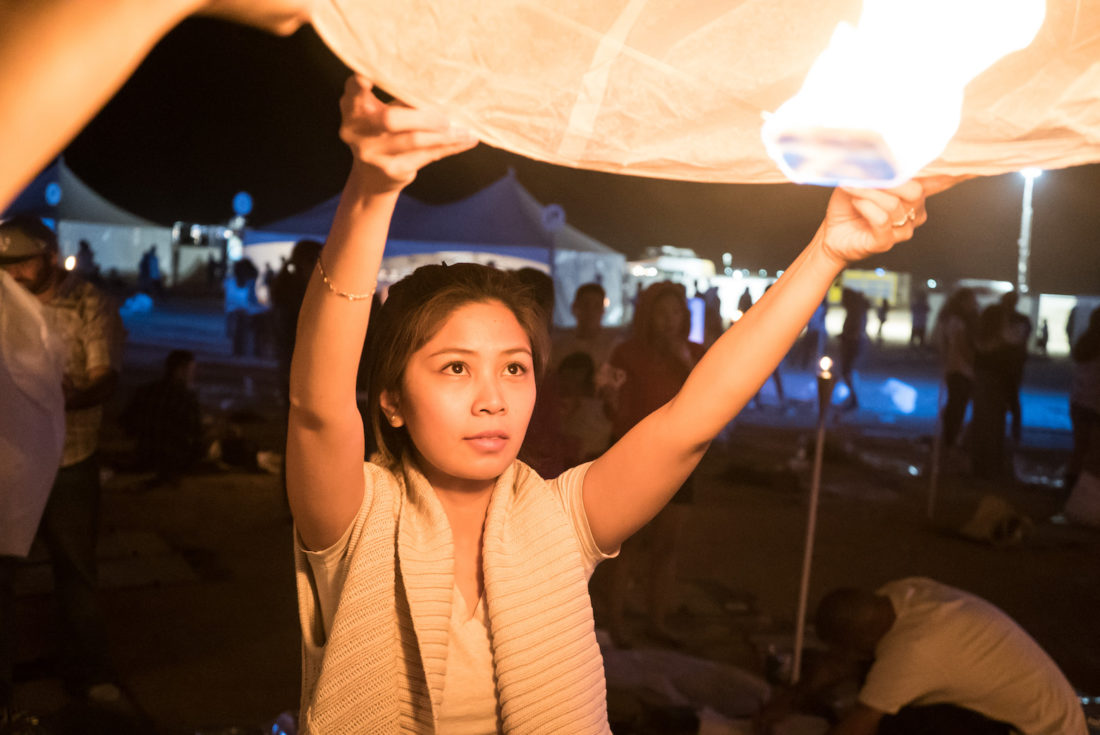
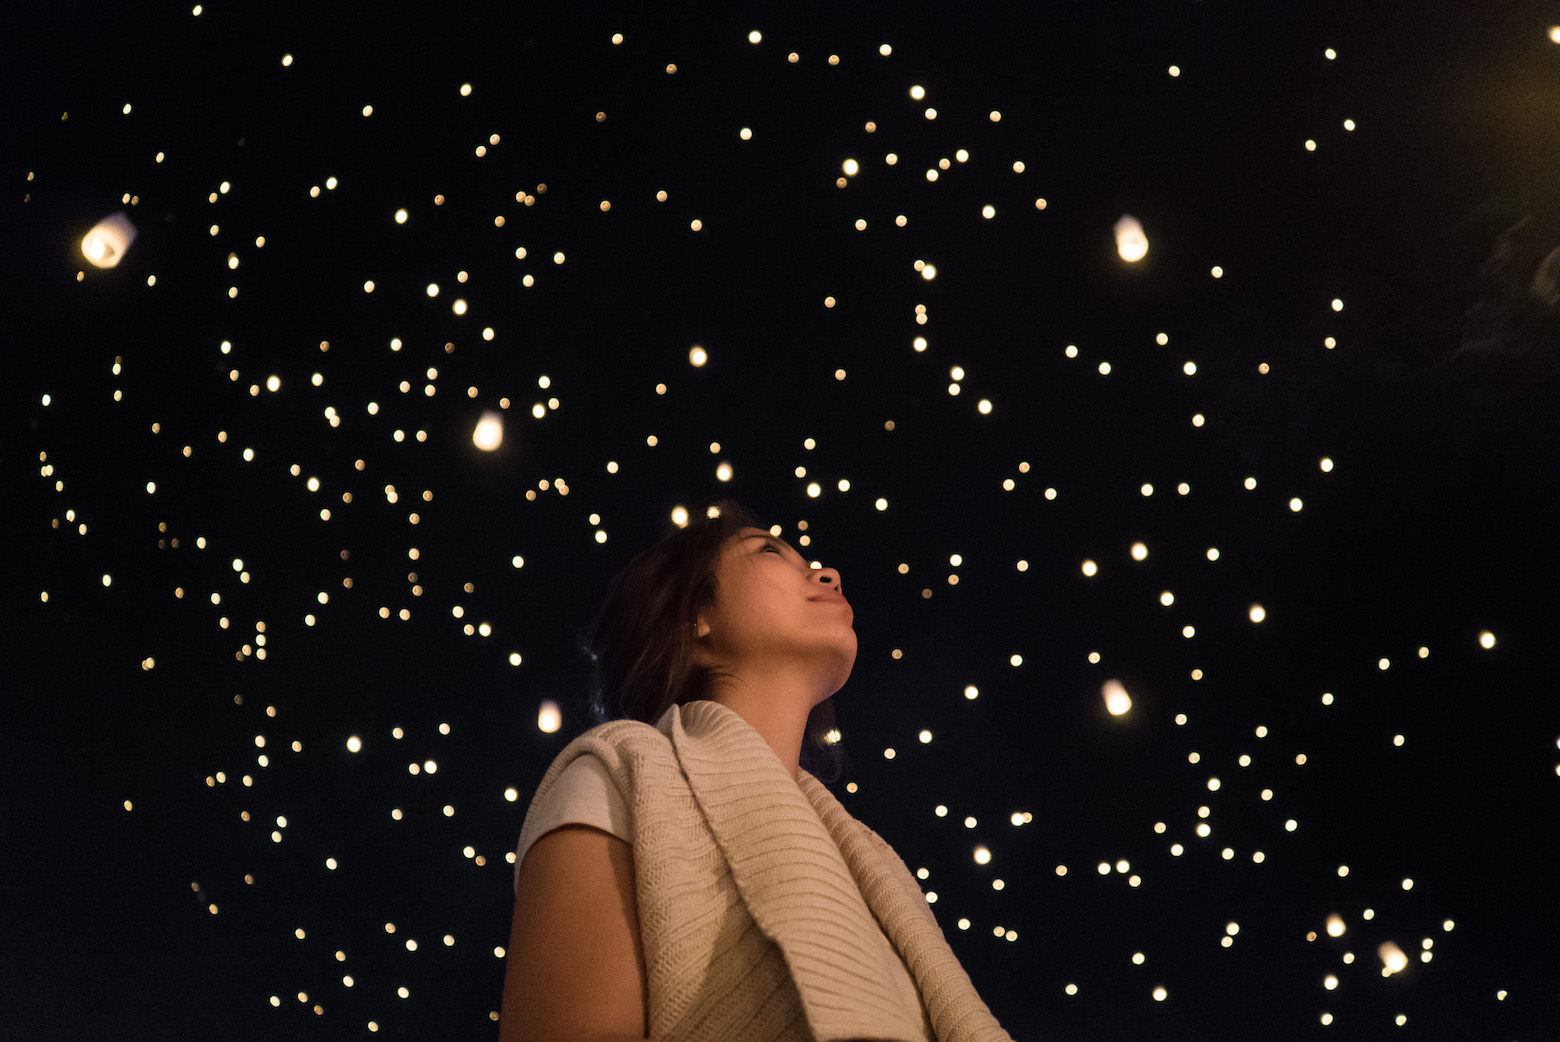
When the first launch time came, everyone lit their lanterns and launched them, sending thousands of floating lanterns into the sky. It was a surreal and beautiful thing to be a part of. About and hour later, the second launch came and the process was repeated. After all the lanterns were launched, spectators were treated to a fireworks show as the finale.

In case you’re worried about any potential pollution, all of the lanterns are biodegradable with short burn times and trash teams pick up any leftover debris afterwards. The location is also scouted ahead of time to prevent any potential fires from happening. It’s a great event to check out and a beautiful experience to be a part of.

rise-festival_130

Writing messages

Lighting the Lantern Lantern Covered Skies Lighting the lantern rise-festival_061
rise-festival_142 rise-festival_148

RISE Lantern Festival, Nevada
Share

Exploring Temples in Angkor – Siem Reap, Cambodia

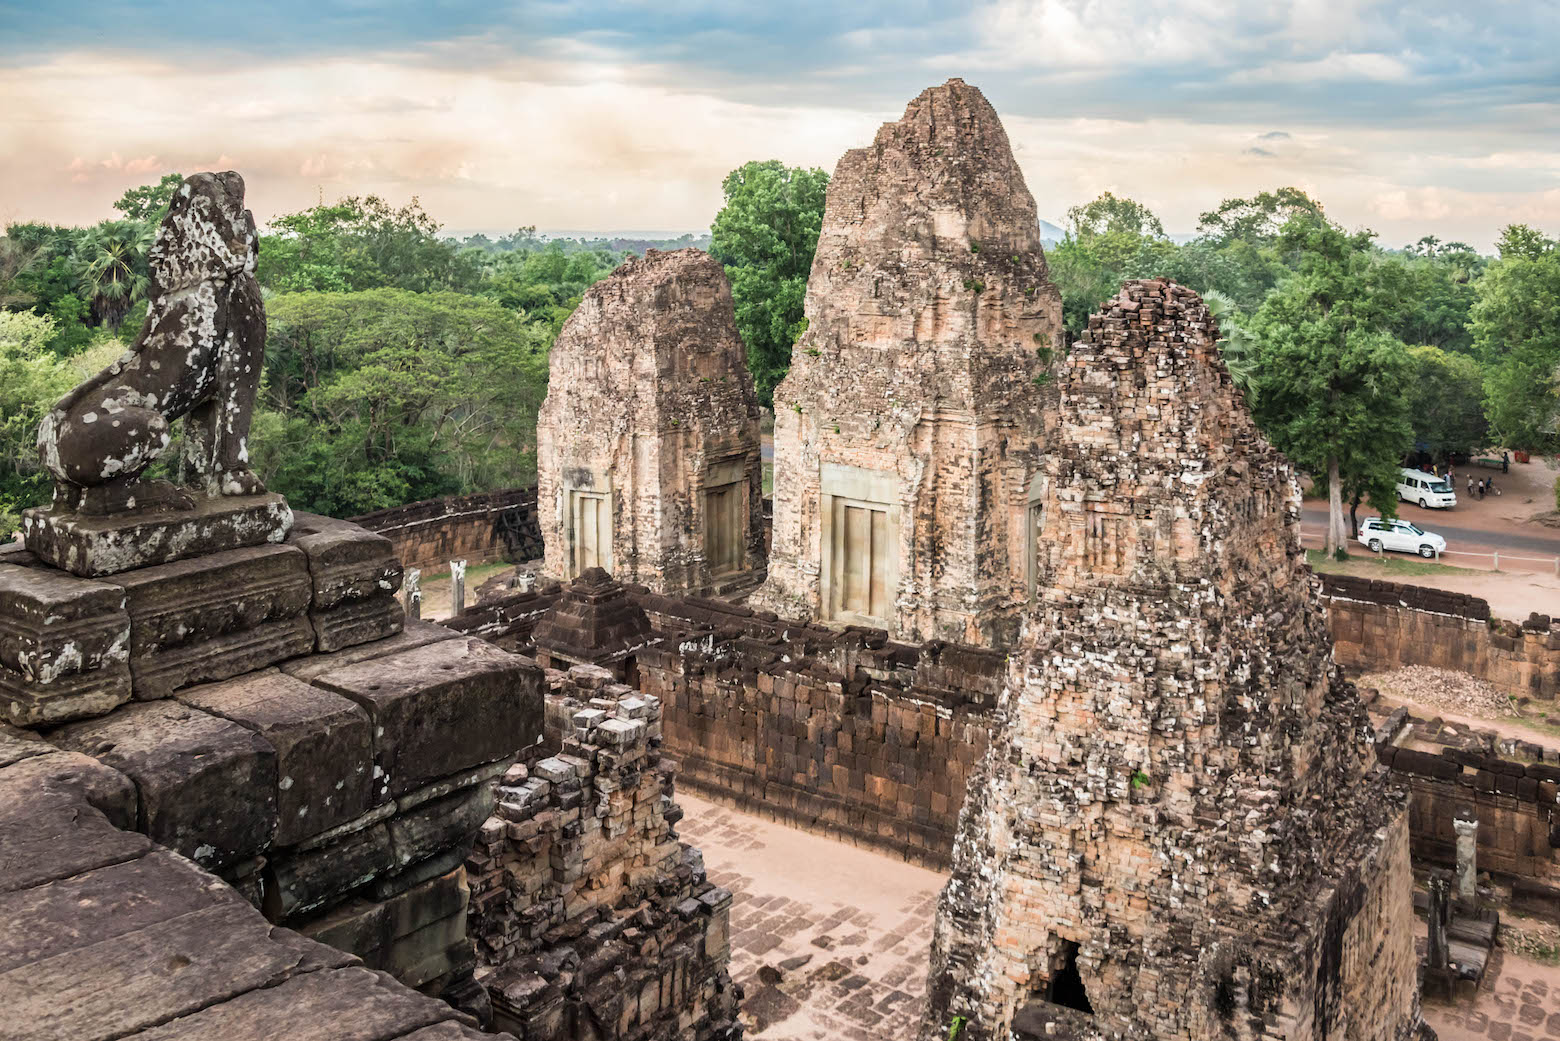
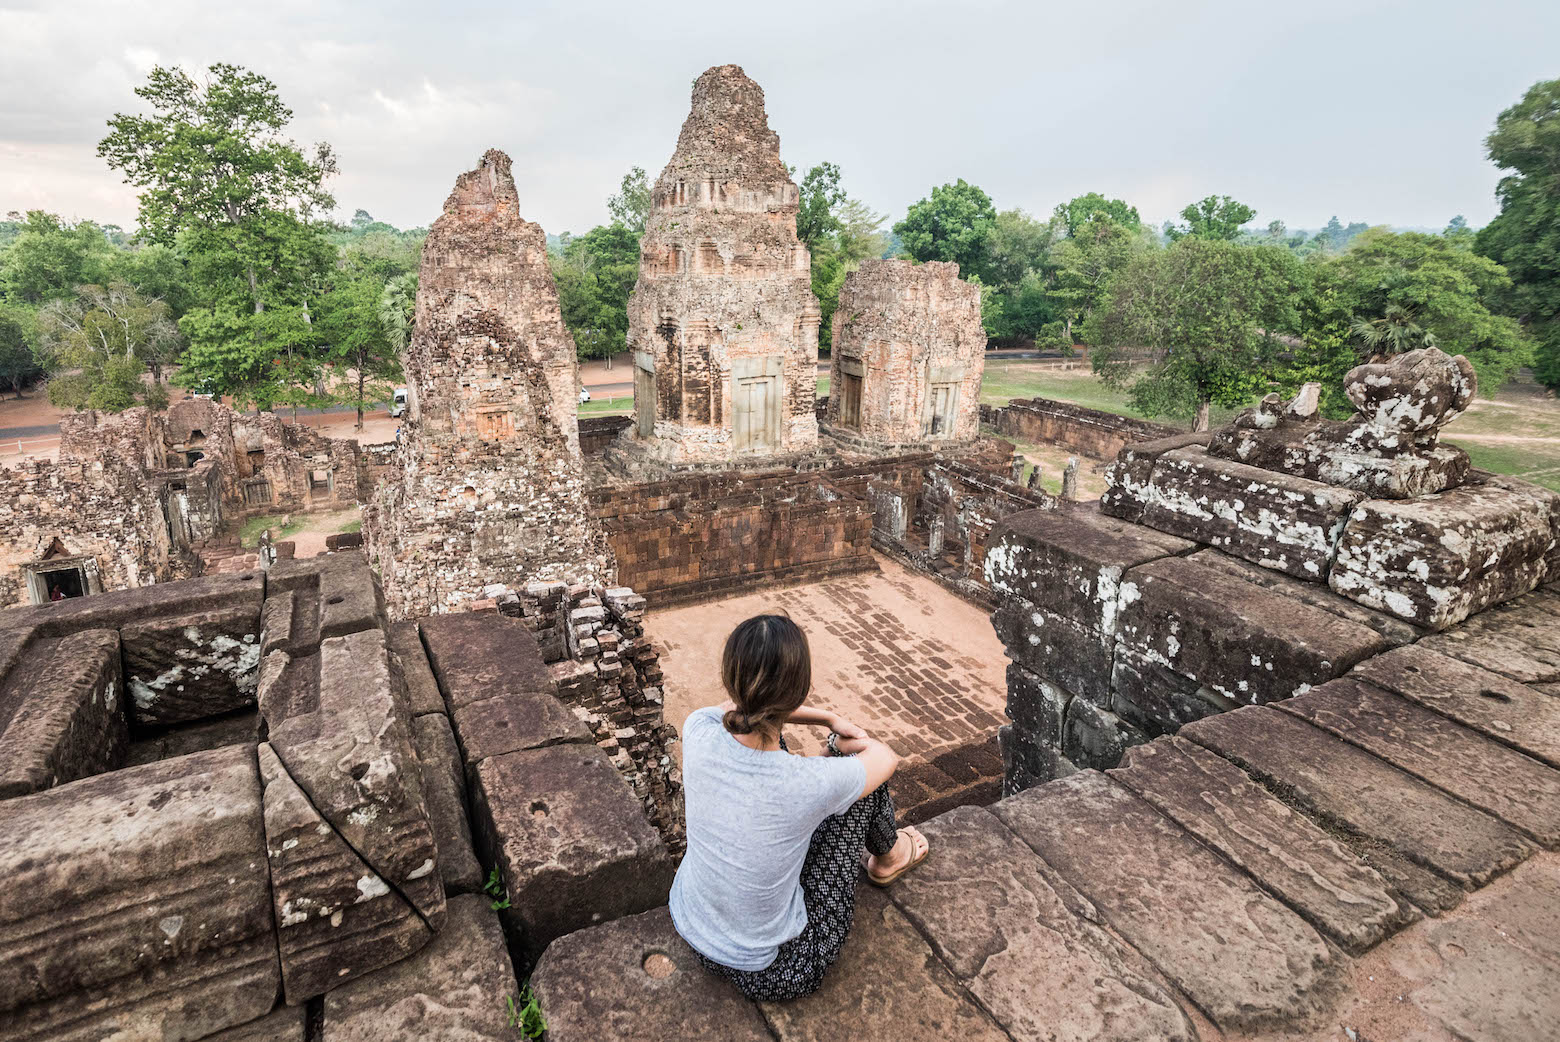
Cambodia Temples

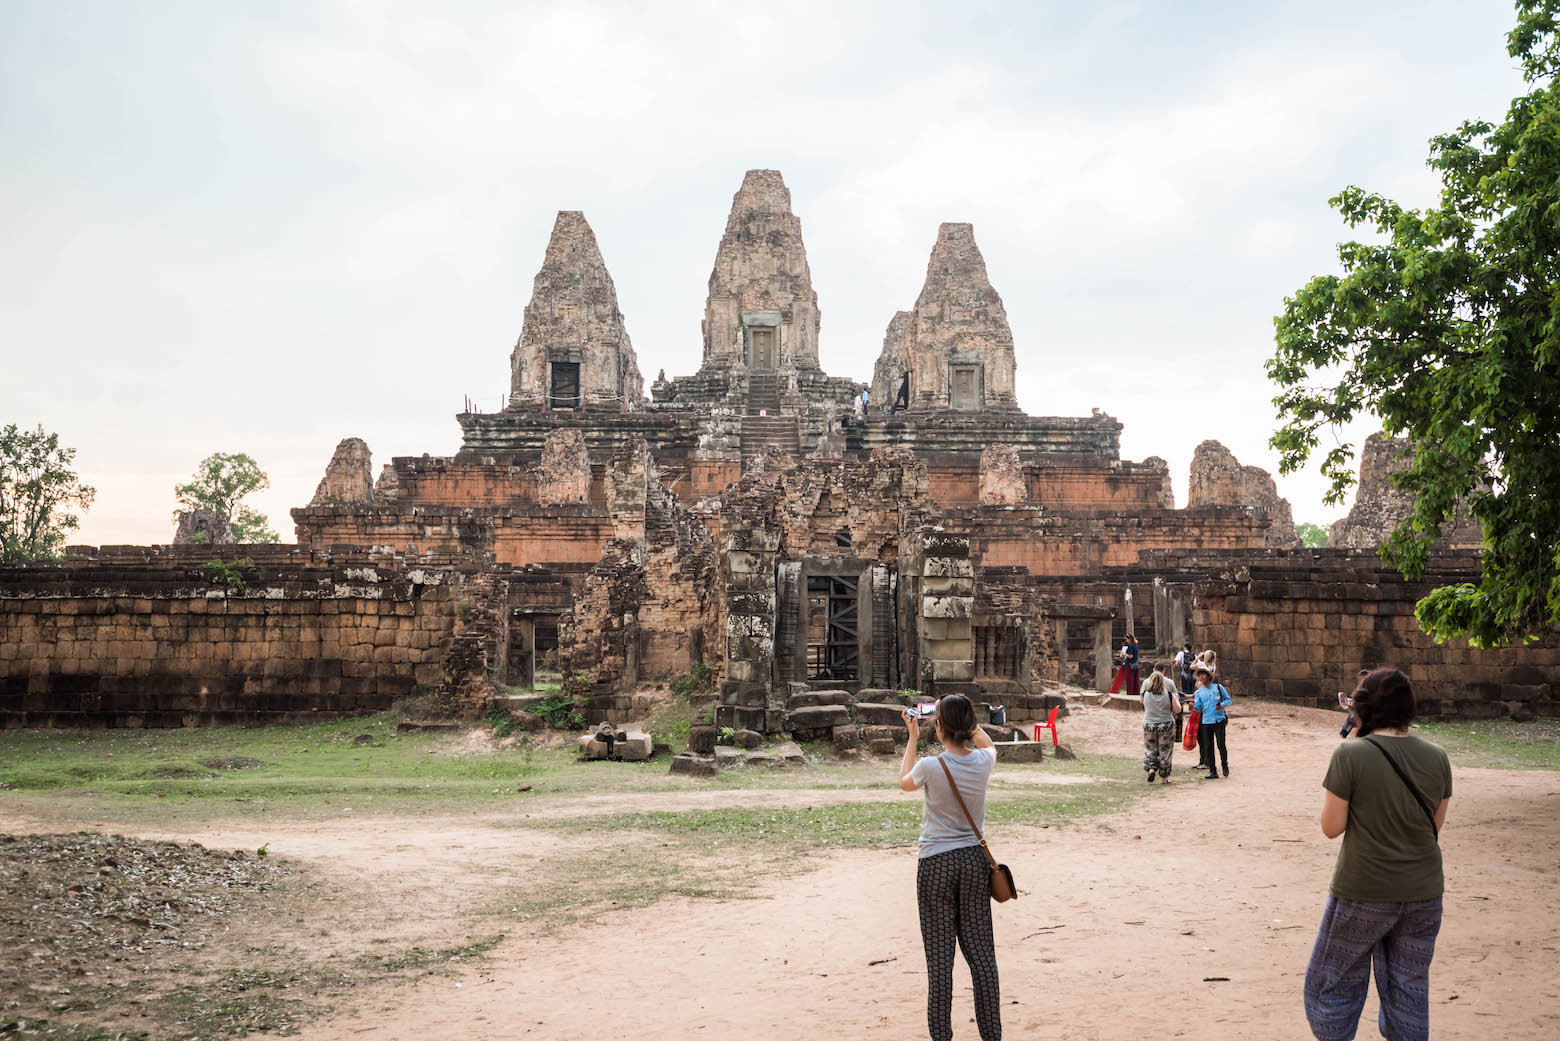
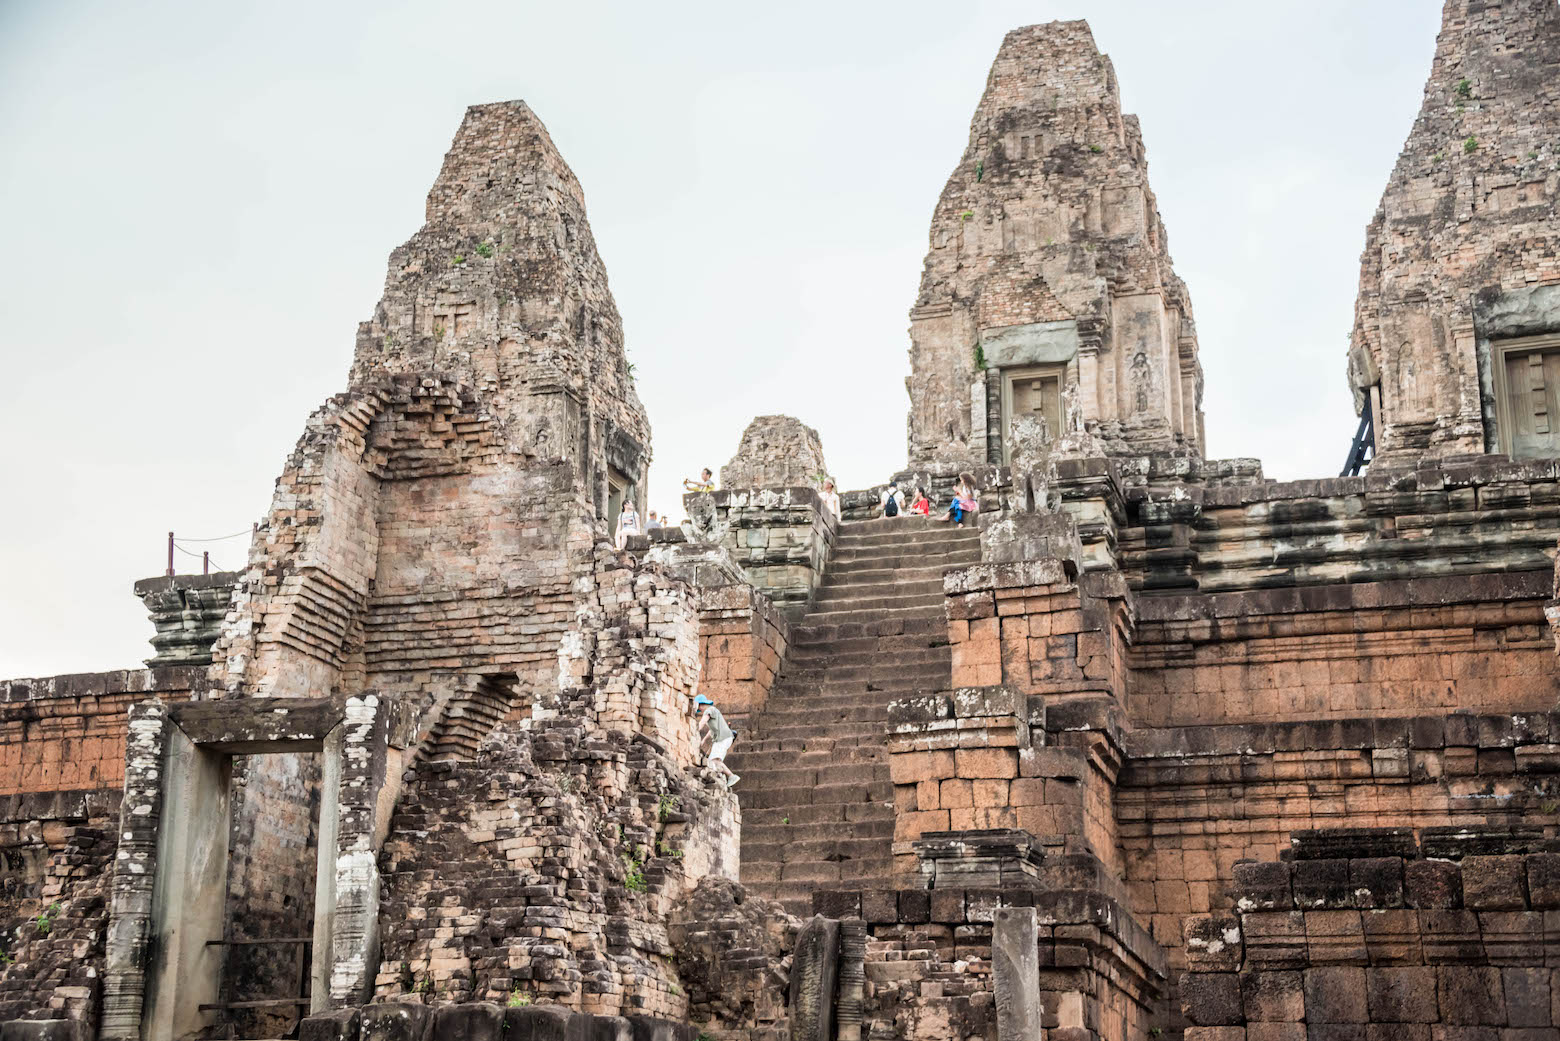
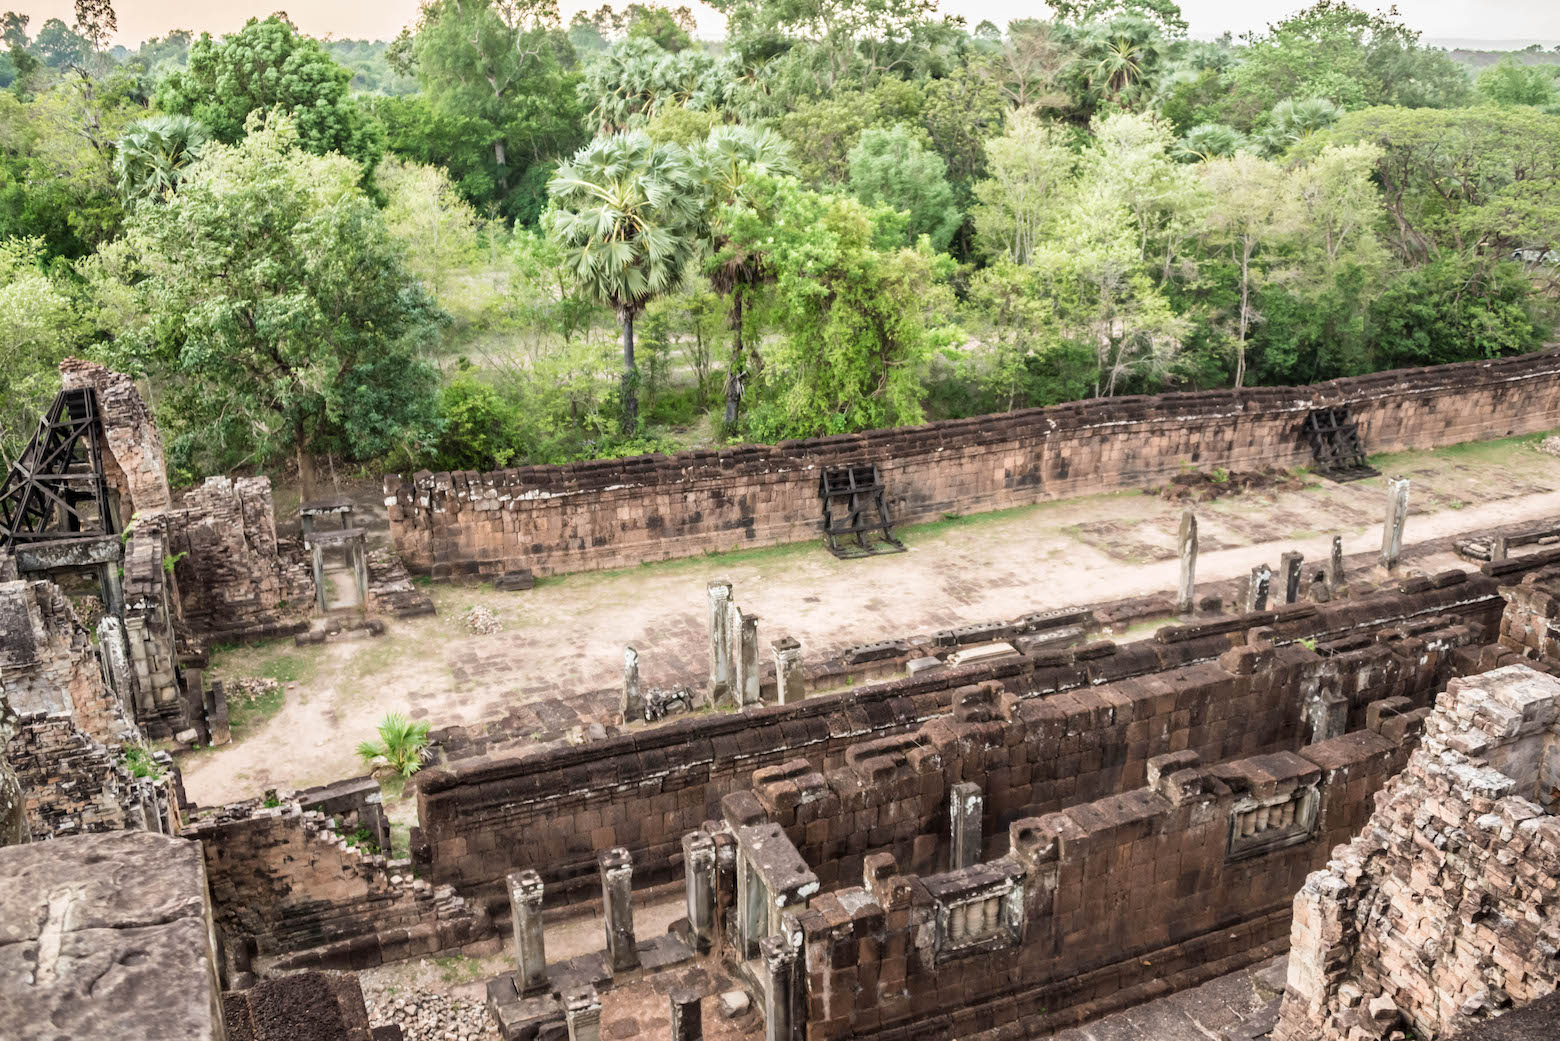
The main reason we wanted to visit Cambodia was to see the renowned Angkor Wat and many of its other temples. We definitely saw Angkor Wat, so check that off the bucket list, but there are literally thousands of temples to check out in Angkor, Siem Reap. Thankfully, many temples are in close proximity to each other and we had a wonderful and knowledgeable guide that took us around. So even when we were there for only a weekend, we still saw several other amazing structures. Here are the temples and sites we explored during our visit.

Angkor Wat

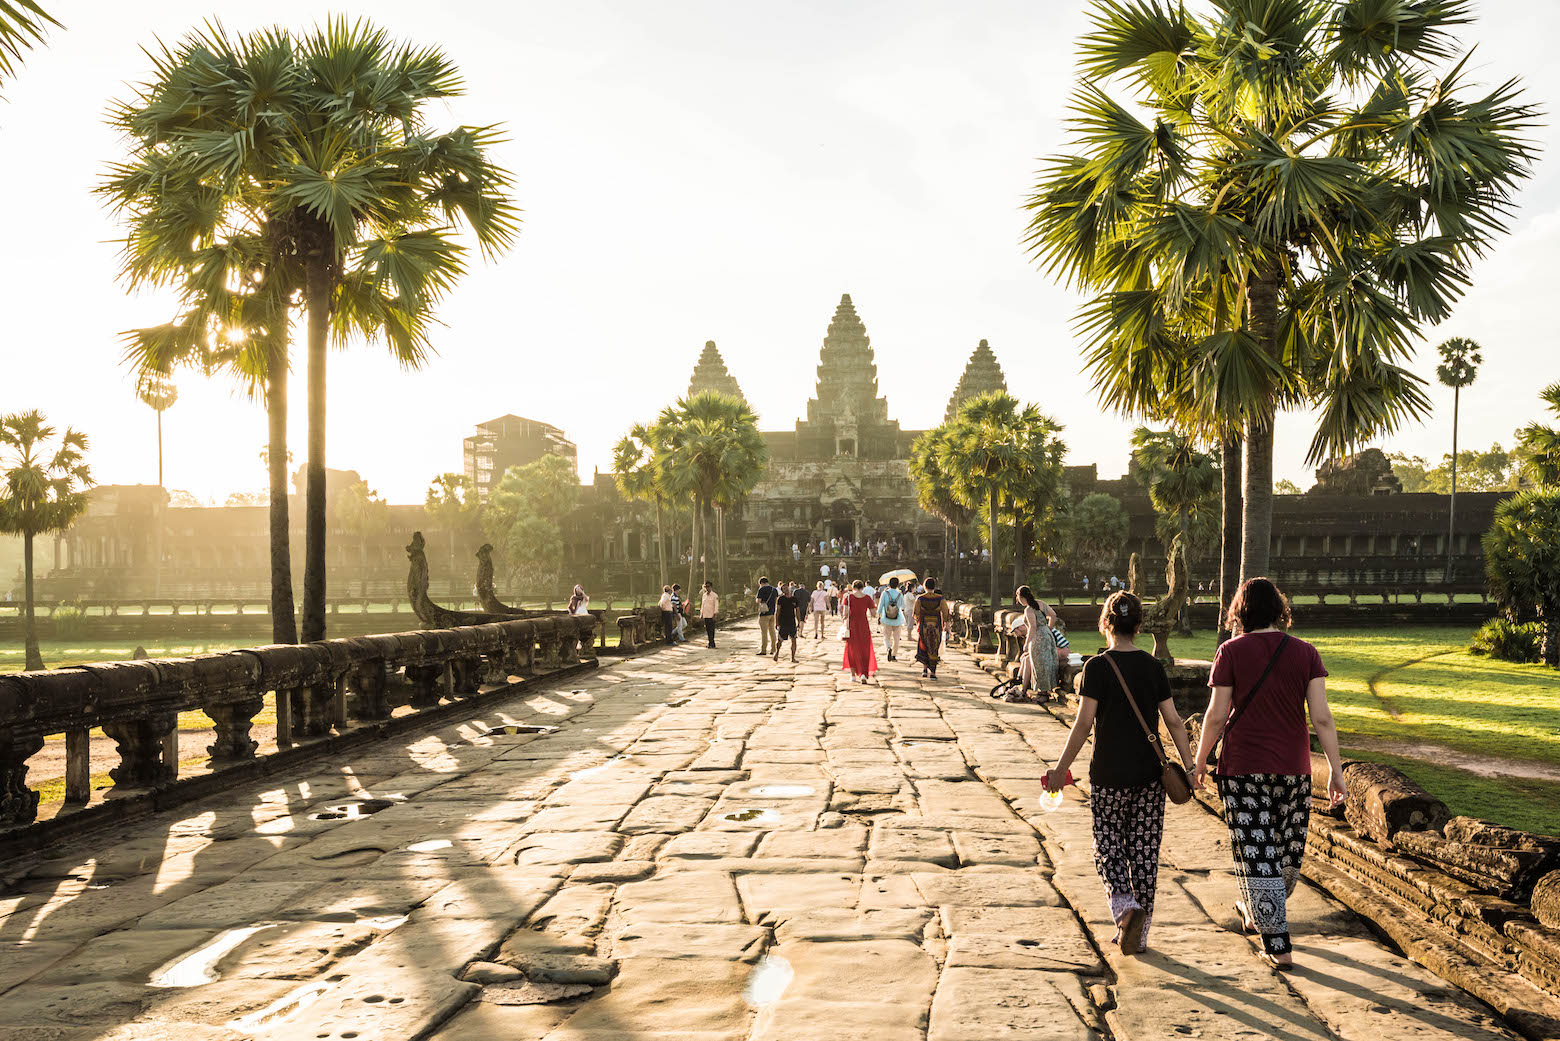
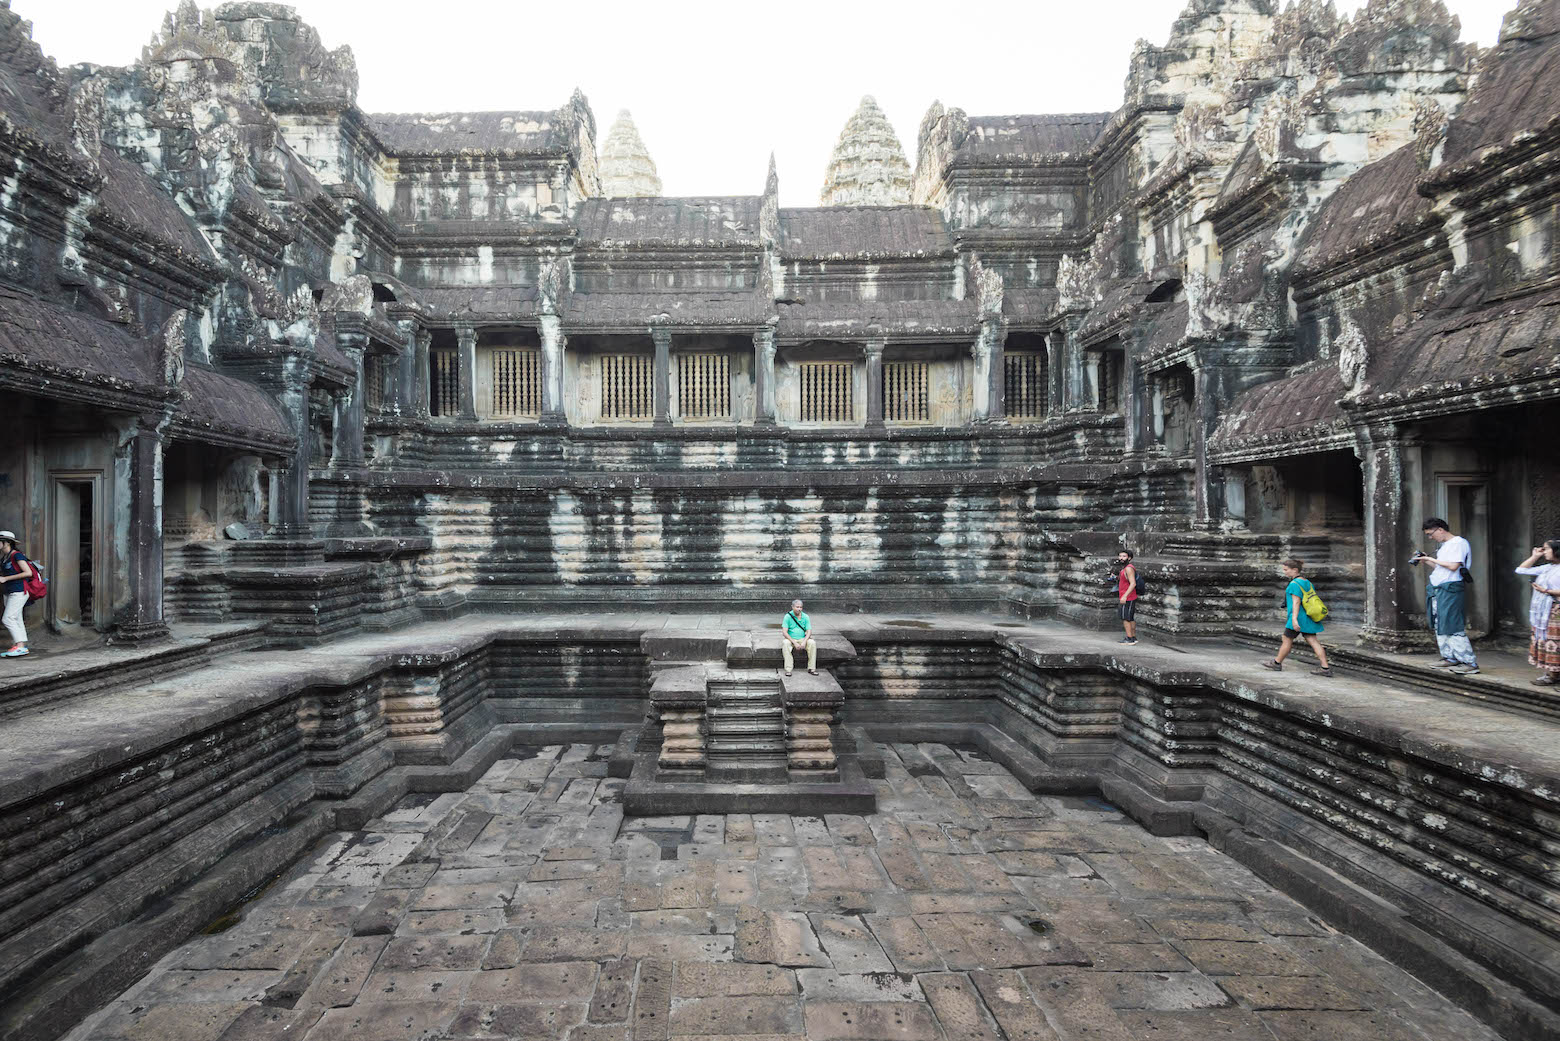
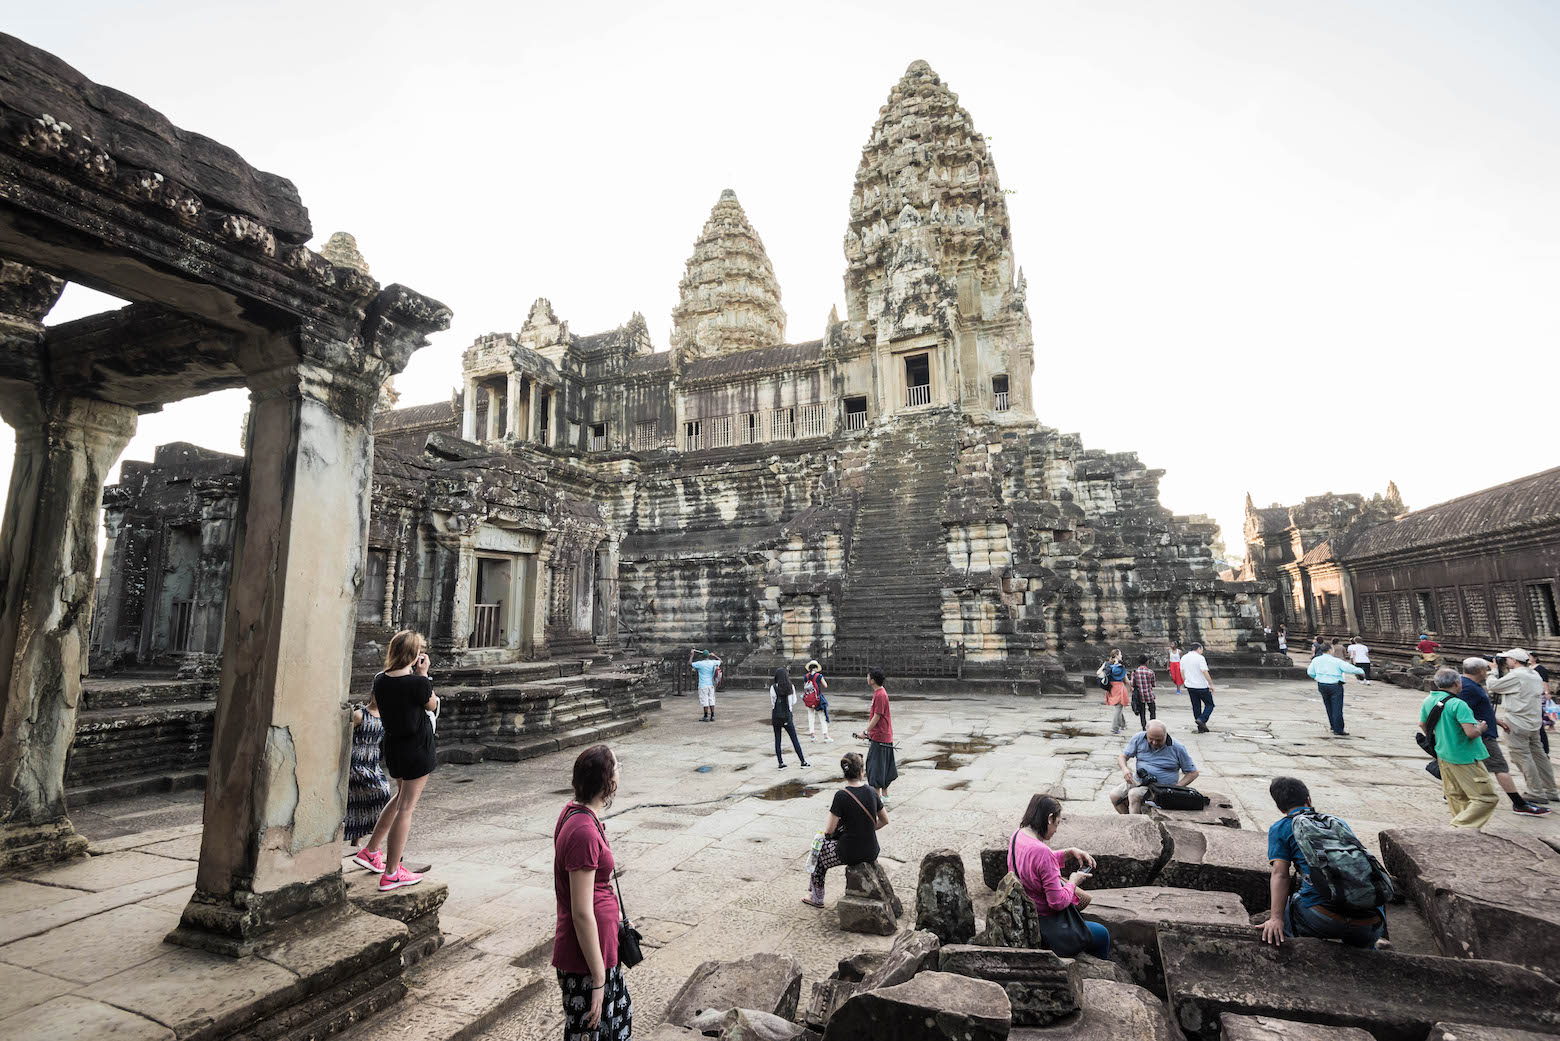
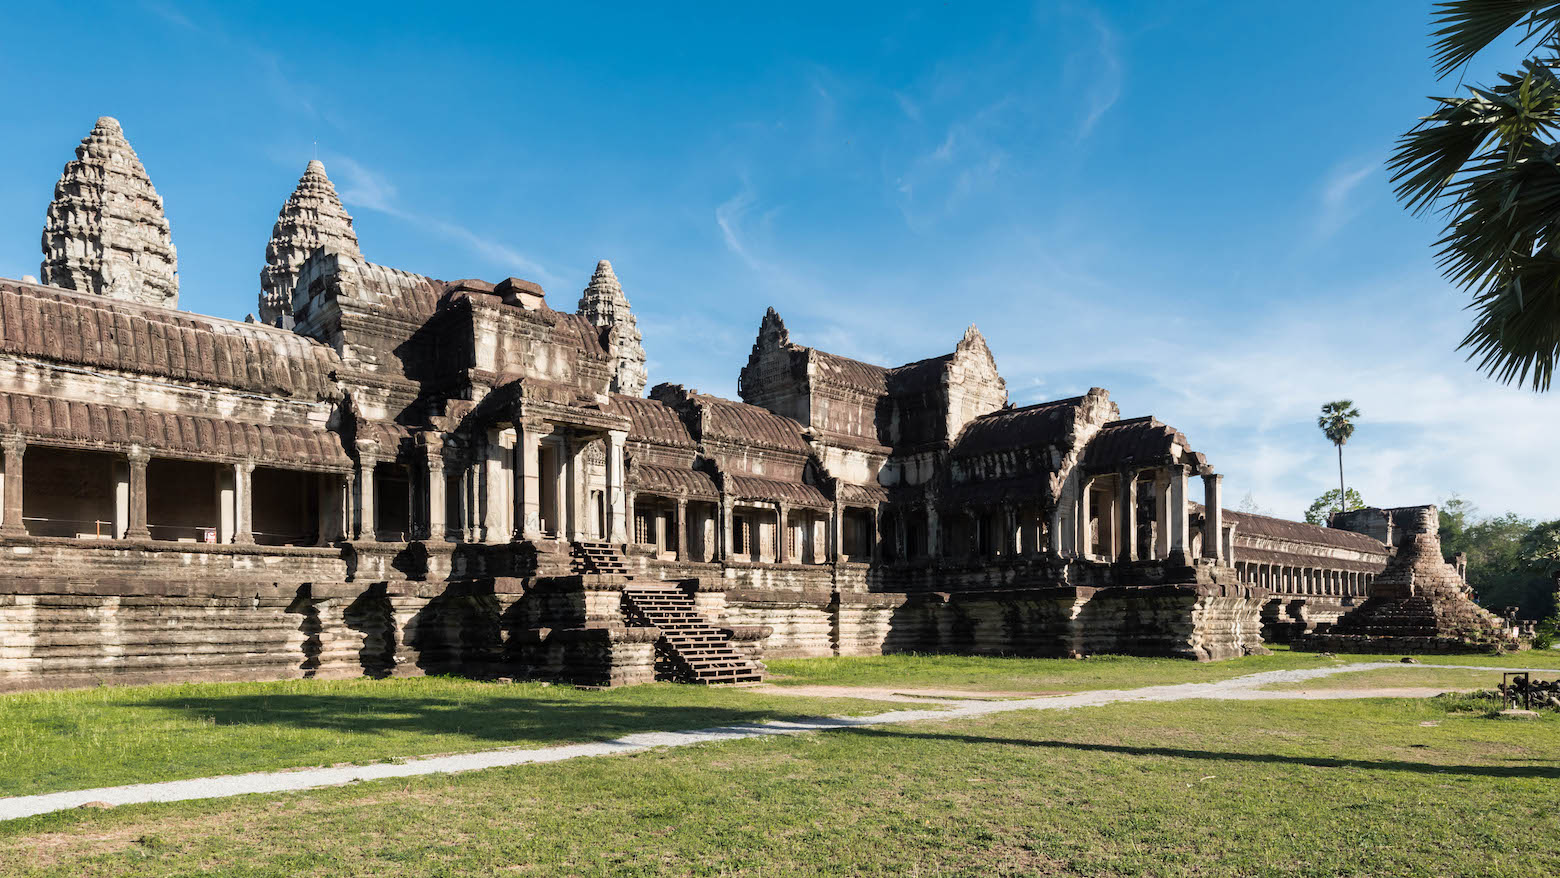
There’s no doubt that Angkor Wat is the biggest attraction, literally and figuratively, out of all the temples in Cambodia. It’s actually the largest religious monument in the world! The temple is enclosed by a wall measuring 2.2 miles long and surrounded by a moat.

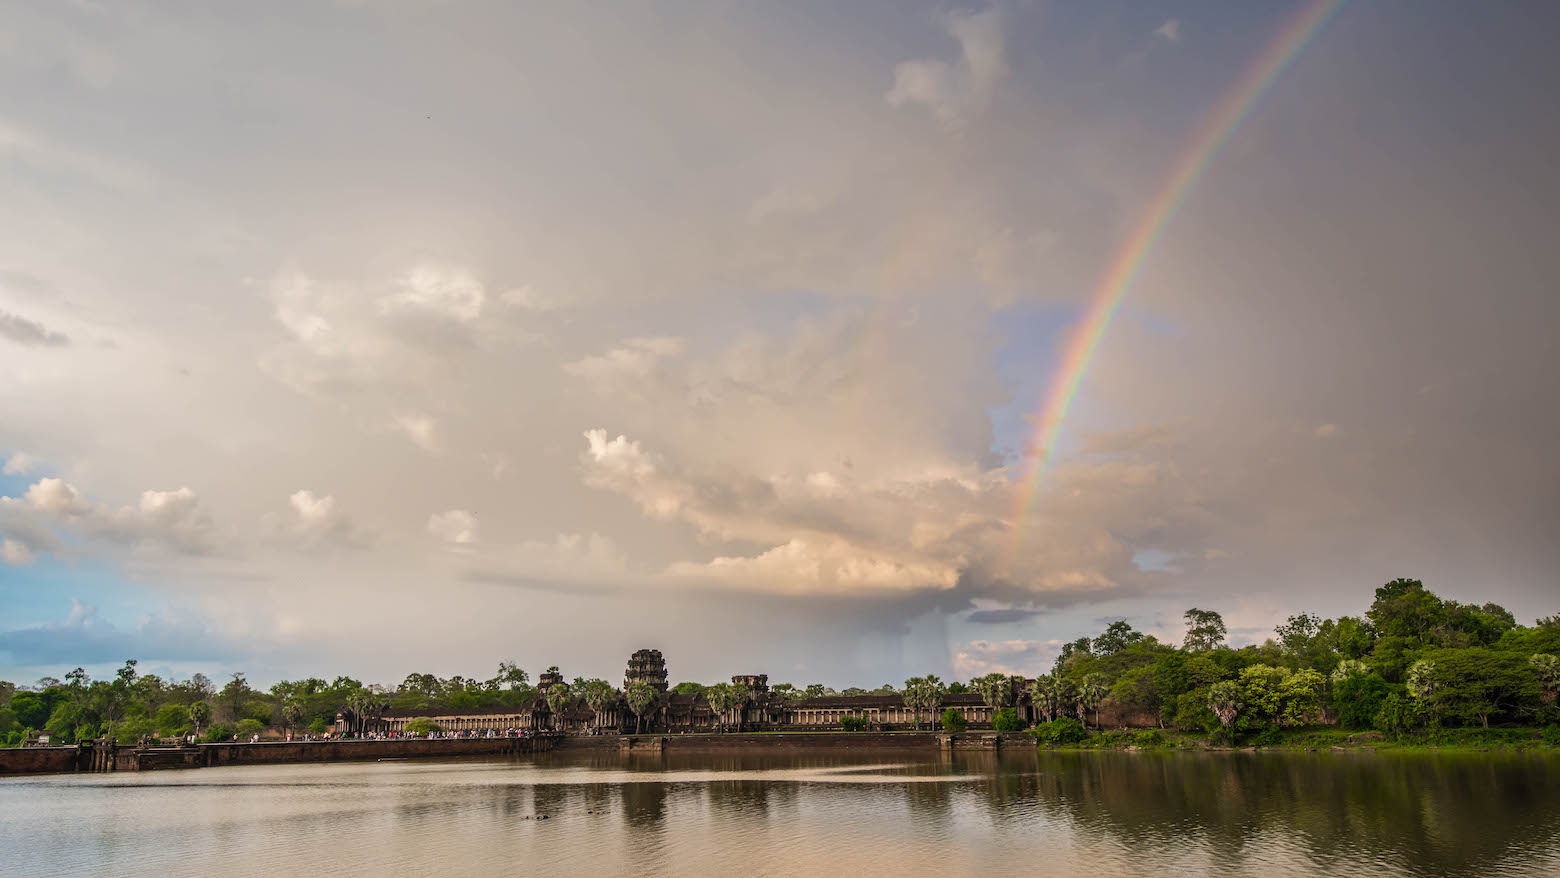
Inside the wall is a long path that goes straight to the temple. Off the path, on each side are lily ponds for the famous picturesque reflection of Angkor Wat. We went early at 5 am to catch the sunrise and it was absolutely breathtaking! There were also loads of tourists also trying to take the same shot (something to expect during your visit), but after an hour the crowds mostly emptied and left us to explore the temple mostly to ourselves.

giphy

Bayon Temple

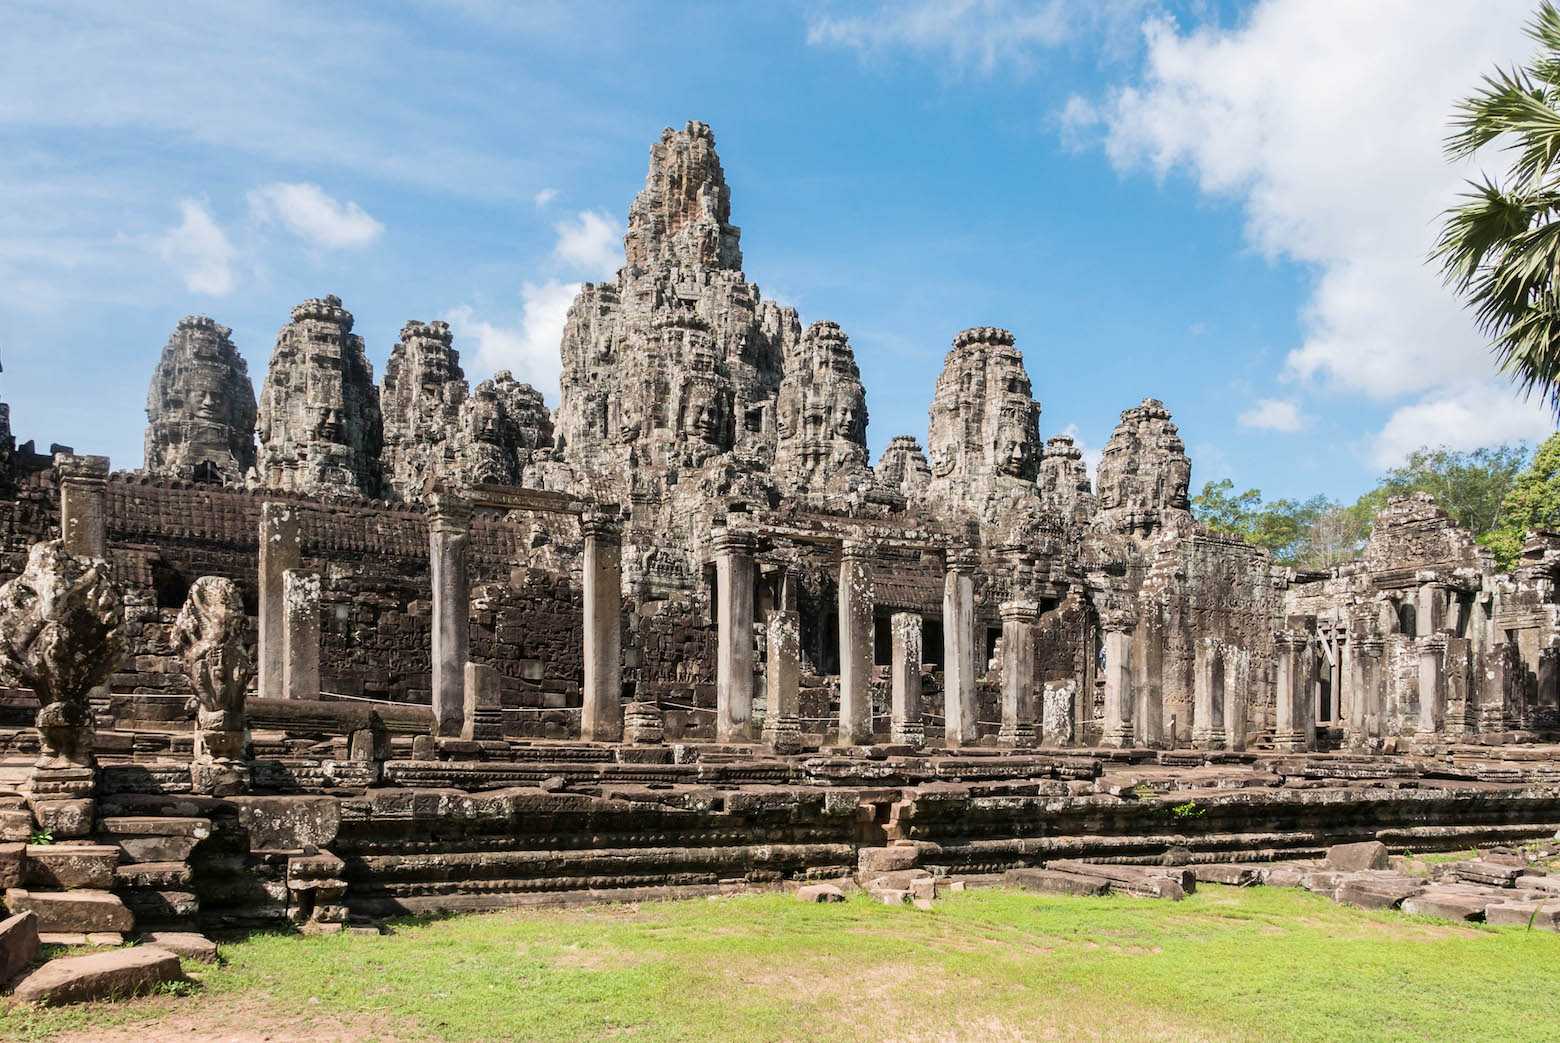
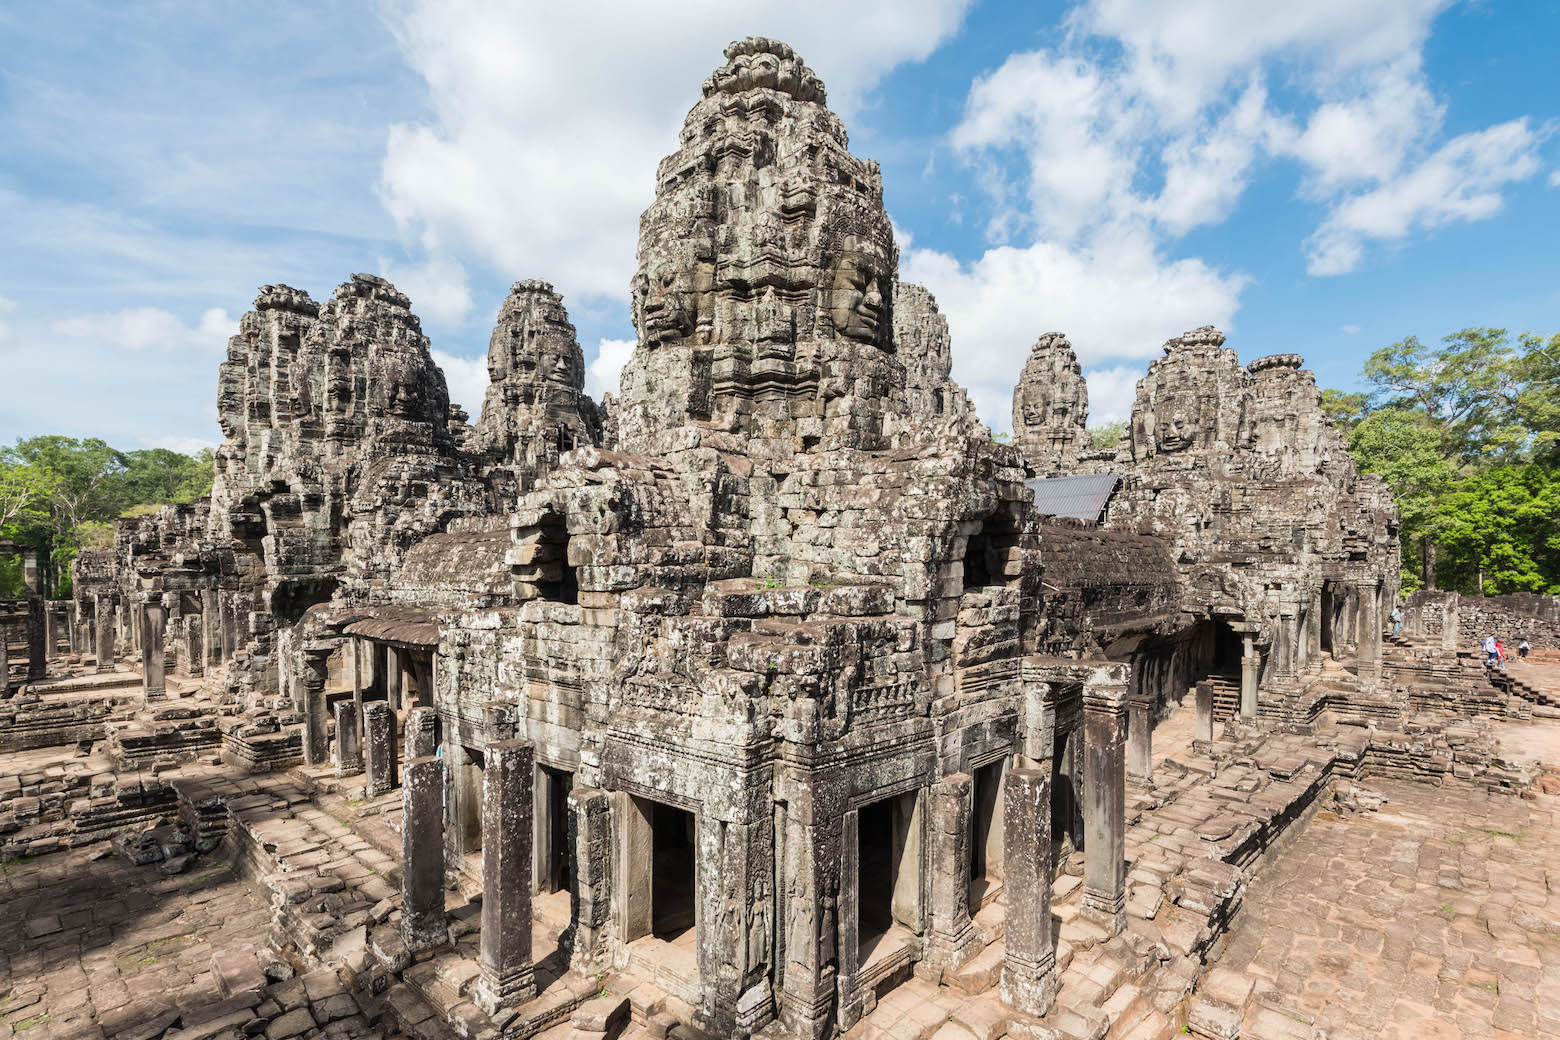
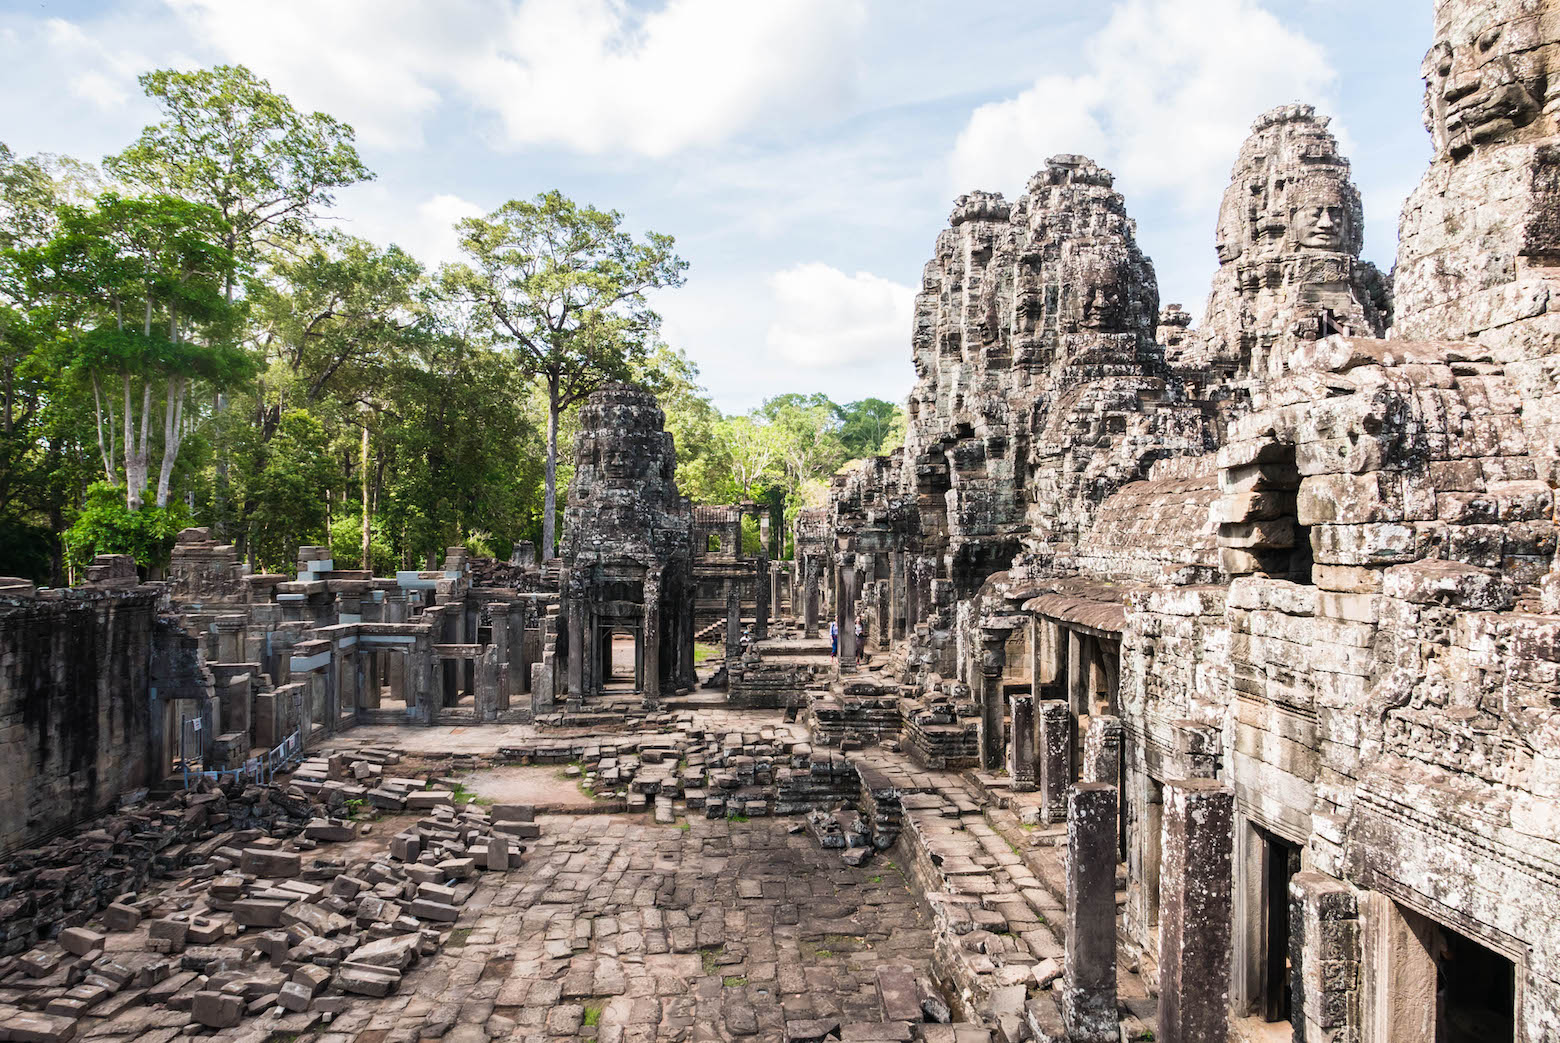
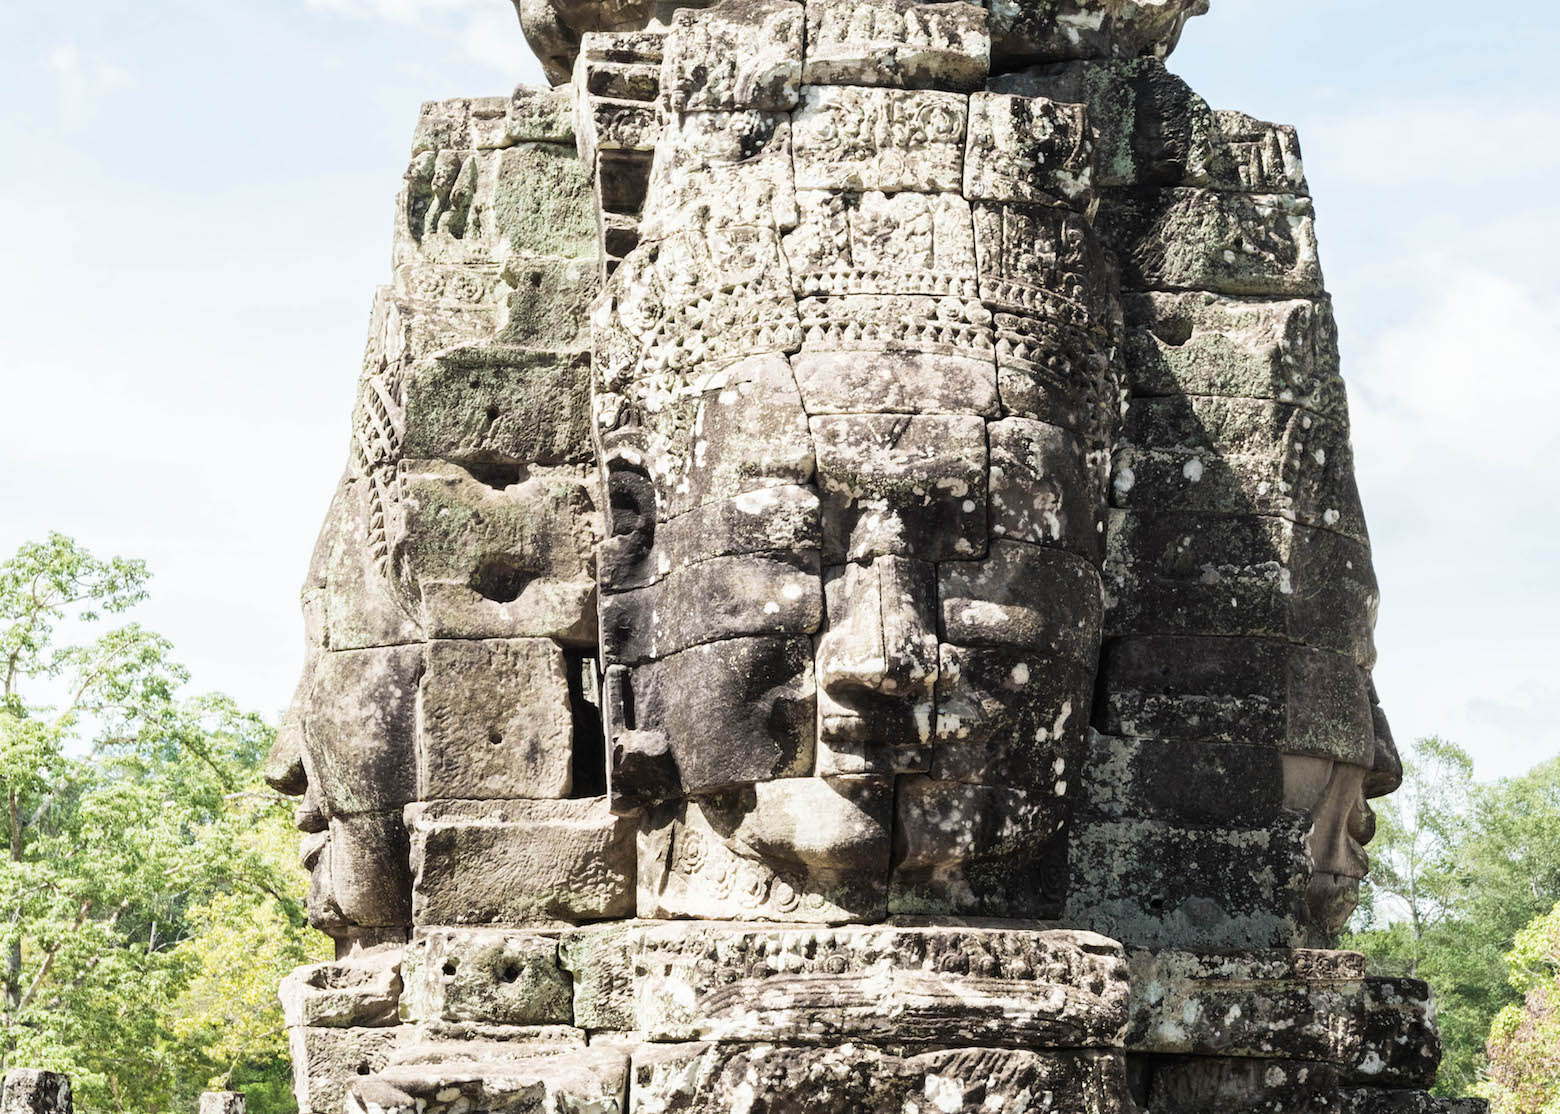
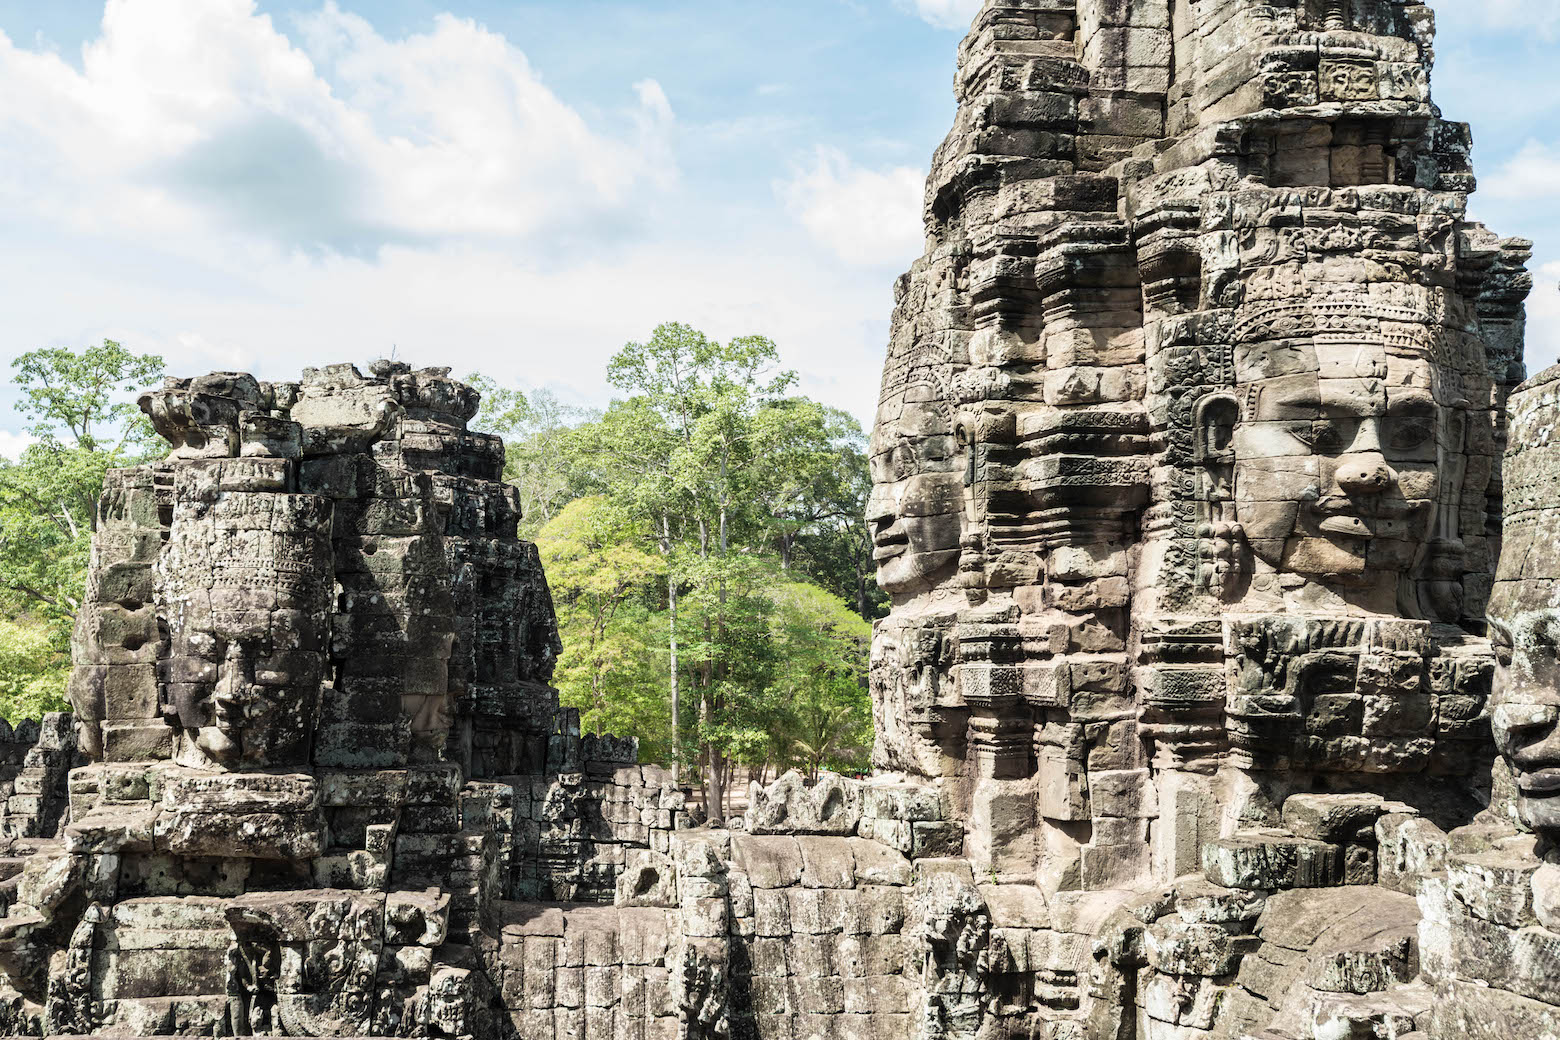
Known simply as “The Bayon,” this temple is well-recognized for having massive carved, smiling faces on top of its towers. There are stairs within the temple that will take you to the top level and let you come face-to-face with these giant stone faces. You can also climb one of the outer towers to really get a great semi-aerial view of the temple and its surroundings.

East Mebon

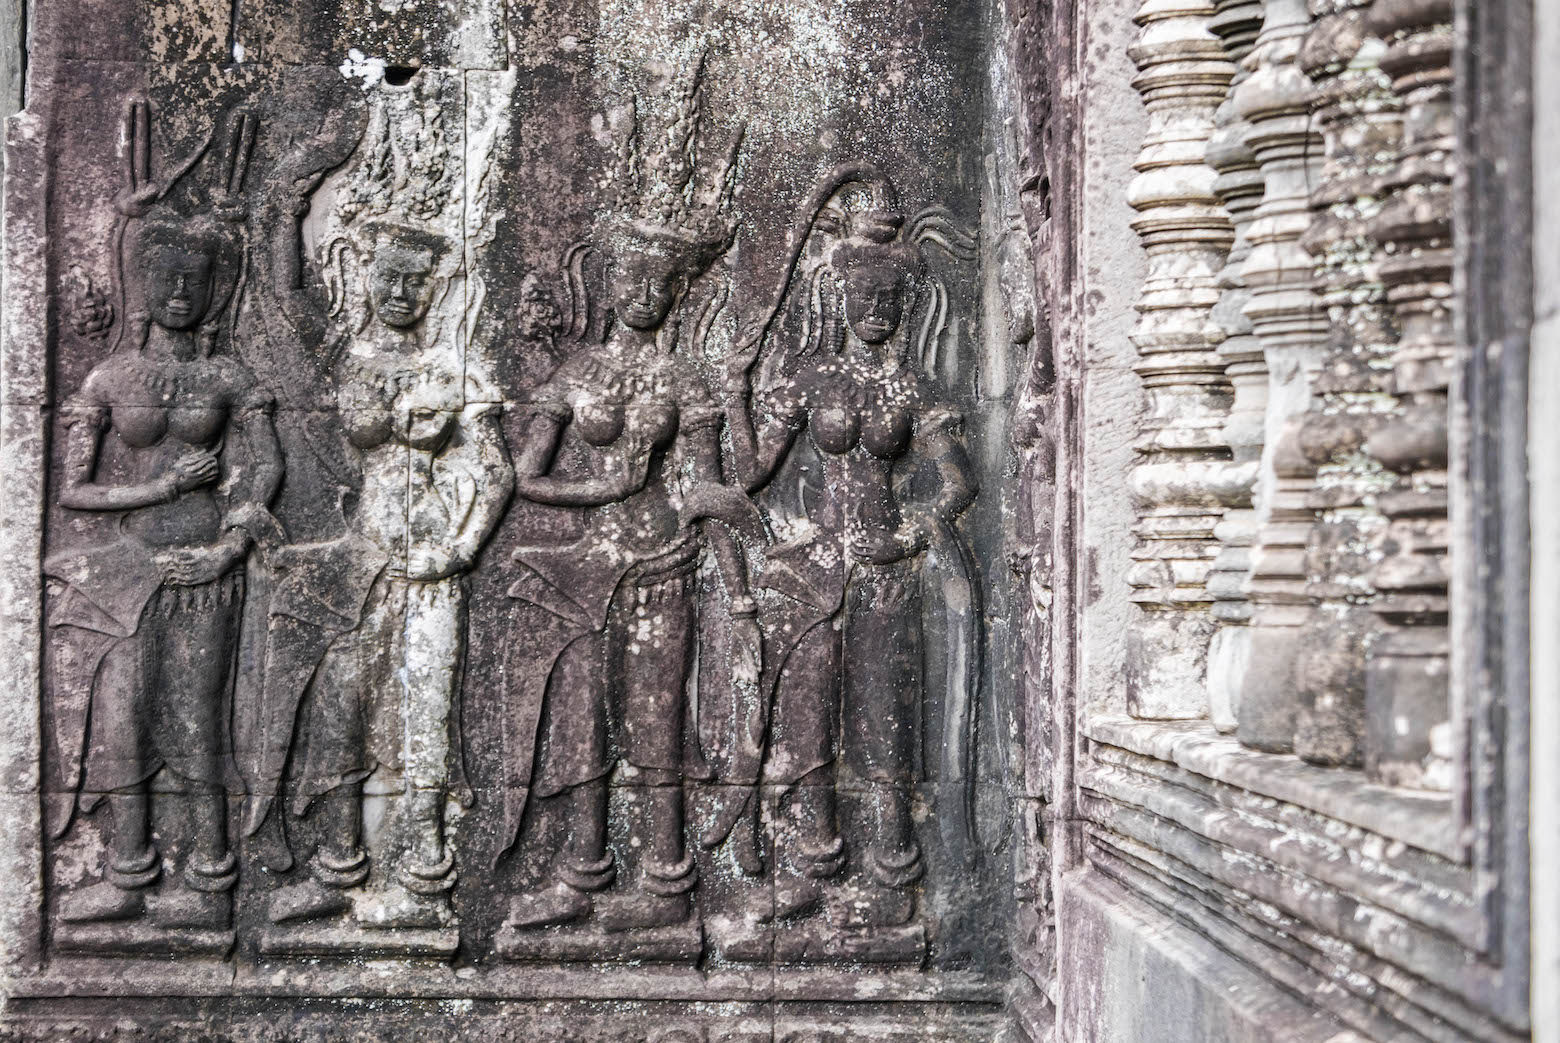
This temple used to be entirely surrounded by water and could only be accessible by boat. It stands on top of an island in what was once a baray (artificial body of water) that was used for irrigation. You can find many well-preserved, fine-detailed sculptures of elephants, lions, and mythical creatures and figures. The top also provides a great vantage point to see the temple layout and a perfect view to watch the sunset.

Ta Nei

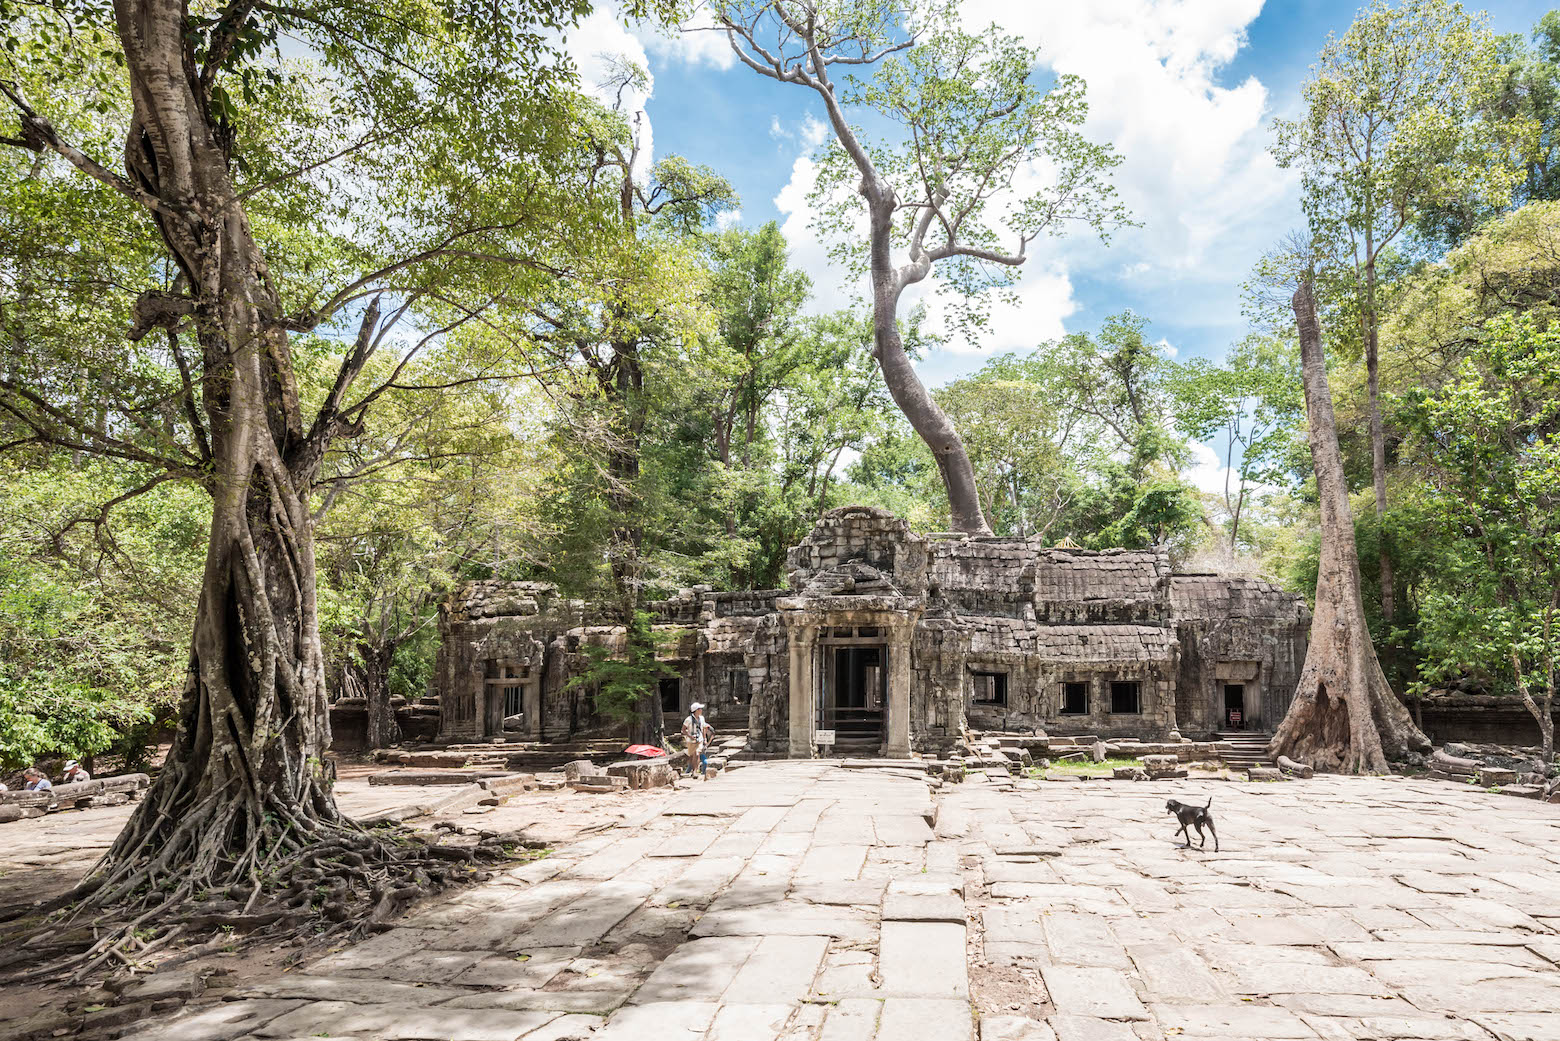
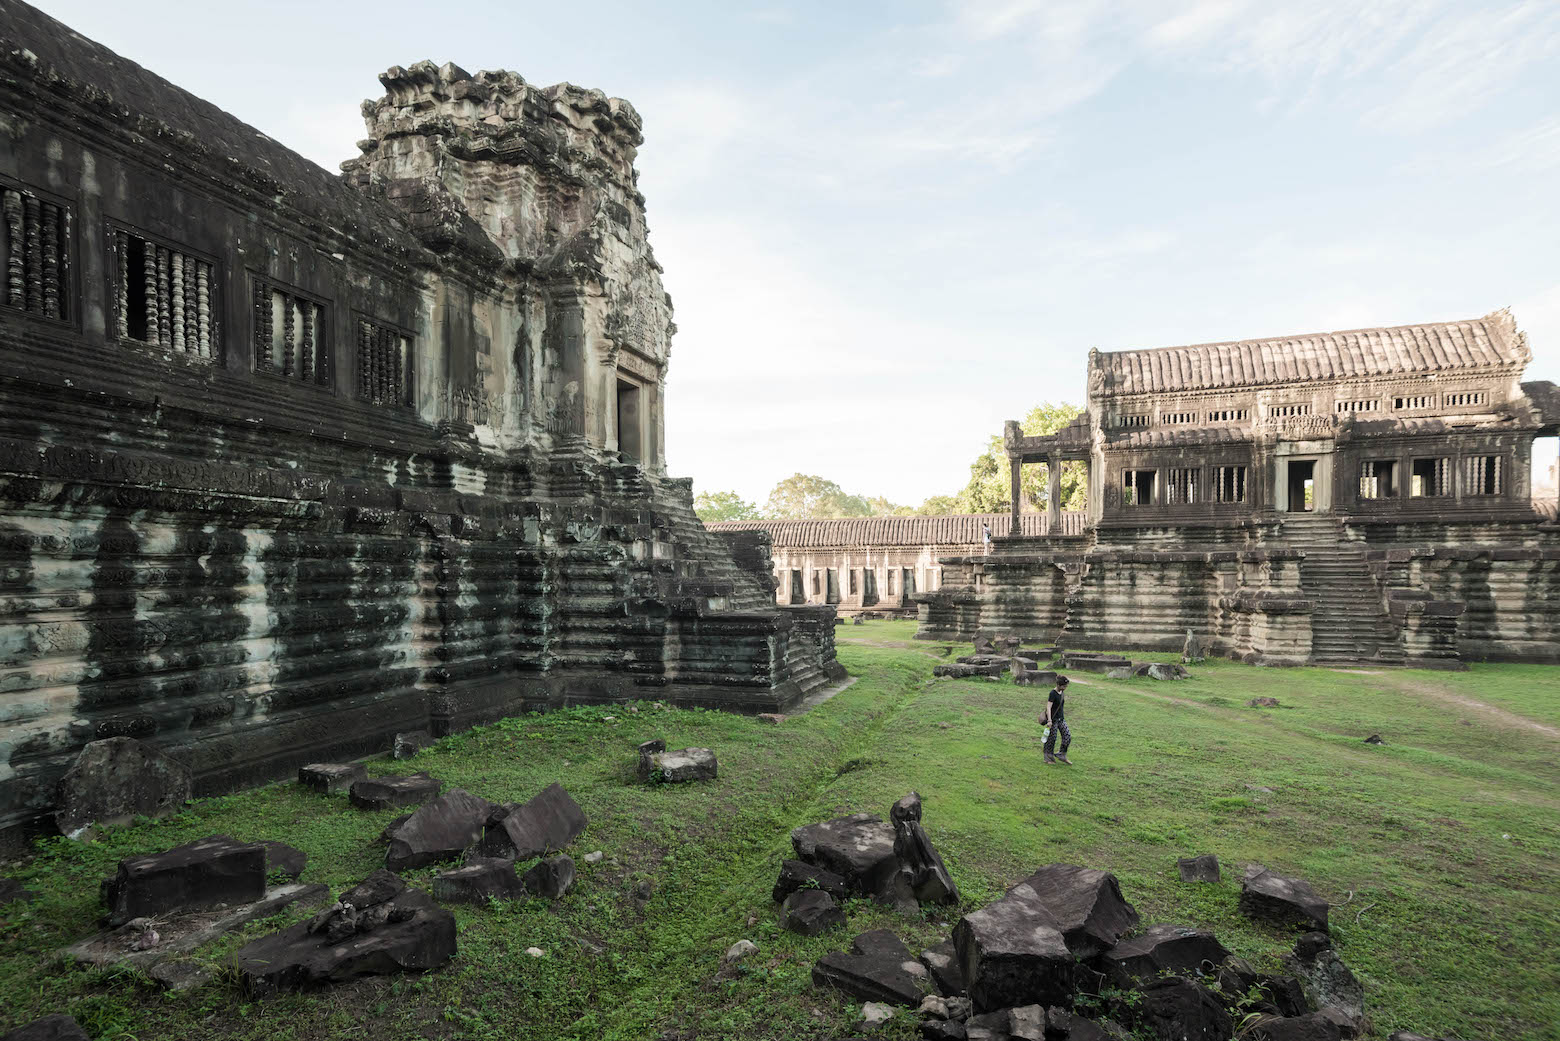
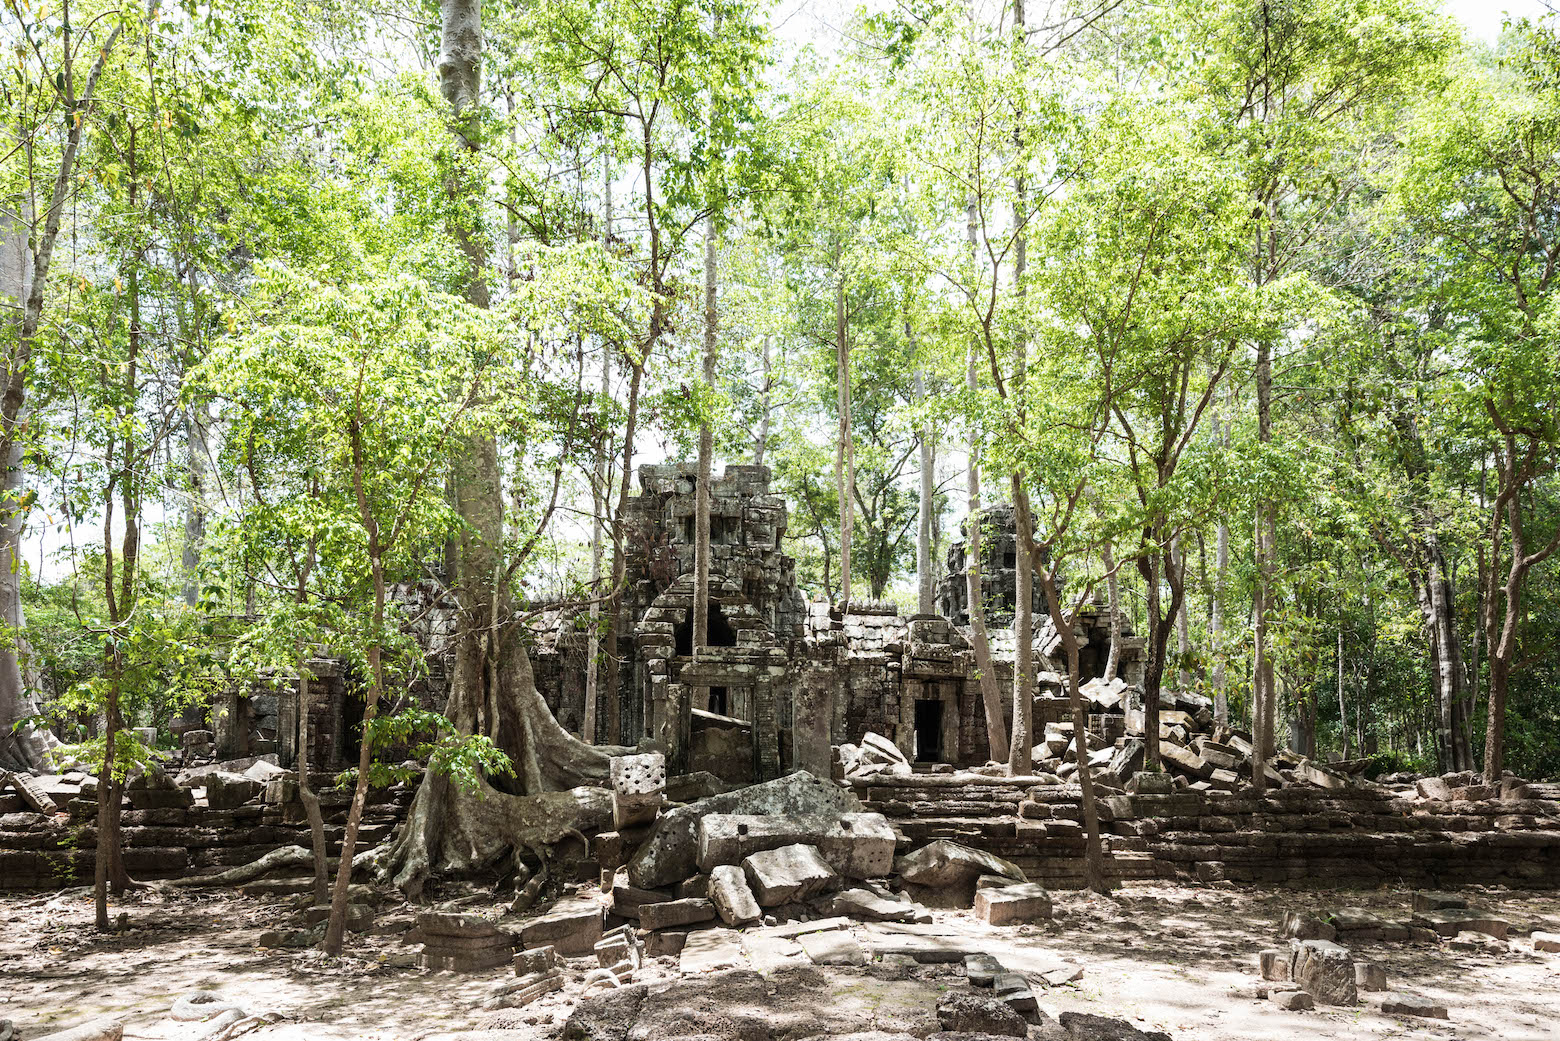
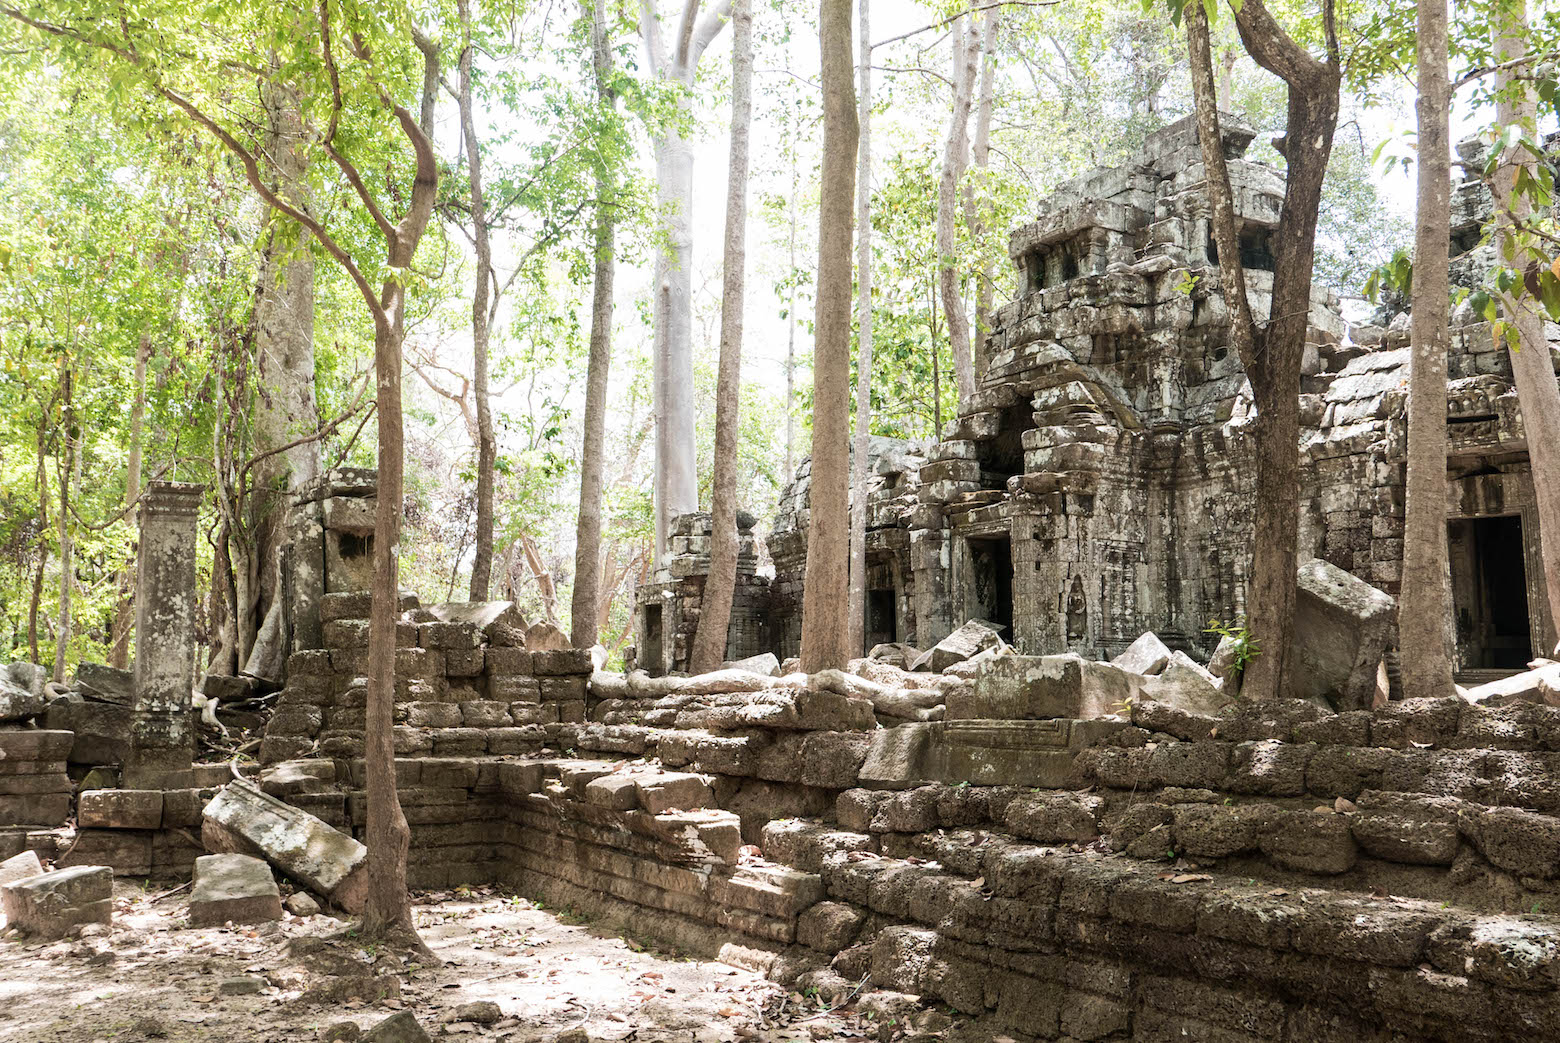
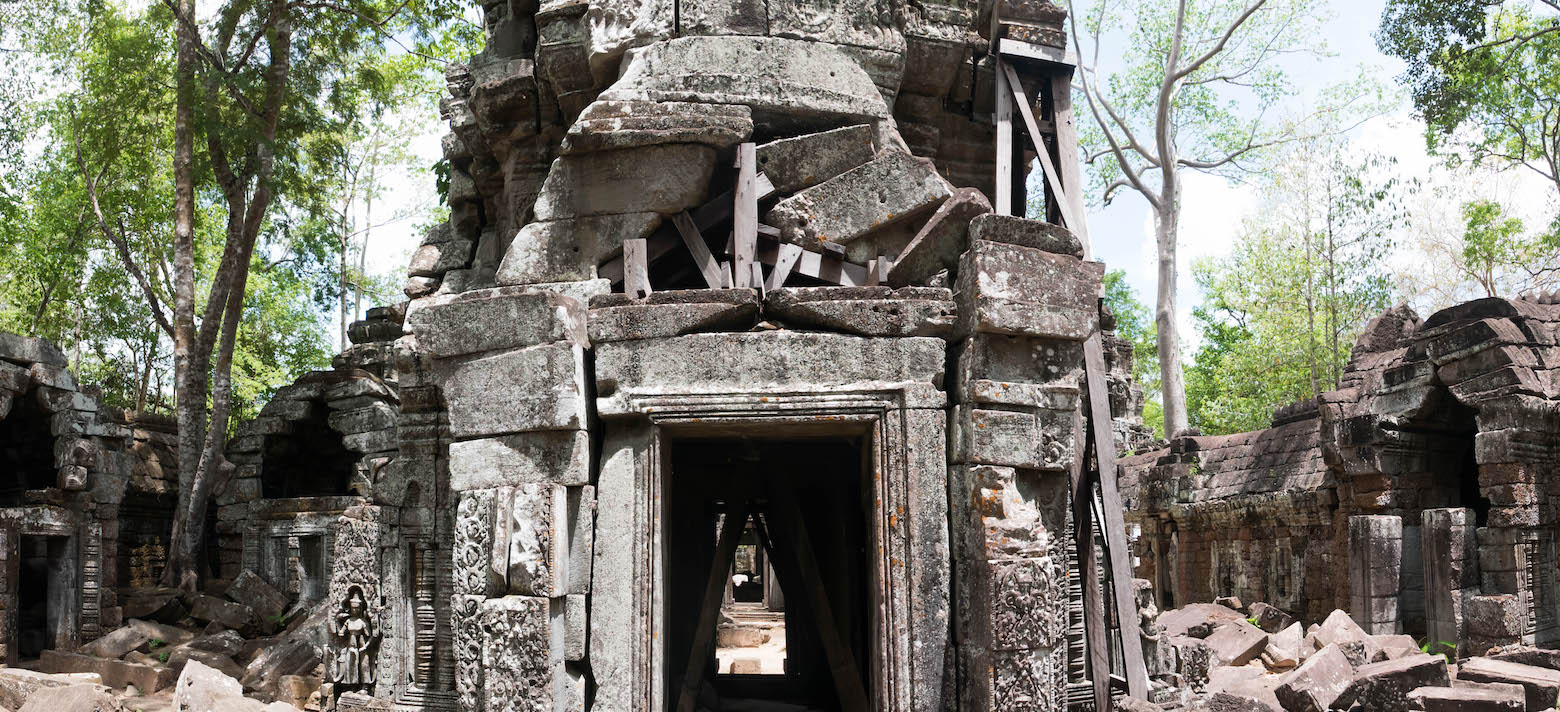
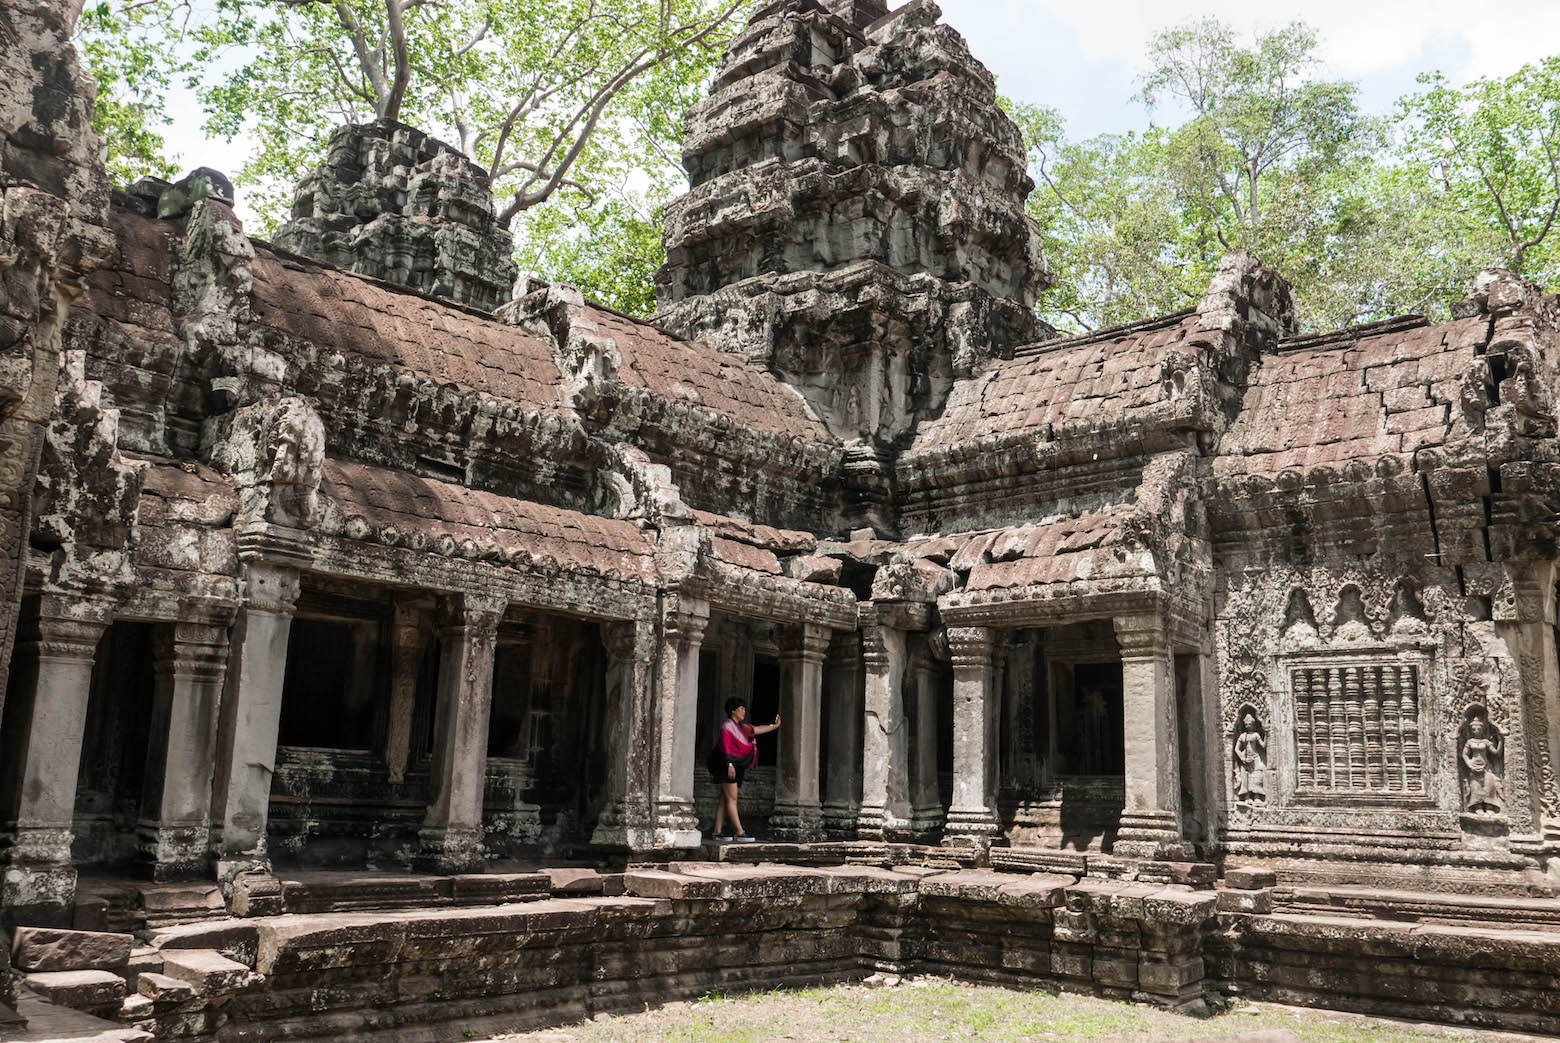
Off the beaten path, Ta Nai is a semi-ruined temple hidden in the tall trees of the jungles. Because of its isolated nature, very few tourists are seen venturing here, so it’s very peaceful and you can explore without being interrupted. The inner part of the temple has largely collapsed with some parts being supported by wood planks. Still, there are still plenty of carvings with intricate details to see and is worth the visit, especially if you want to get away from the crowds.

Ta Prohm

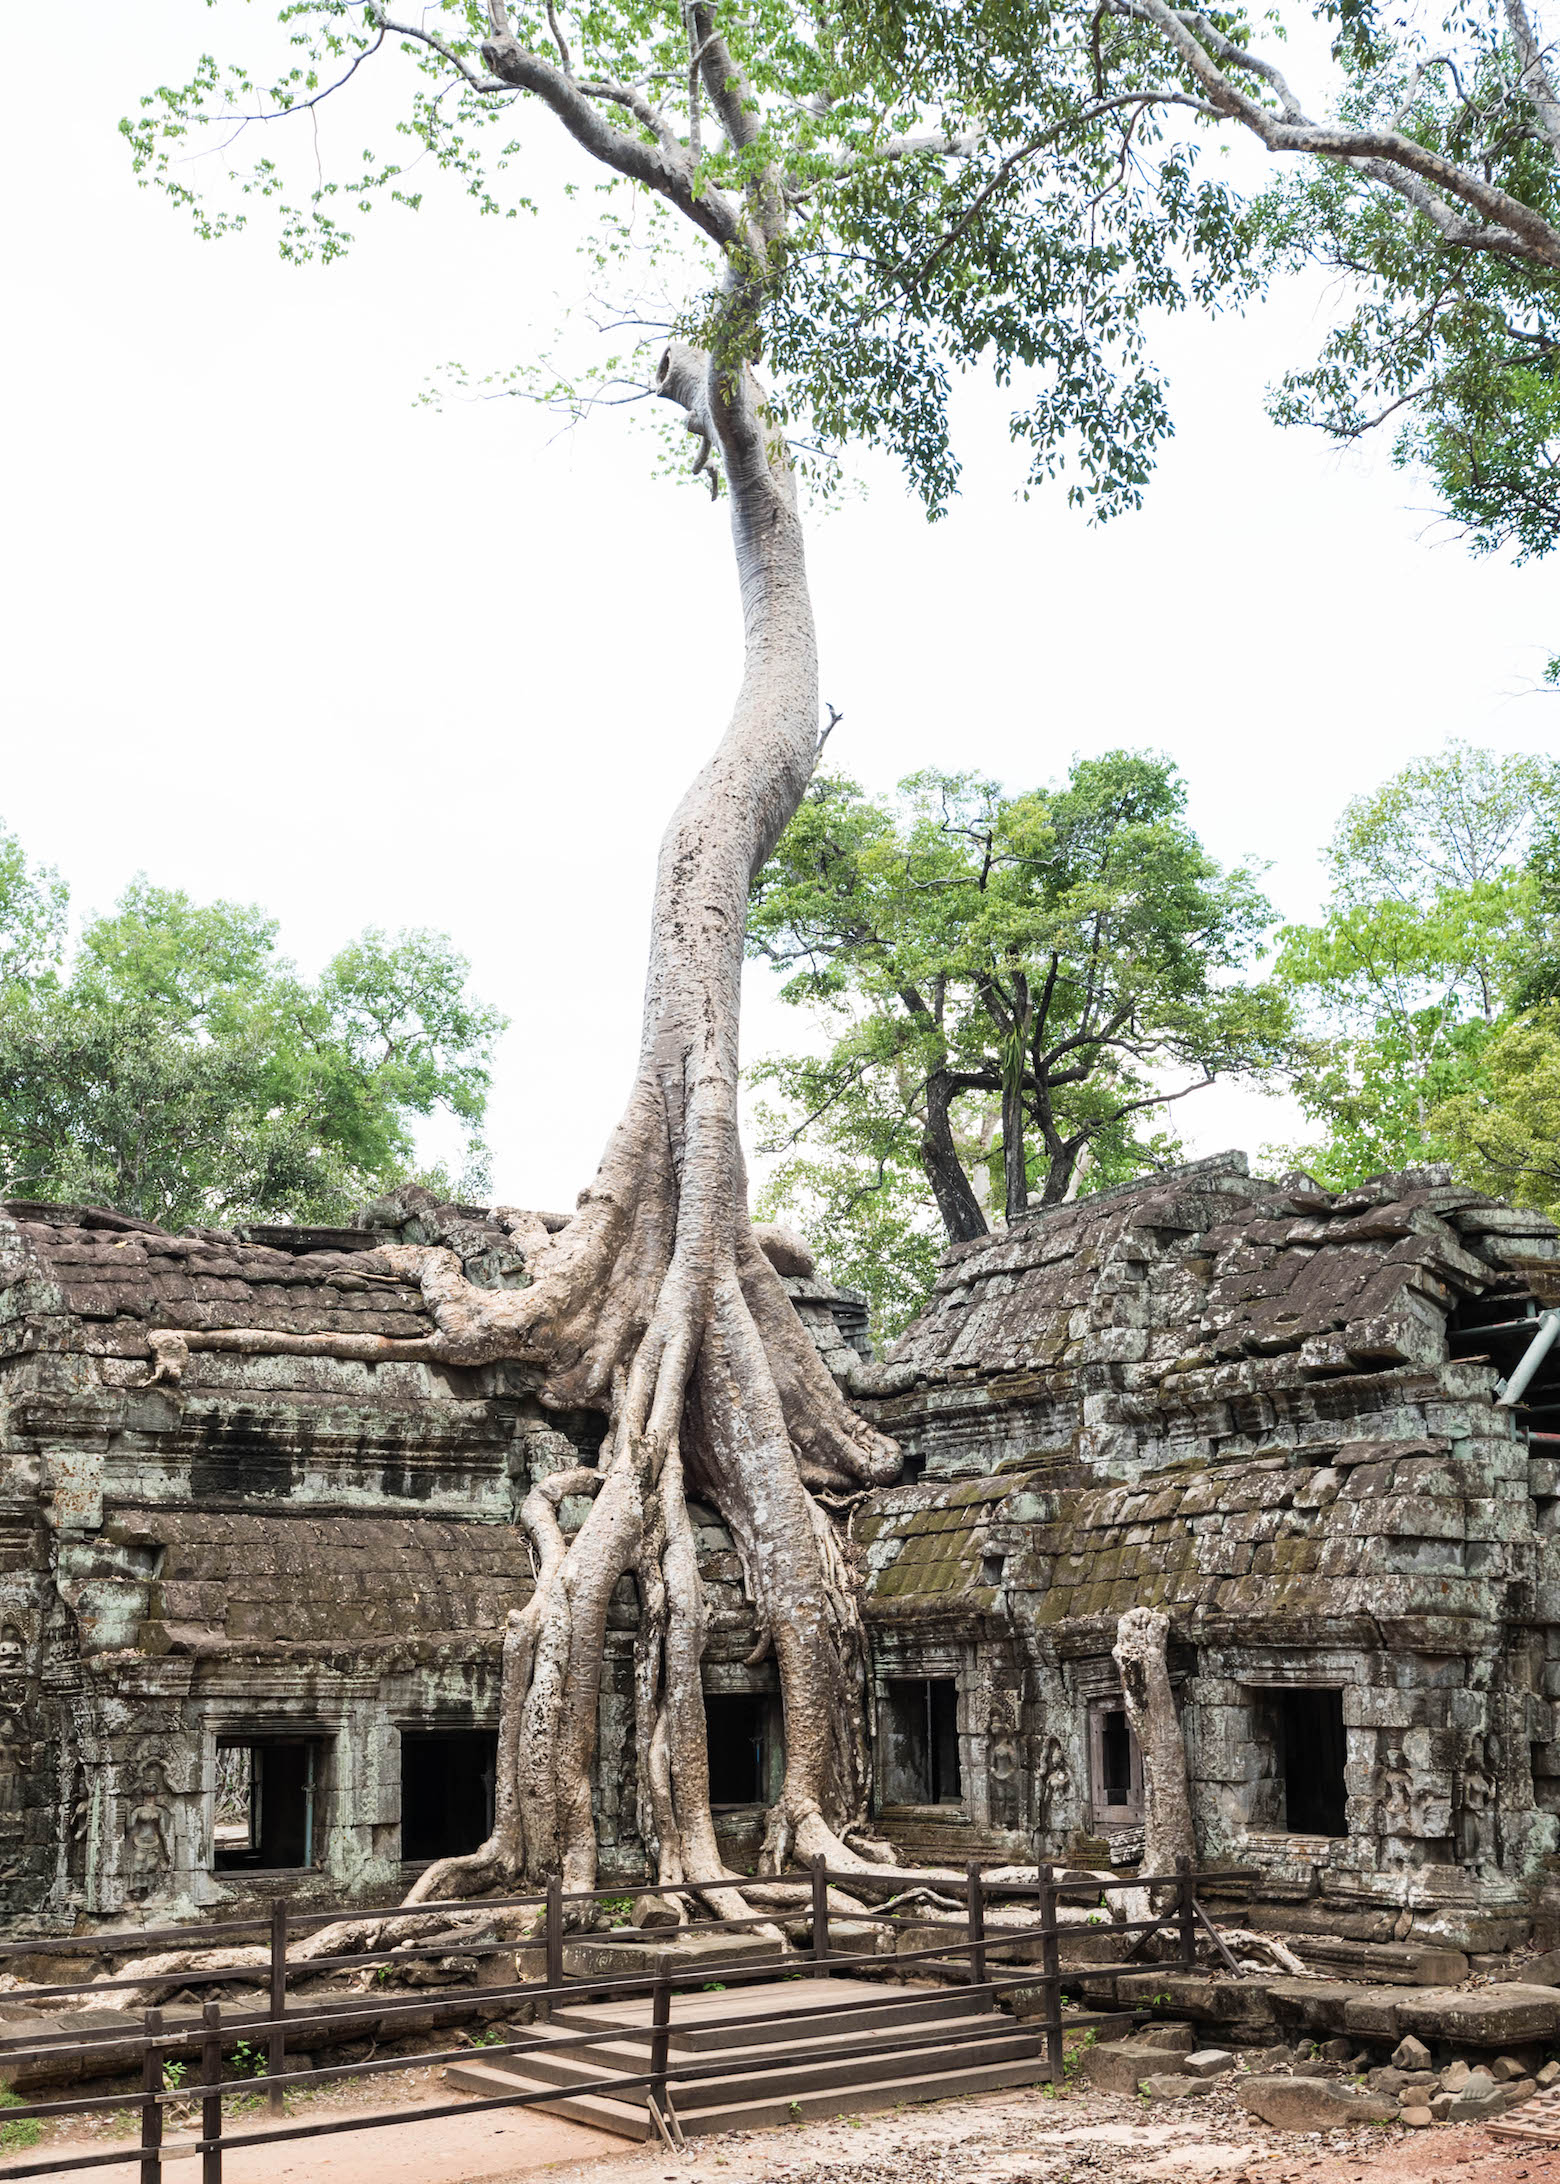
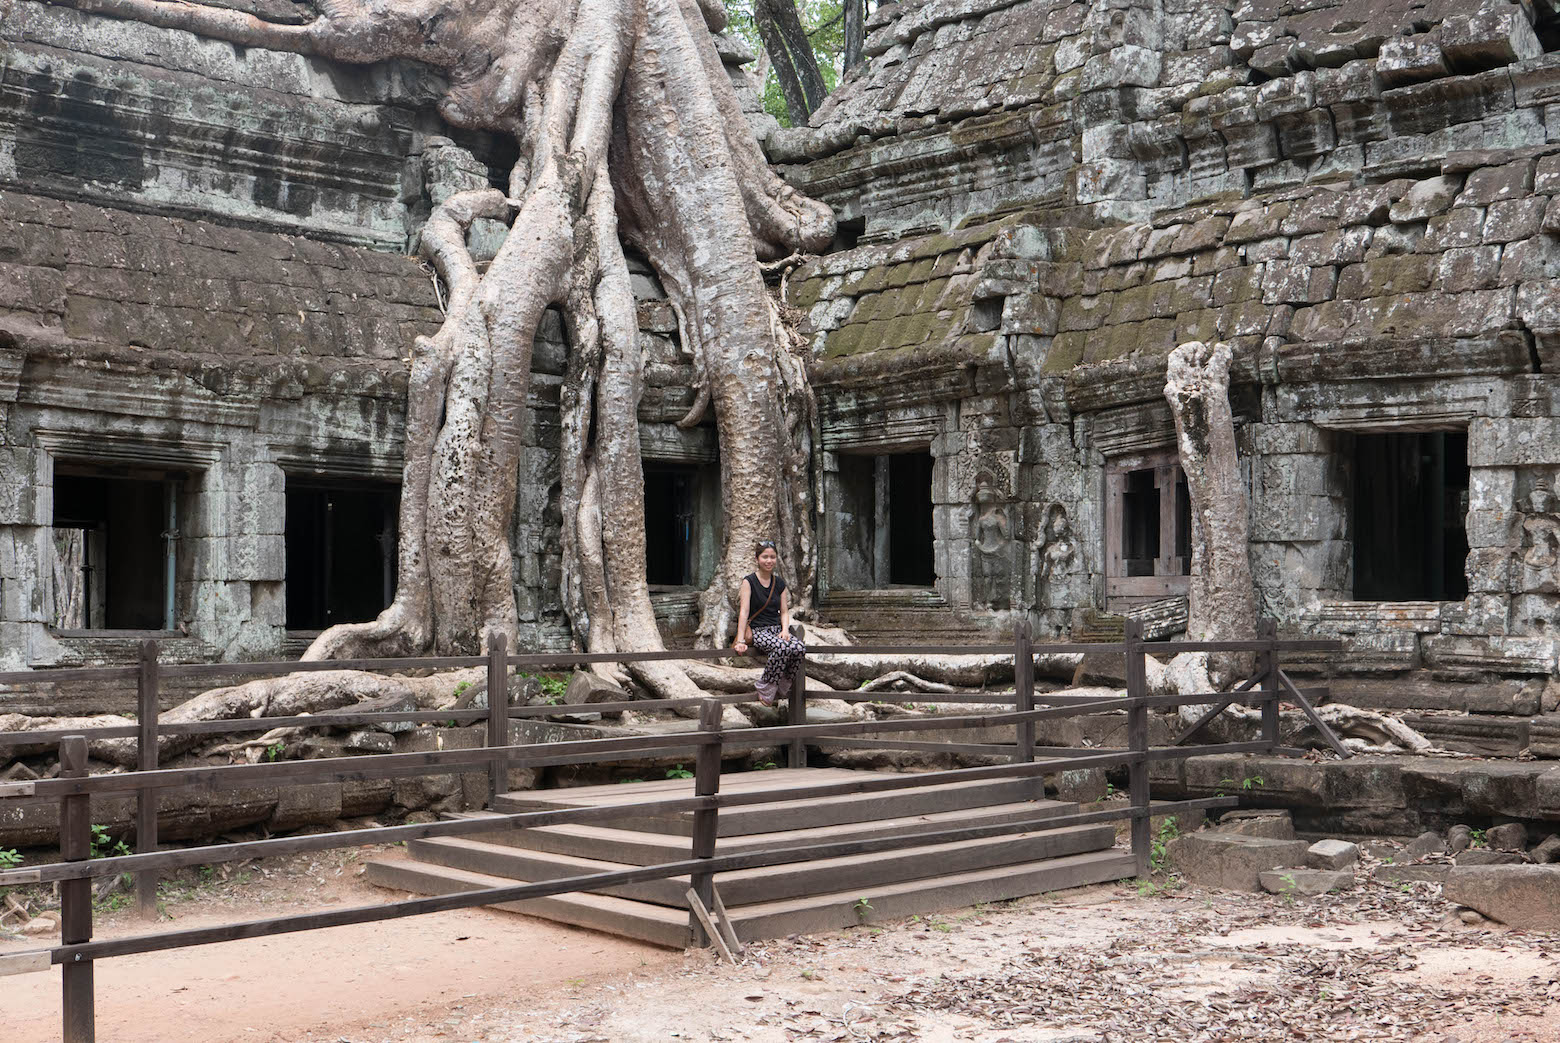
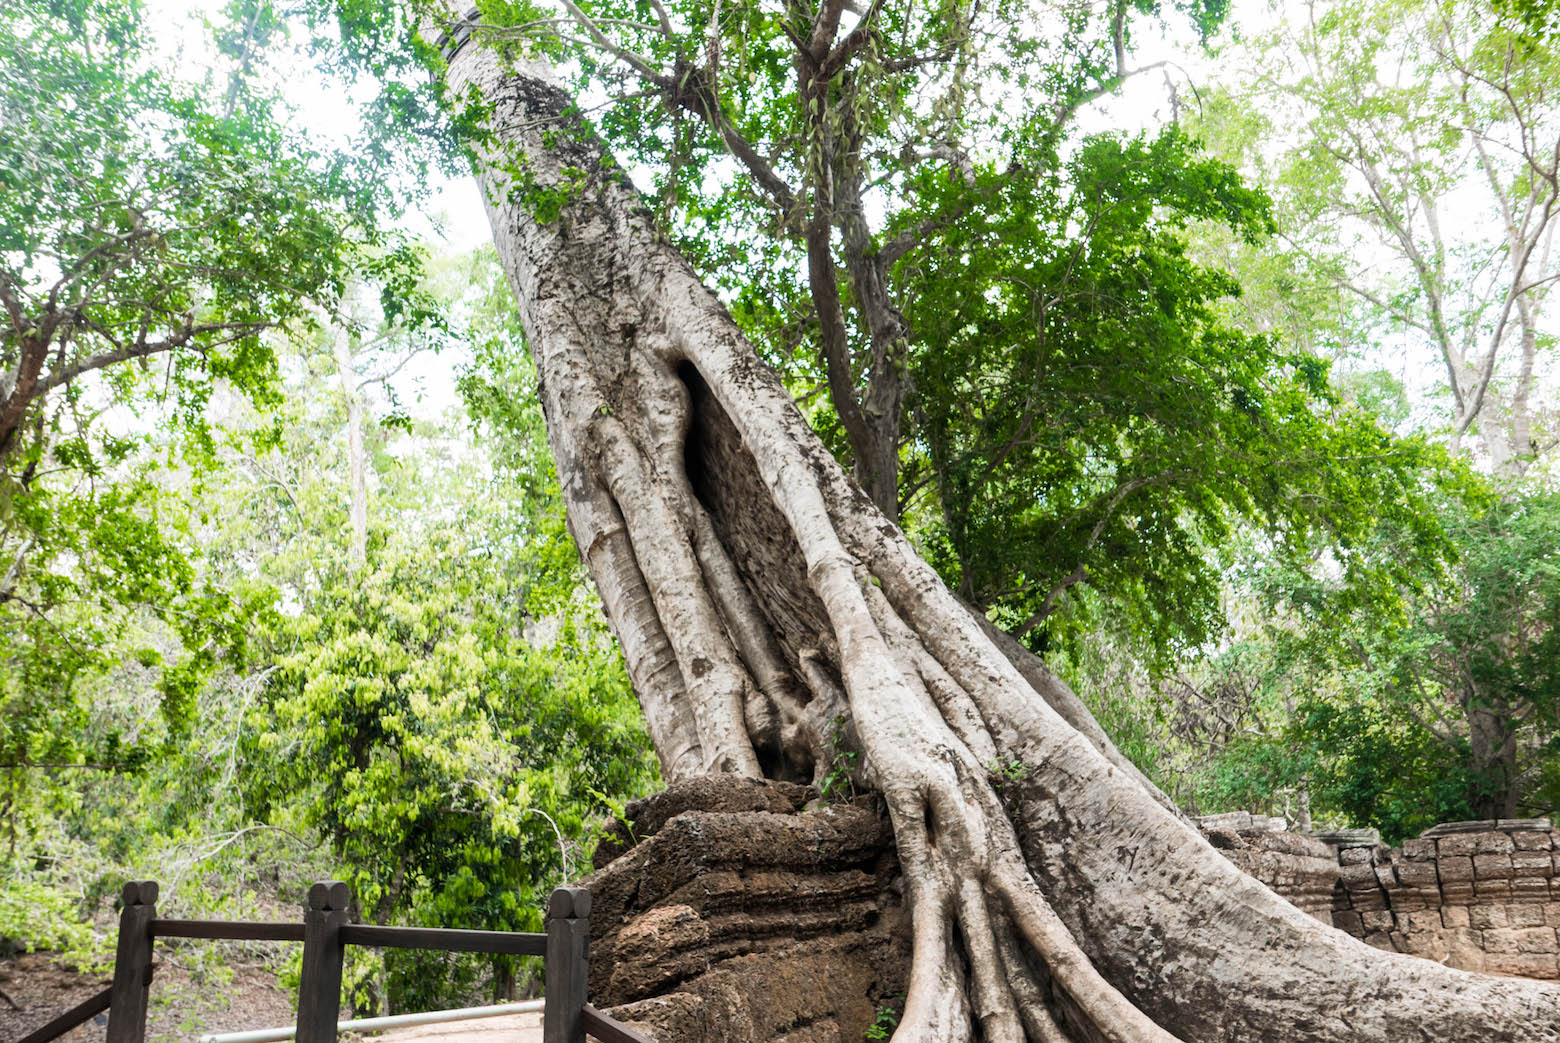
Ta Prohm is distinctly recognized for its large trees and roots growing within the temple. You can see the long thick roots slowly morphing and engulfing parts of the temple over hundreds of years of growth. The temple is also famous for being the location for the film “Lana Croft: Tomb Raider,” but despite its Hollywood exposure, it still feels very hidden and secluded with the trees covering the ruins.

Angkor Thom South Gate

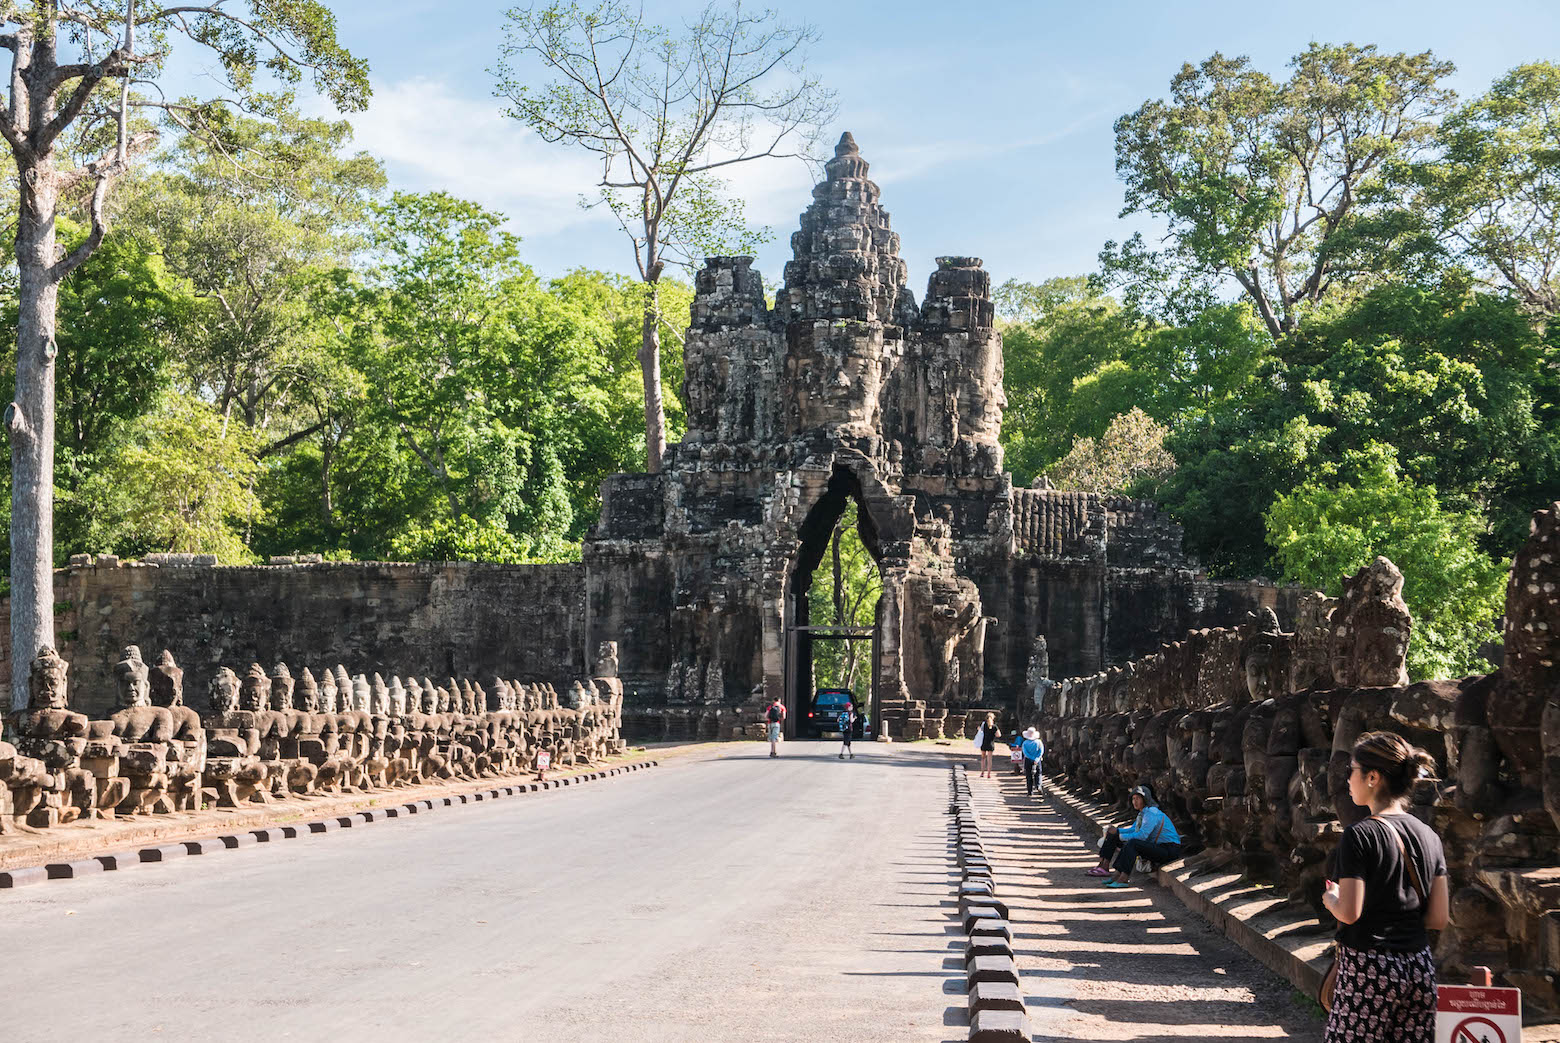
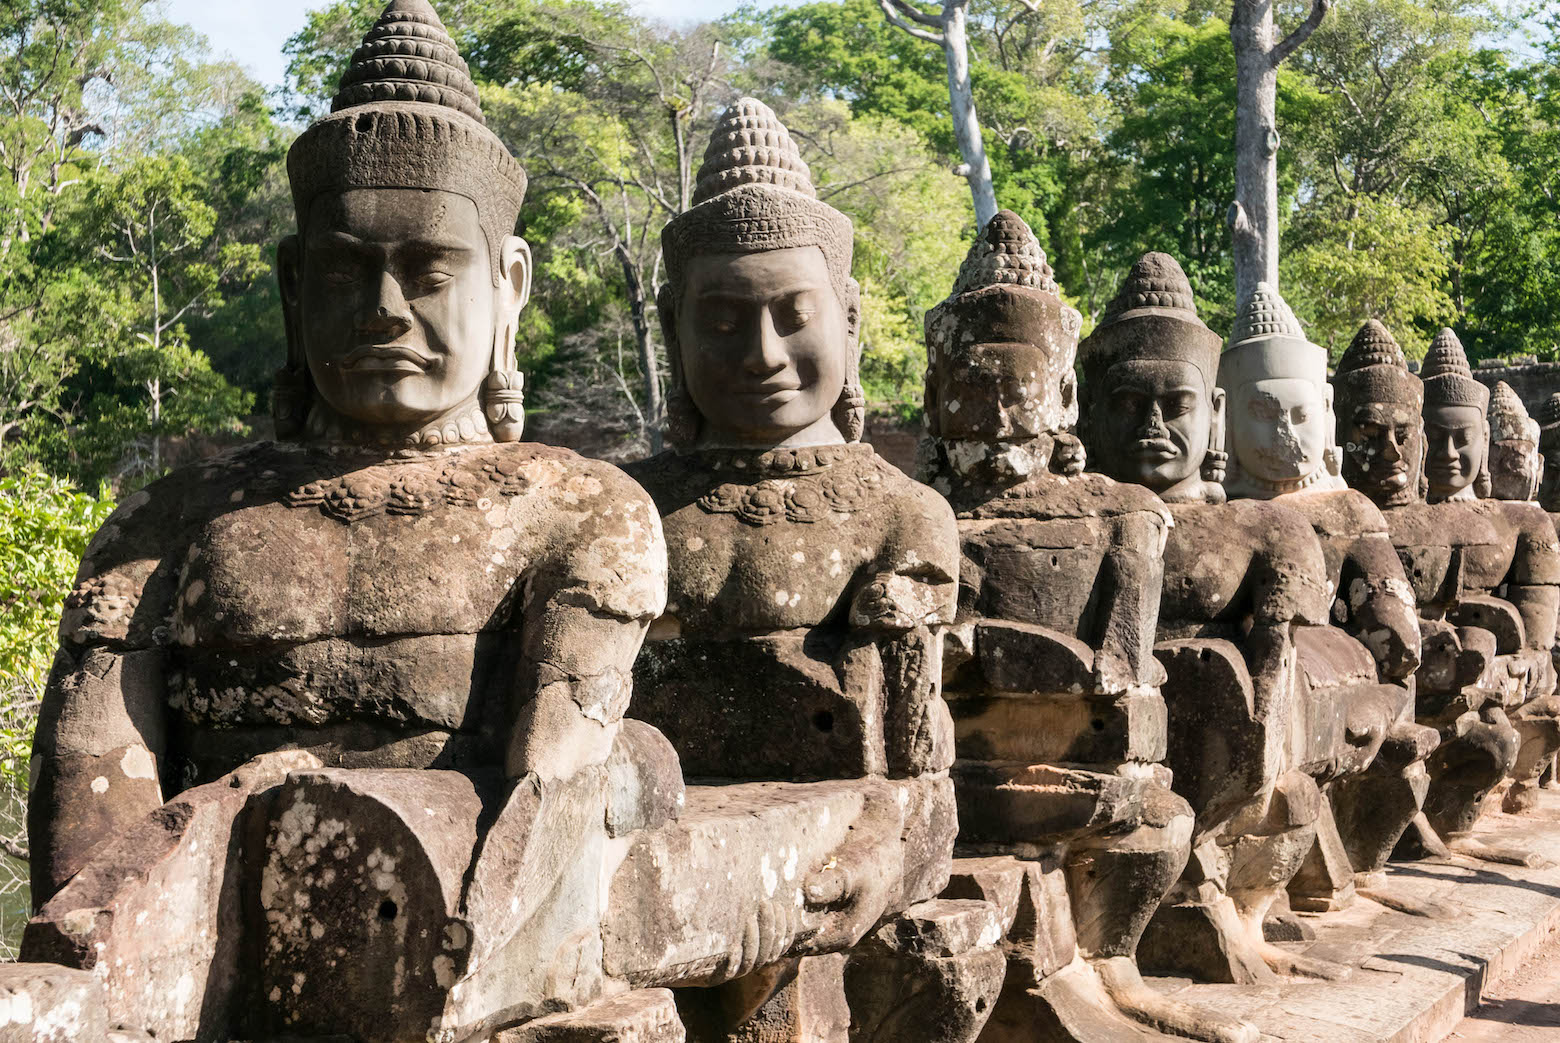
There are five gates that gave access to Angkor Thom (which means “The Great City”). The south gate is distinguishable from the others for having stone statues on both sides of the road leading up to the gate.

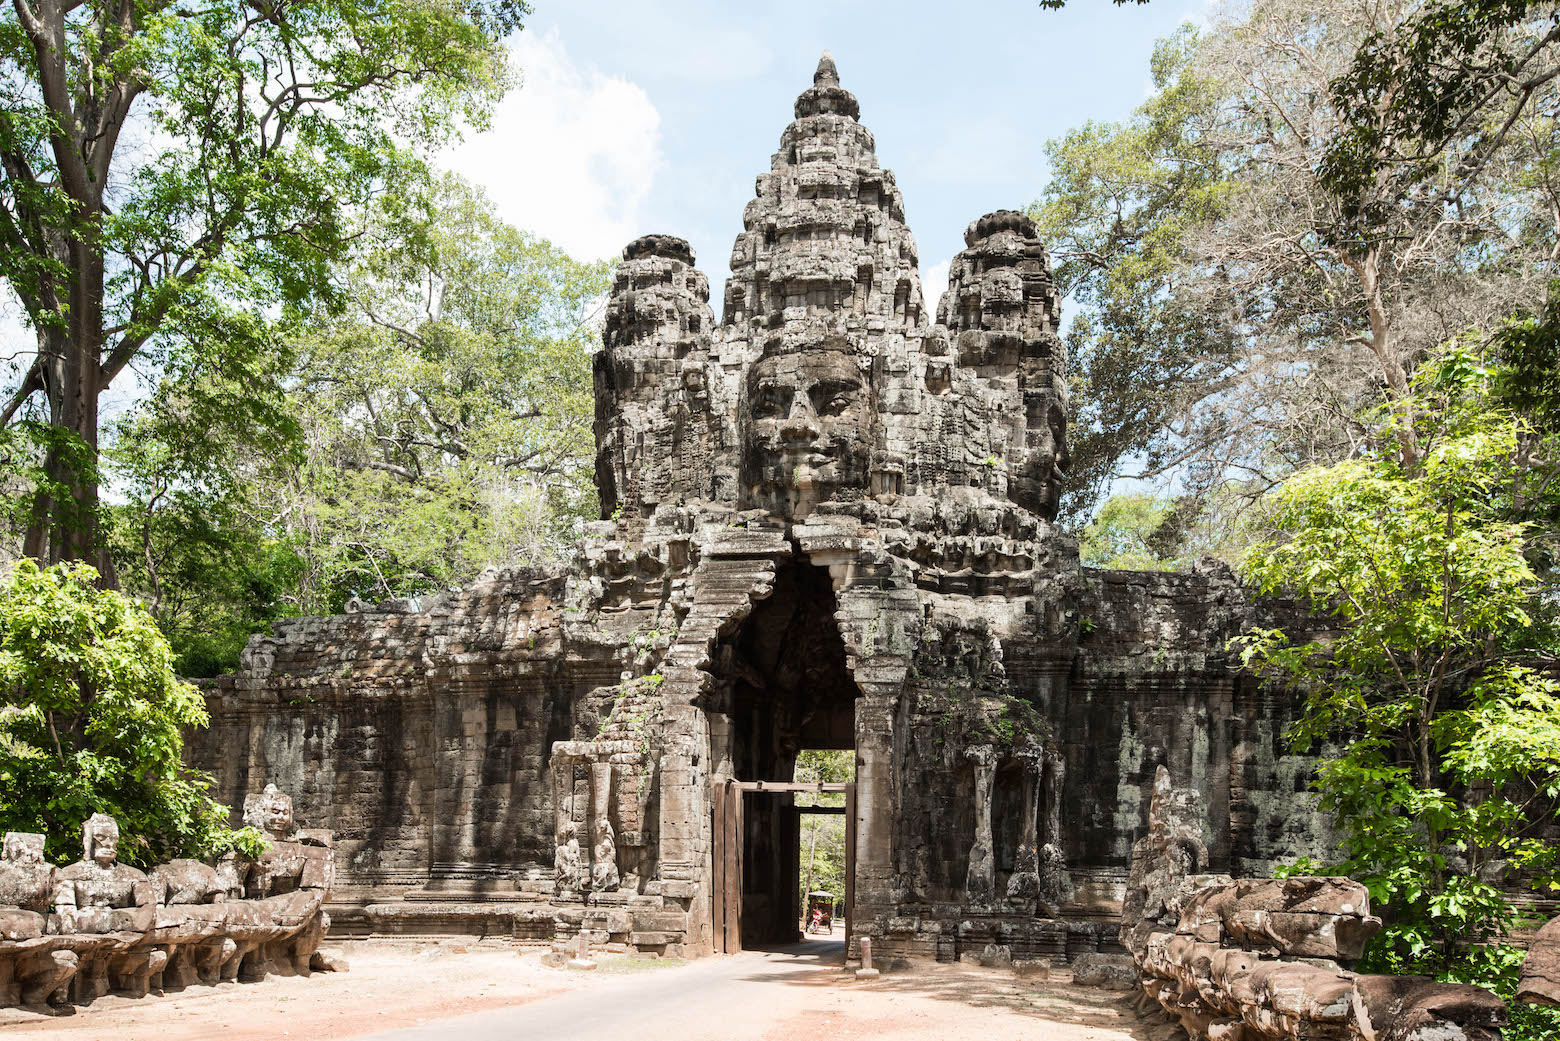
Angkor Thom East (Death) Gate

You can climb up from the side to get a closer look at the gate and walk along the wall that surrounds the city.

There are also other smaller or lesser known temples and structures all over Angkor. Many of them are in ruins but can still be explored at your own leisure.

If you need some tips for getting around, you can read our article for different methods to see the temples and check out our video below. Let us know what your favorite temples were and where else you would recommend.

Share